DIY Pumpkin Puree

For years I have relied on canned pumpkin to give my pies flavor, my bars that perfect pumpkin taste and my cookies that distinctive orange color that can only they are pumpkin! Recently, one of my local grocery stores had a sale on sugar (pie) pumpkins and I decided to be crazy and see how much it took to puree my own pumpkin.
First off, if you like to carve pumpkins (and who doesn’t?) you will actually enjoy this process of scooping and roasting and picking out the seeds. Secondly, even when canned pumpkin is on sale, this method is by far the less expensive way to go. I was able to get 2 cans worth of pumpkin out of my smallish pie pumpkin and the cost was $.75 a can. I don’t remember the last time I saw pumpkin that cheap at the store!
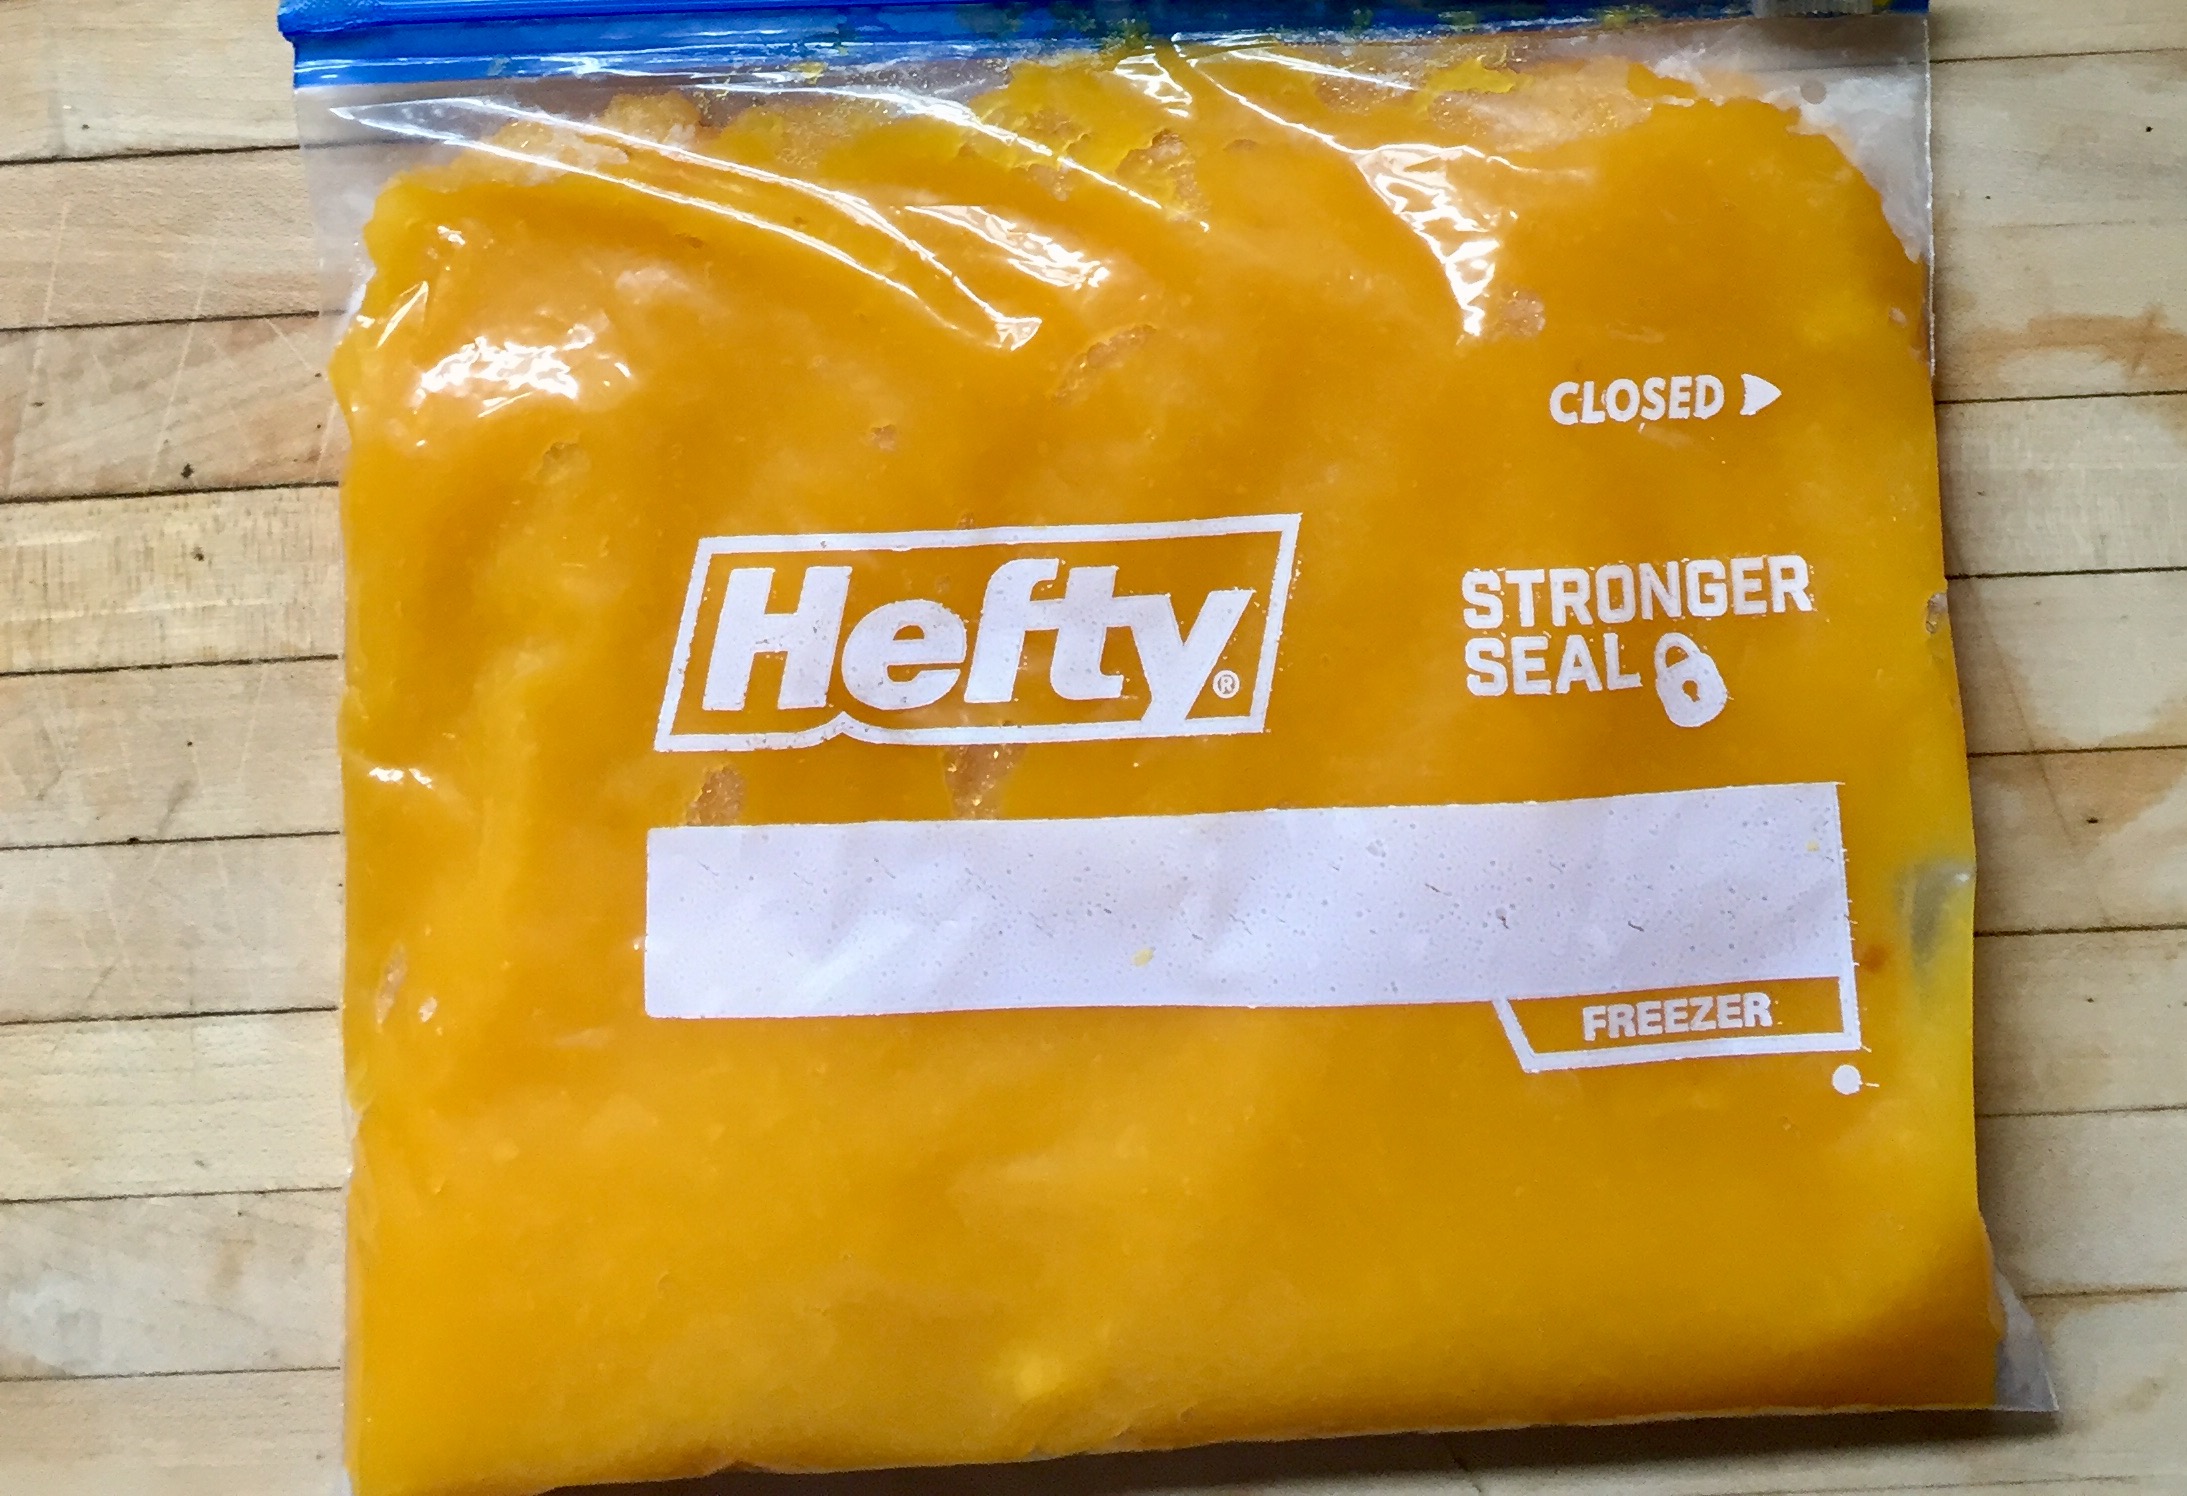
This process does take a bit longer than opening a can, but really is there a better way to spend a cool fall day then elbow deep in pumpkin? While I will not be replacing my canned pumpkin completely, I will say that when I have time and the pumpkins are priced right, I will be pureeing a few pumpkins and freezing that bounty for later. That’s right the puree freezes wonderfully!
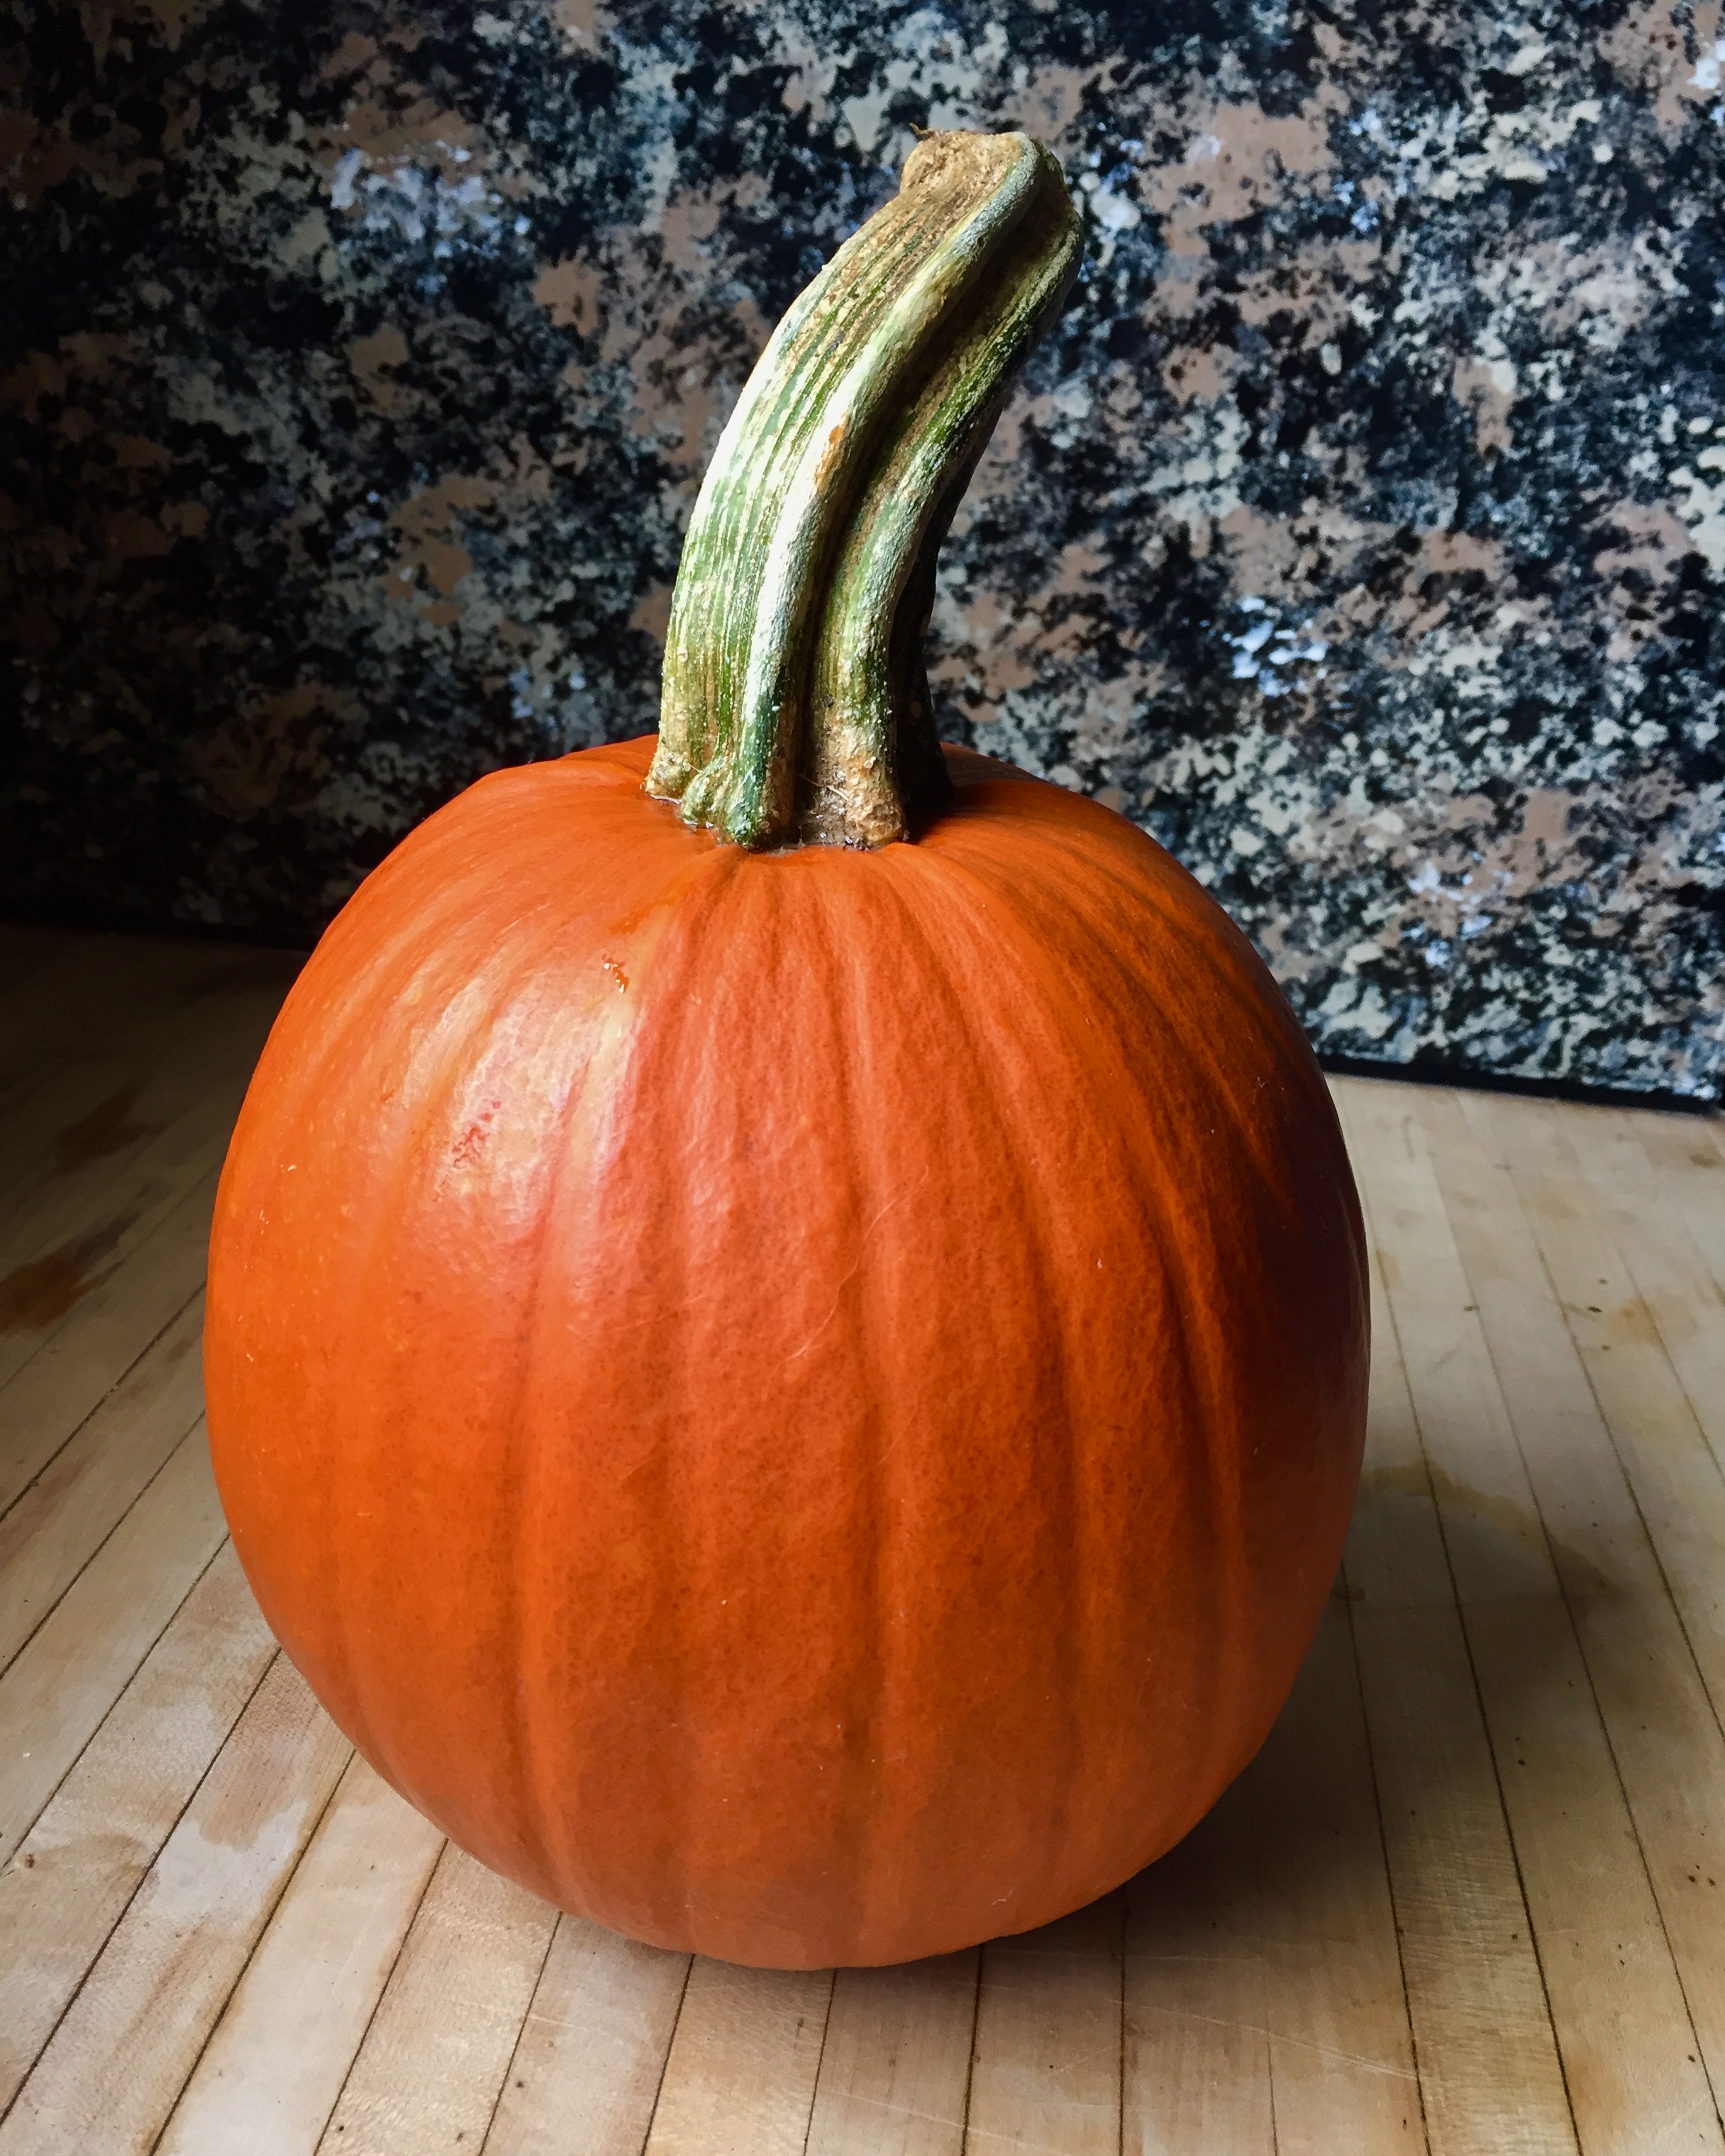
So grab a few pumpkins, grab some friends and have a pumpkin puree party! Be sure you get a sugar or pie pumpkin as while you can puree the carving pumpkins, the flavor is a bit different and not so sweet.
DIY Pumpkin Puree with Sugar Pumpkin
Prep Time: 20 minutes | Total Time: 1 hour 30 minutes | Yield: Approx. 2 lb. puree
Ingredients
- 1 medium sized sugar (pie) pumpkin
Directions
- Rinse and pat pumpkin dry
- Preheat the oven to 350 degrees
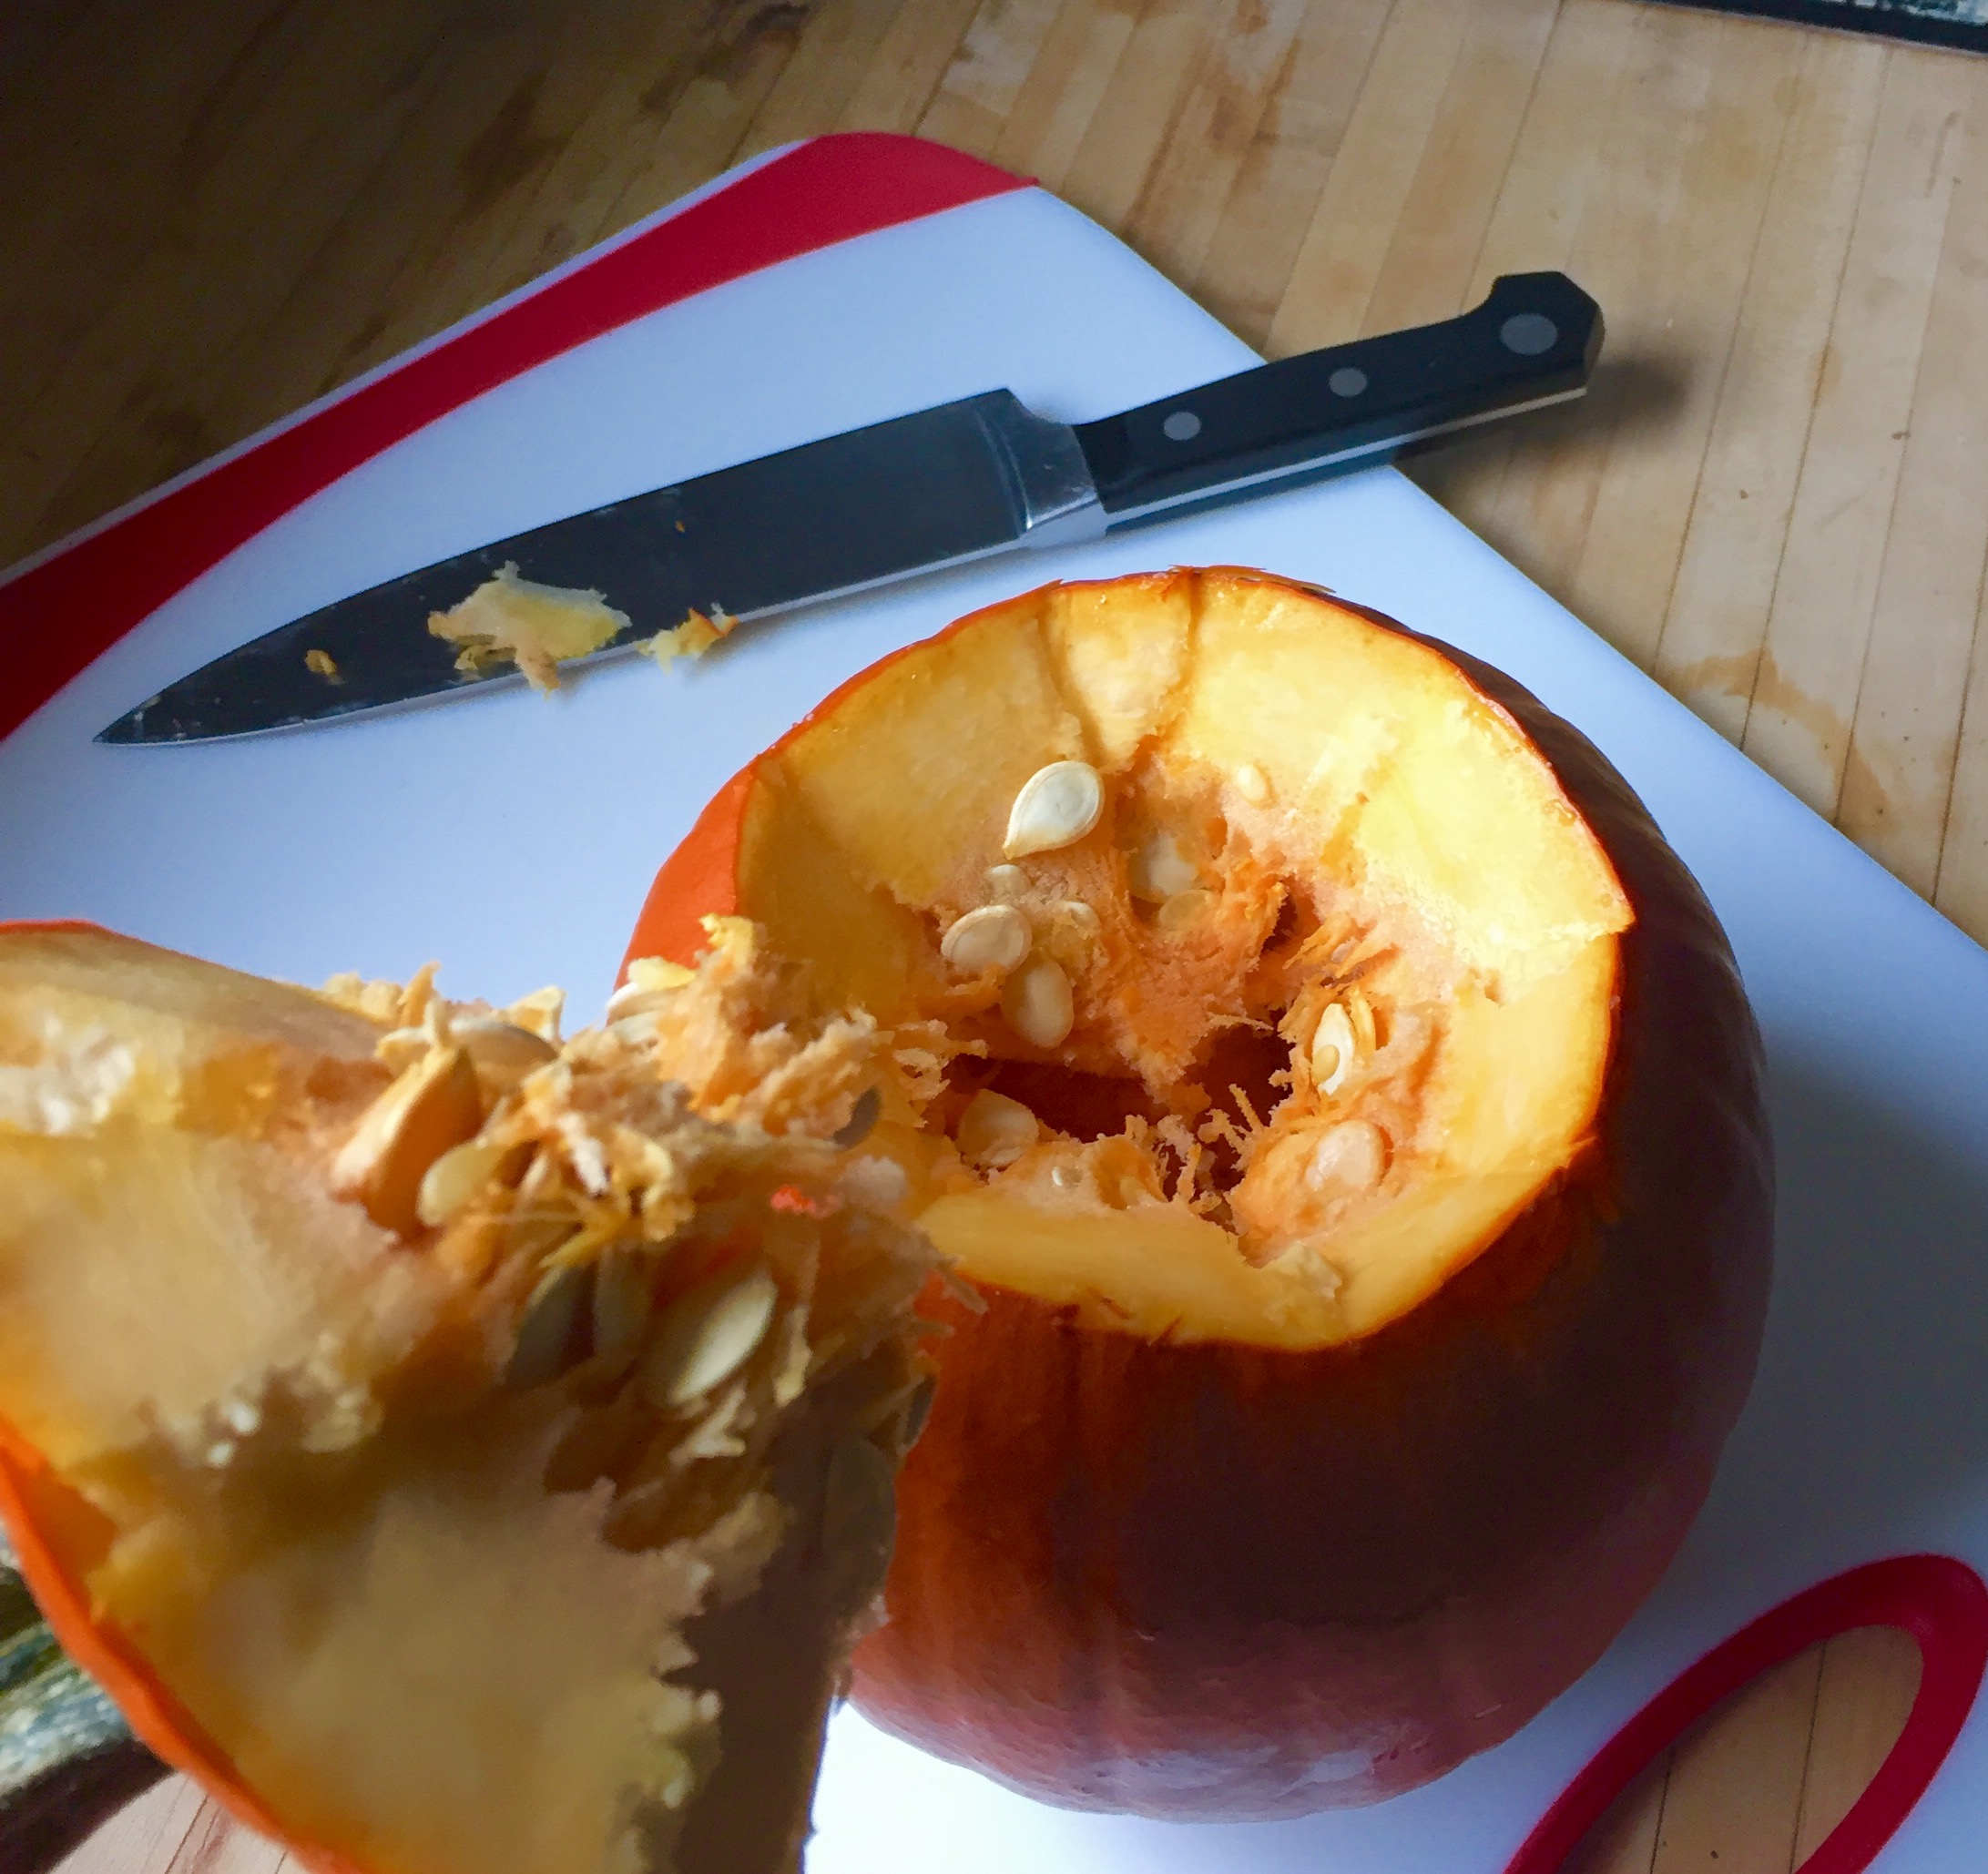
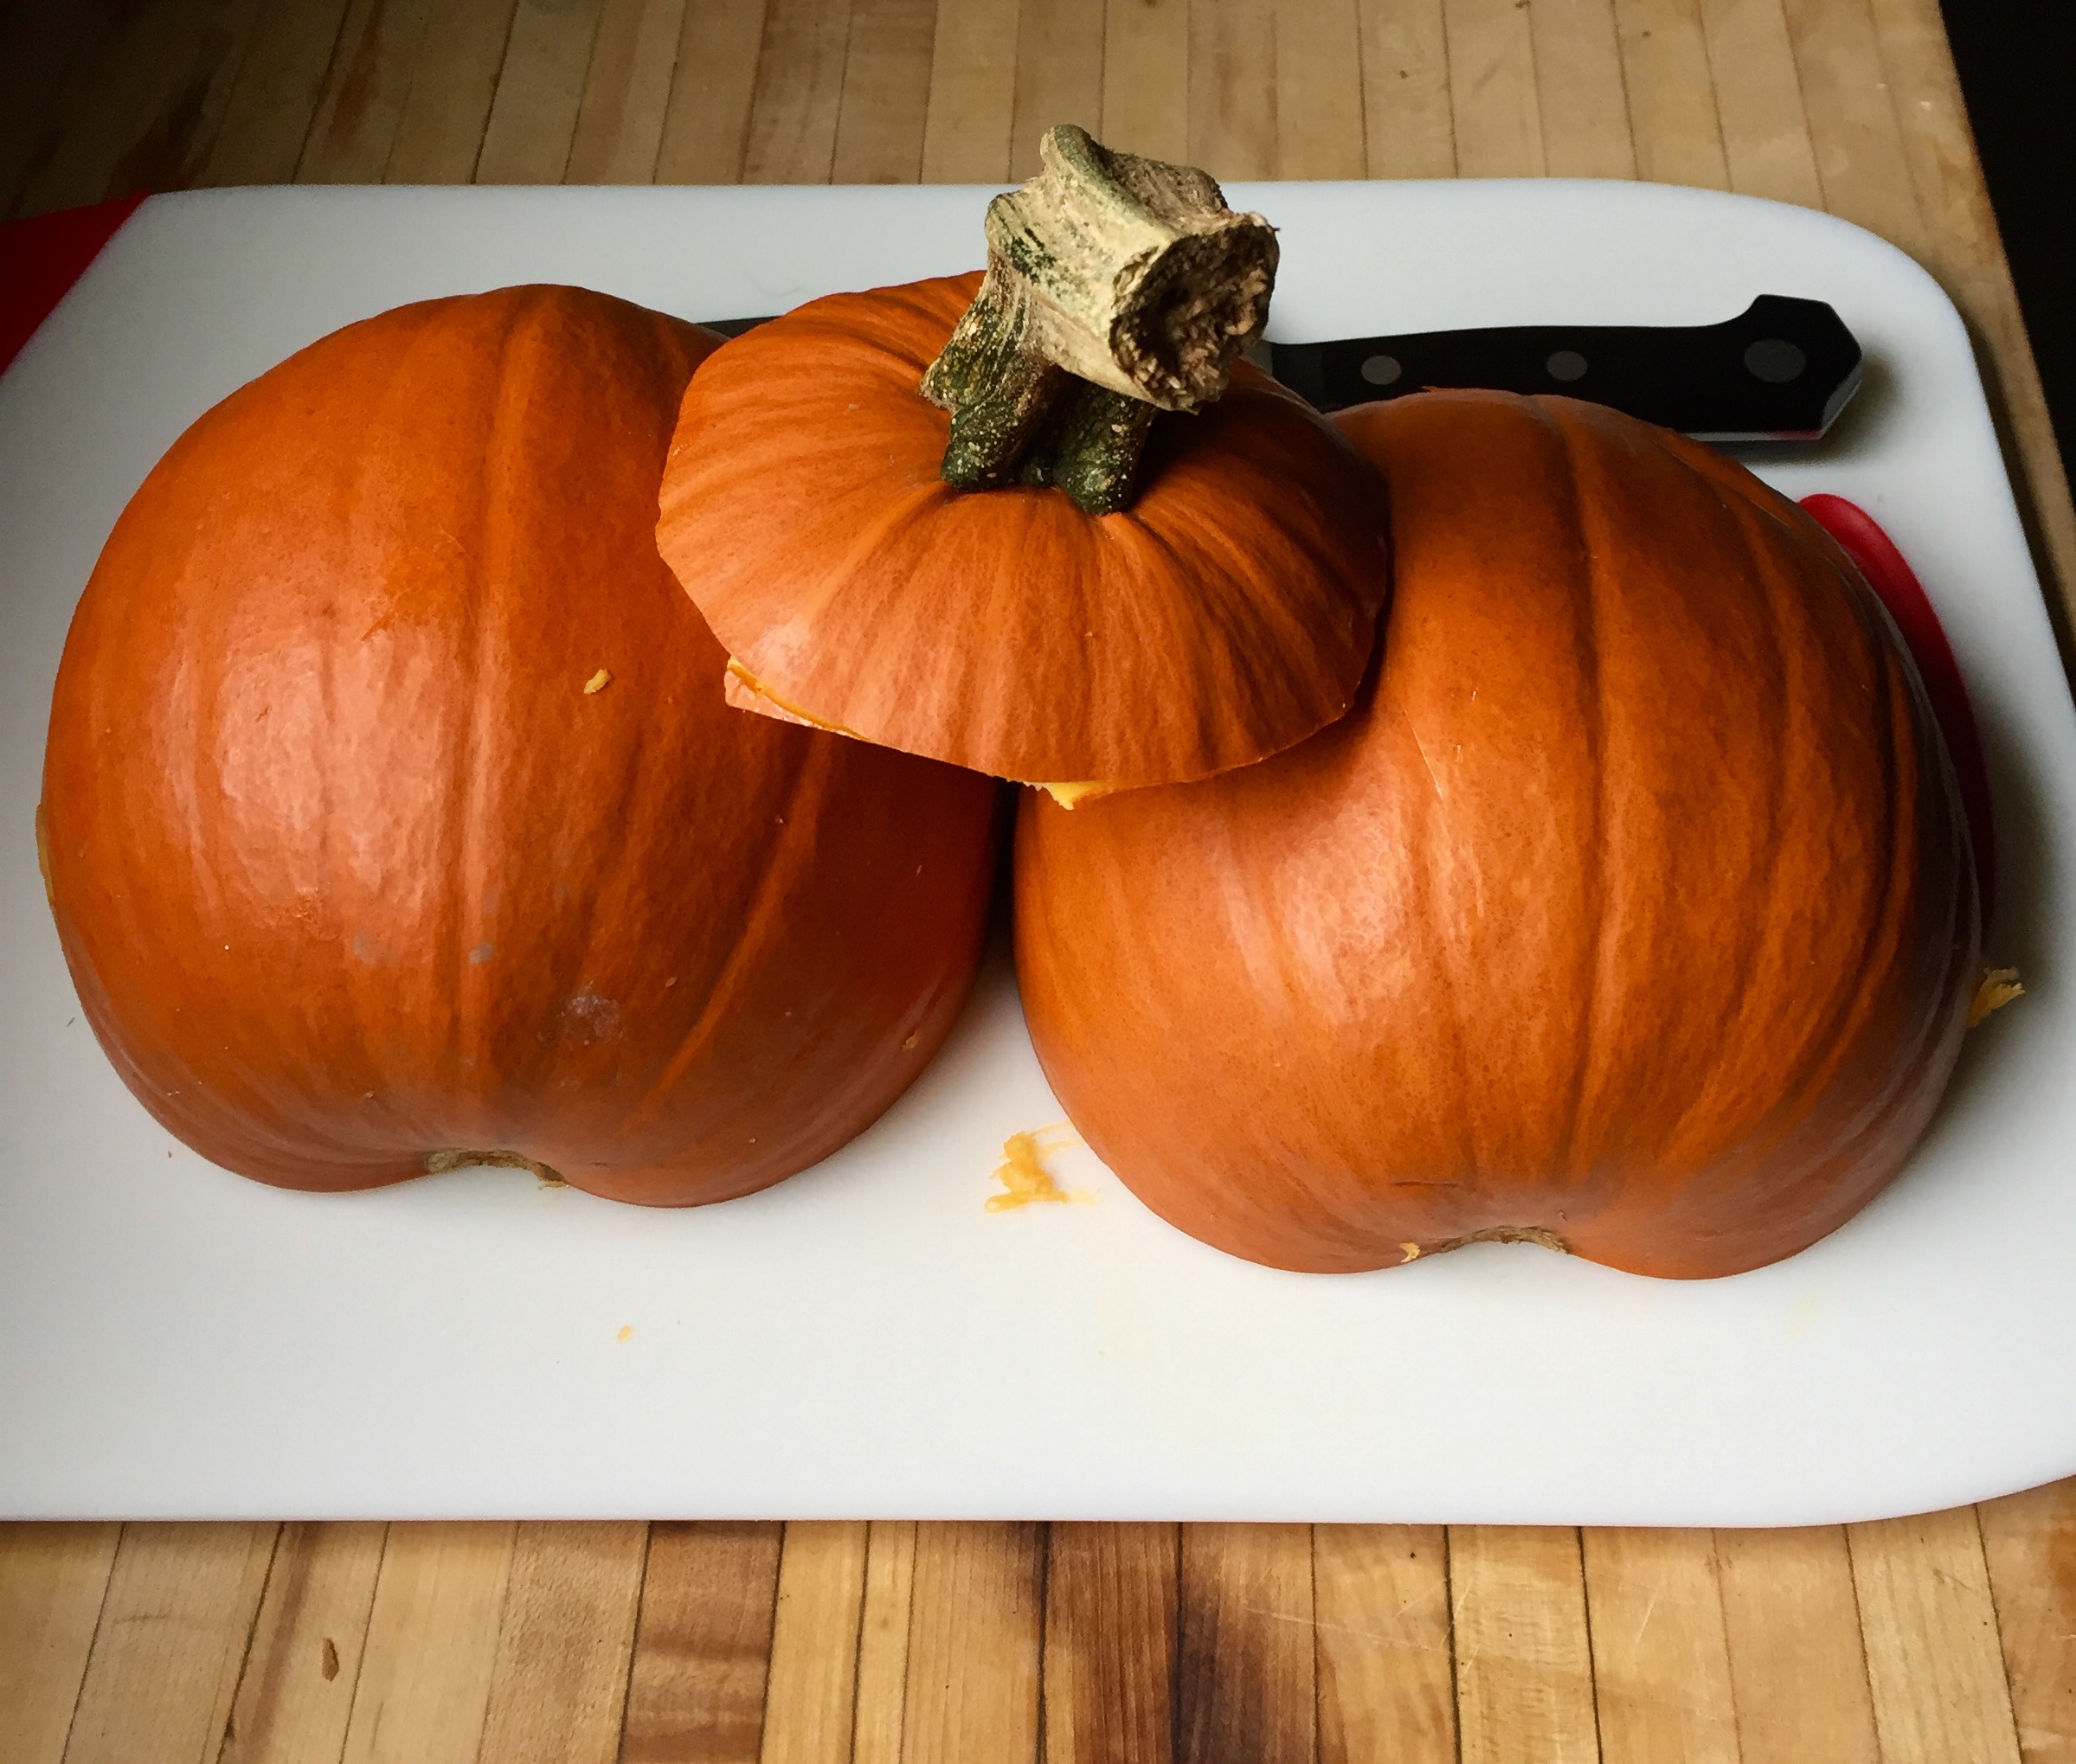
- Cut off the top of the pumpkin (just as you would to carve a pumpkin)
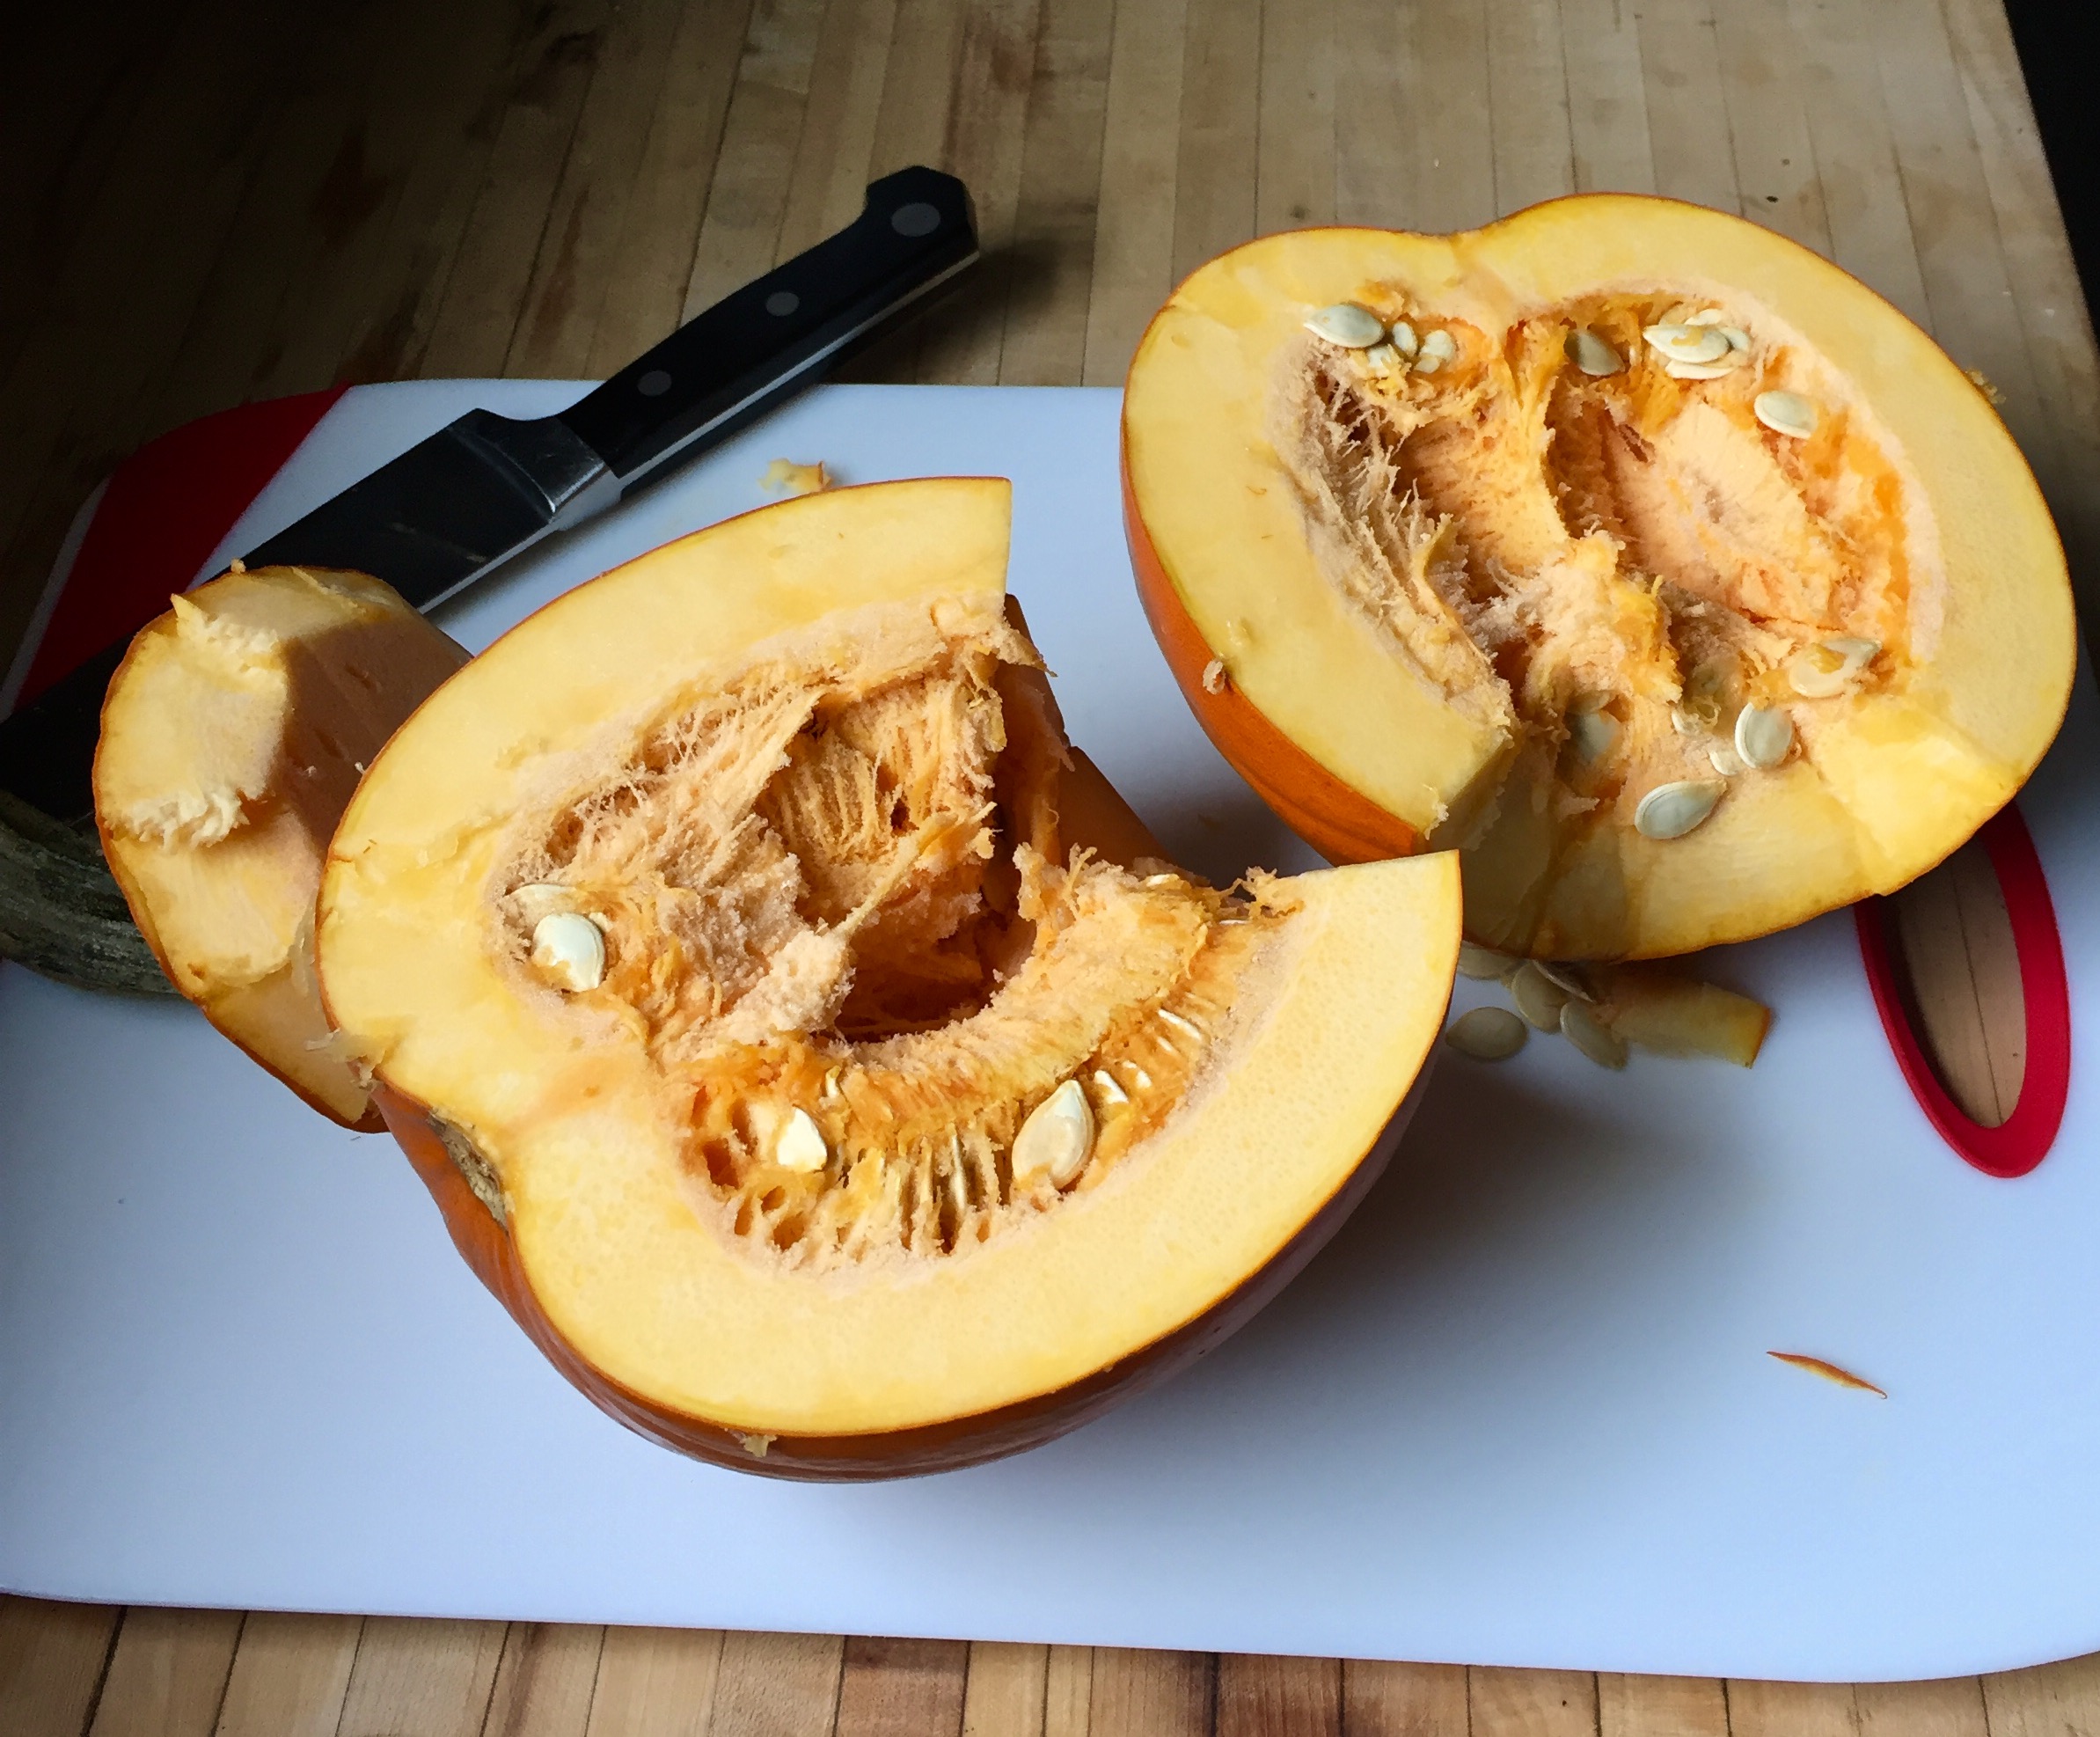
- Cut the pumpkin in half vertically
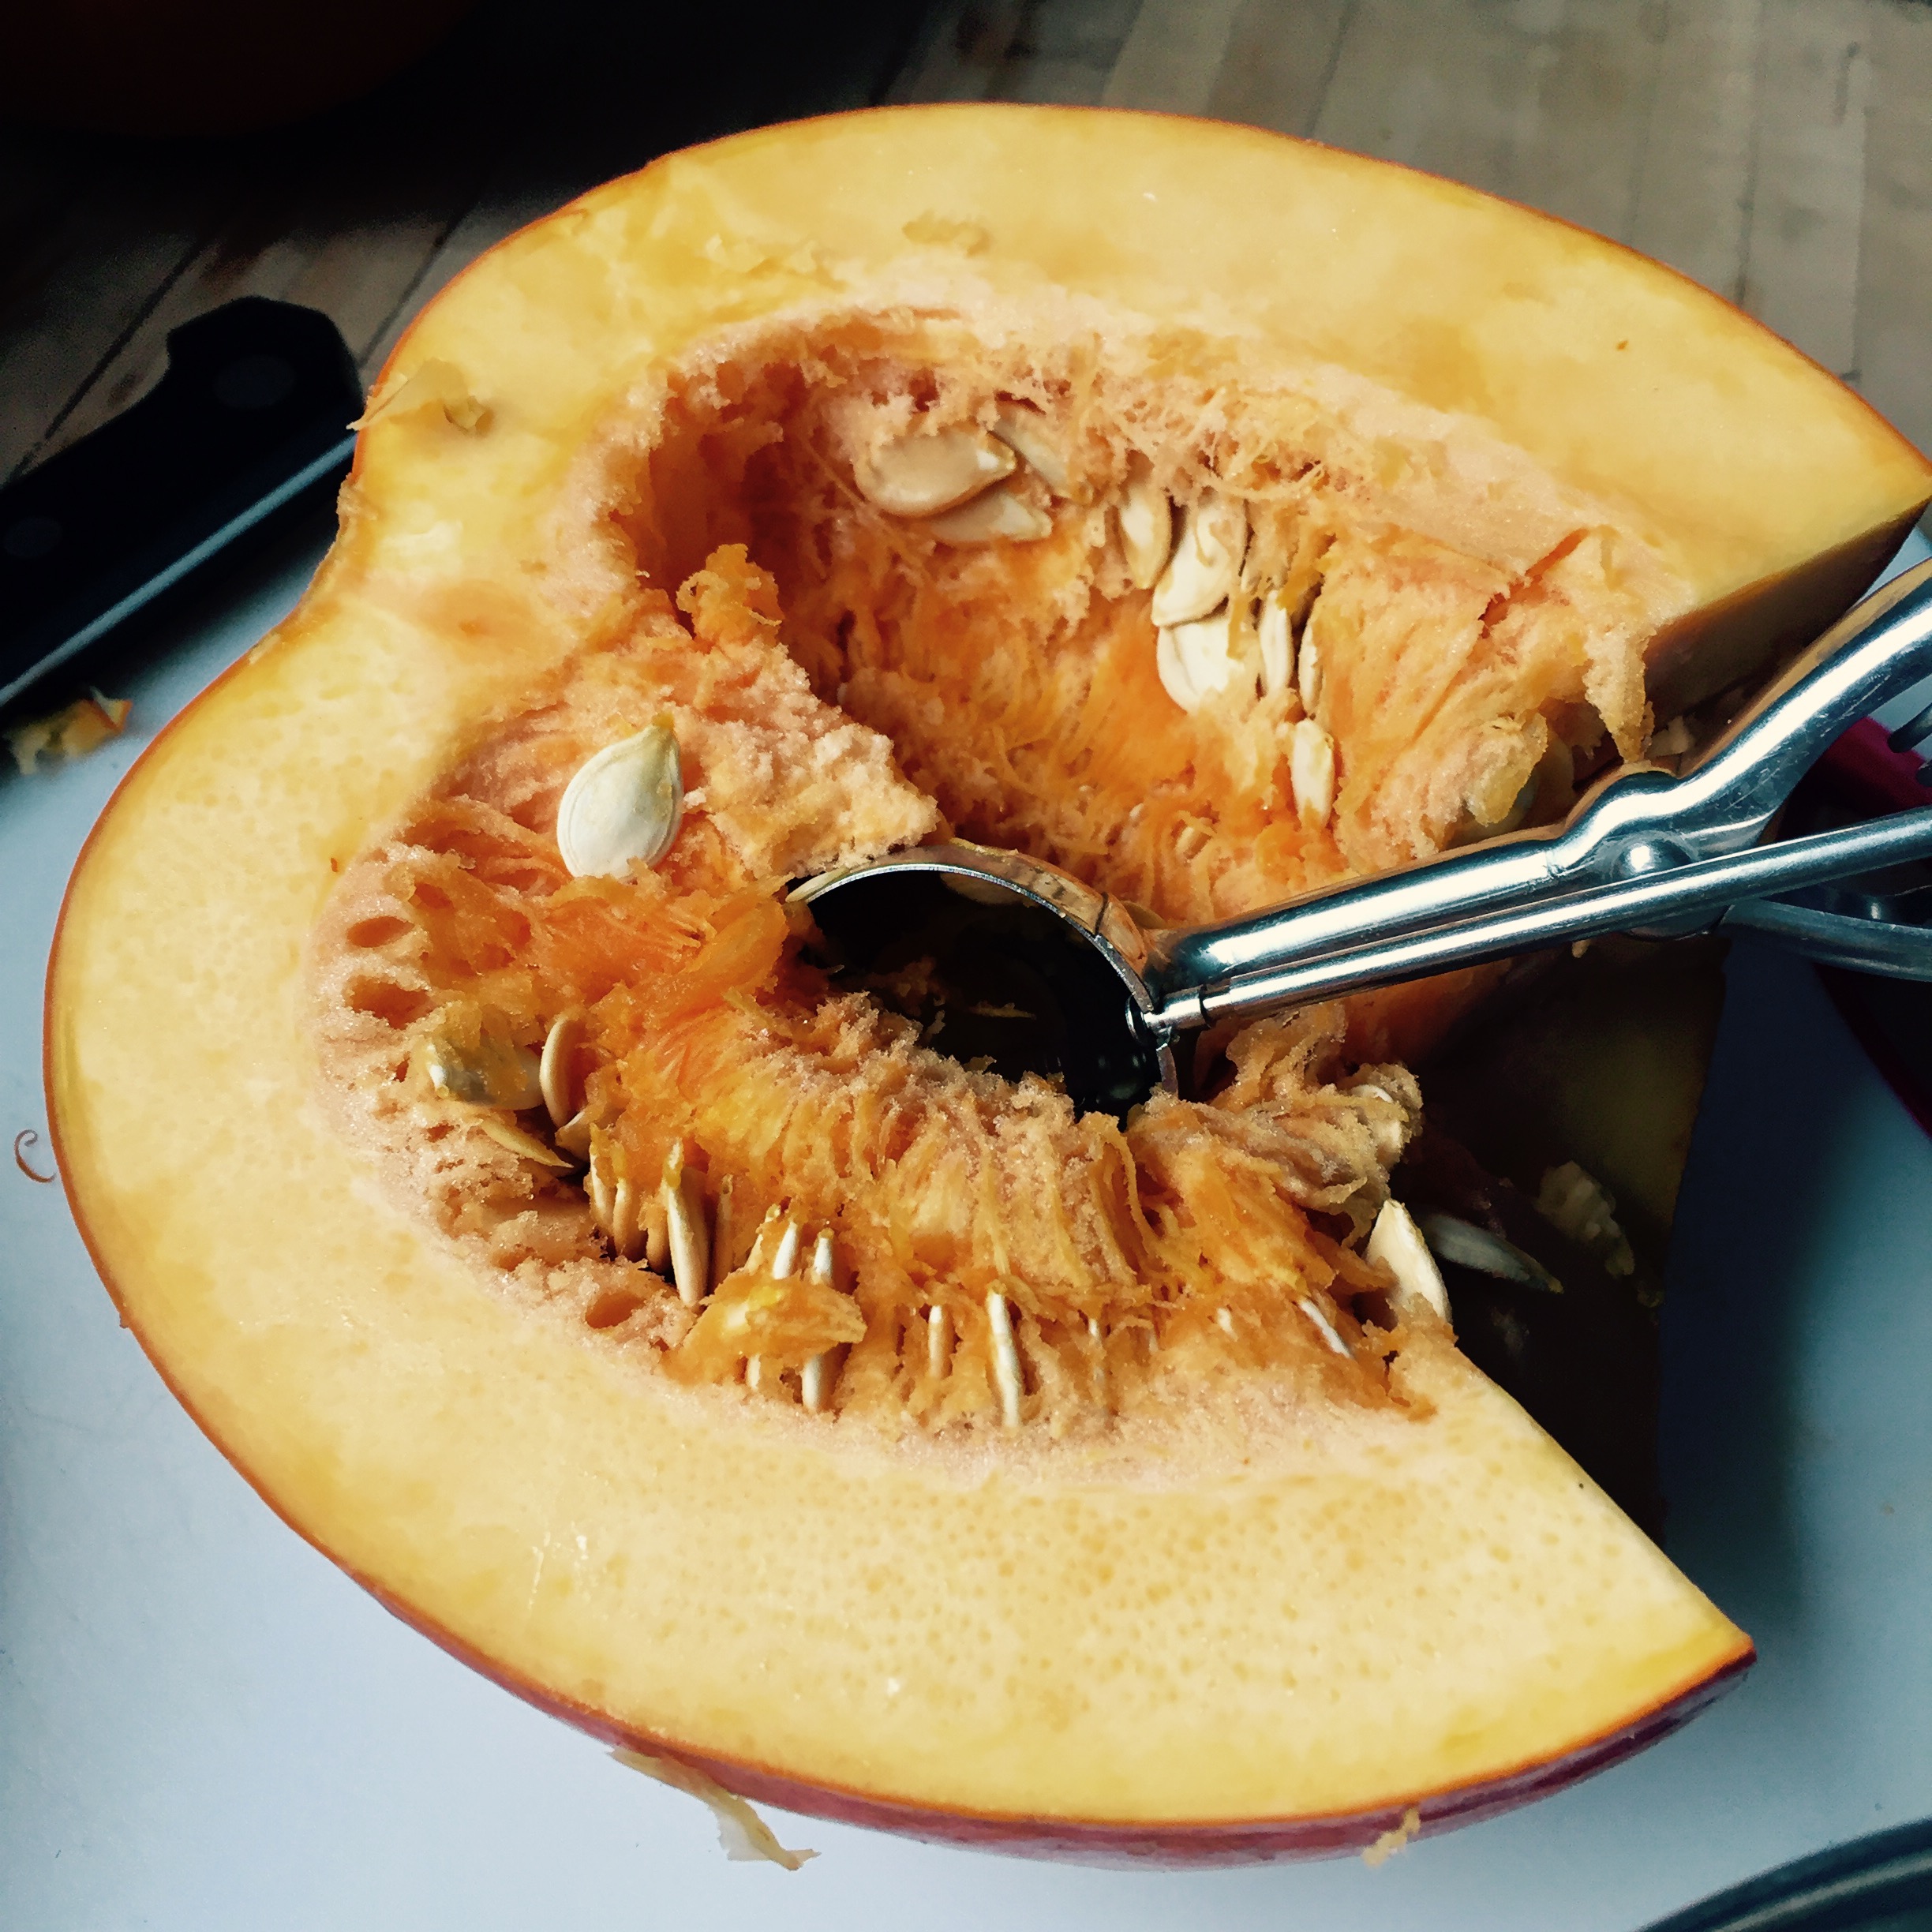
- Scoop out the seeds and stringy insides (make sure you leave the non-stringy part this is the pumpkin meat!), reserving seeds for roasting
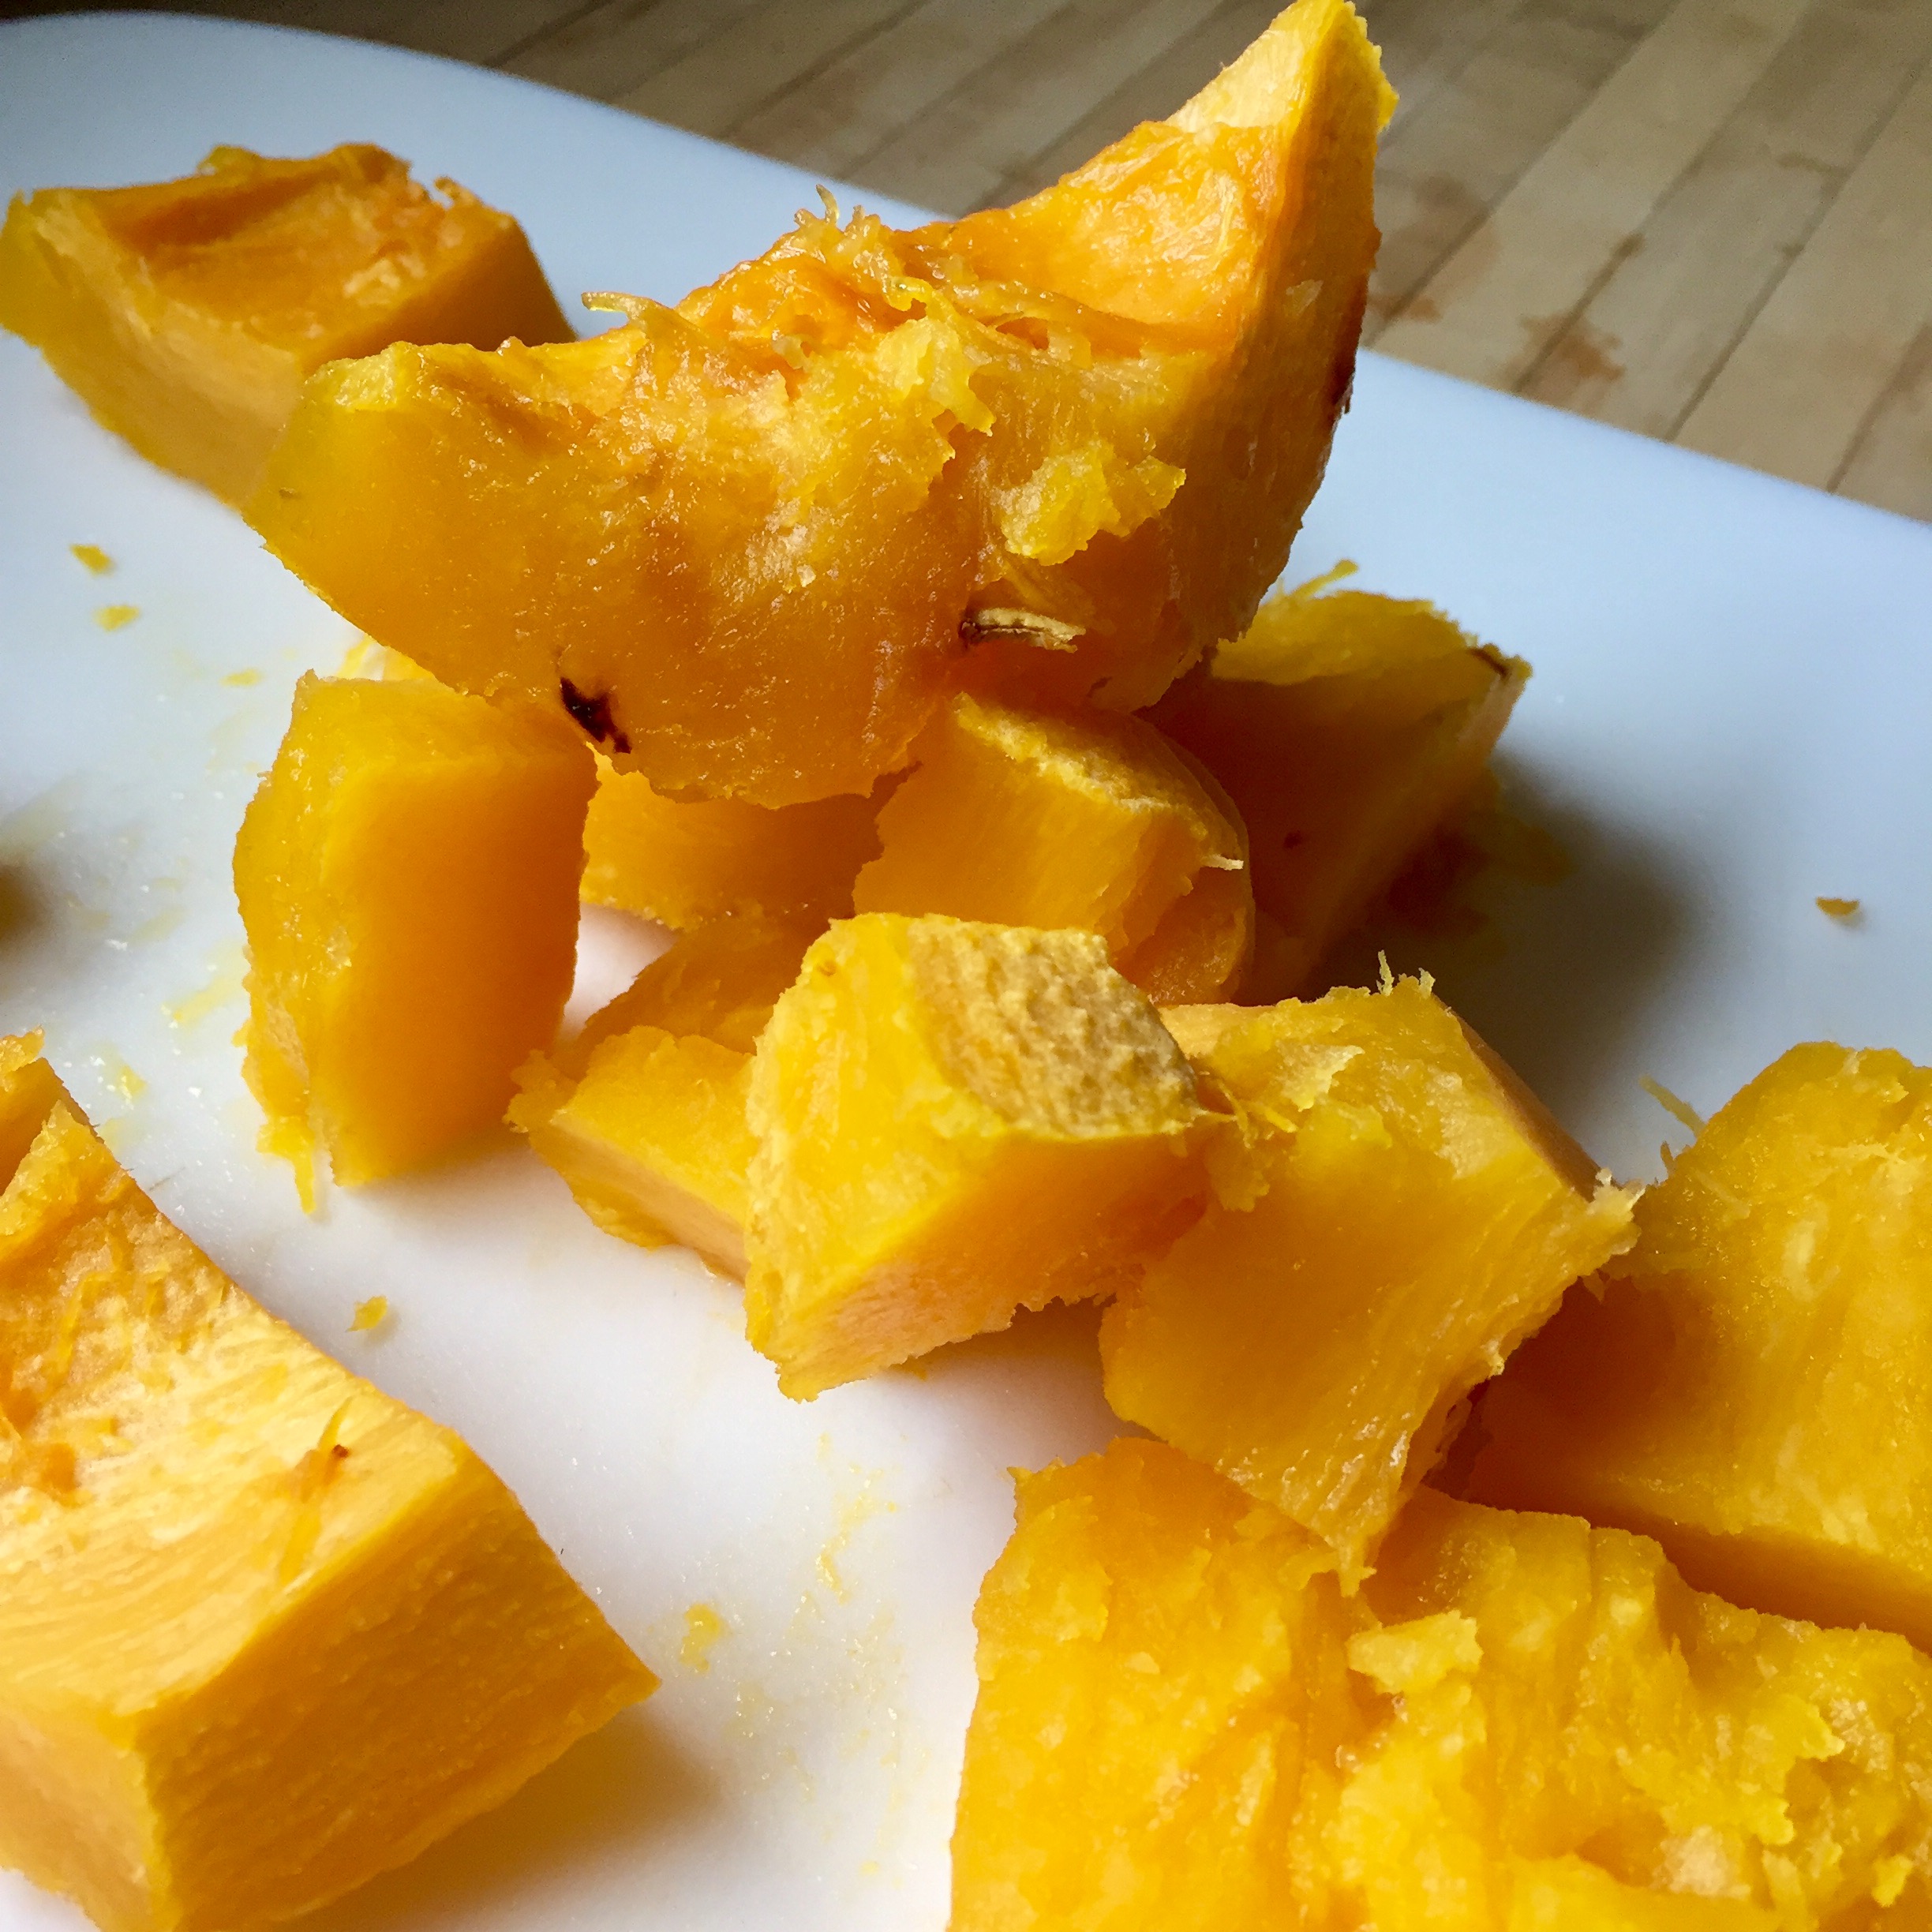
- Once the pumpkin in scraped clean, cut pumpkin into quarters
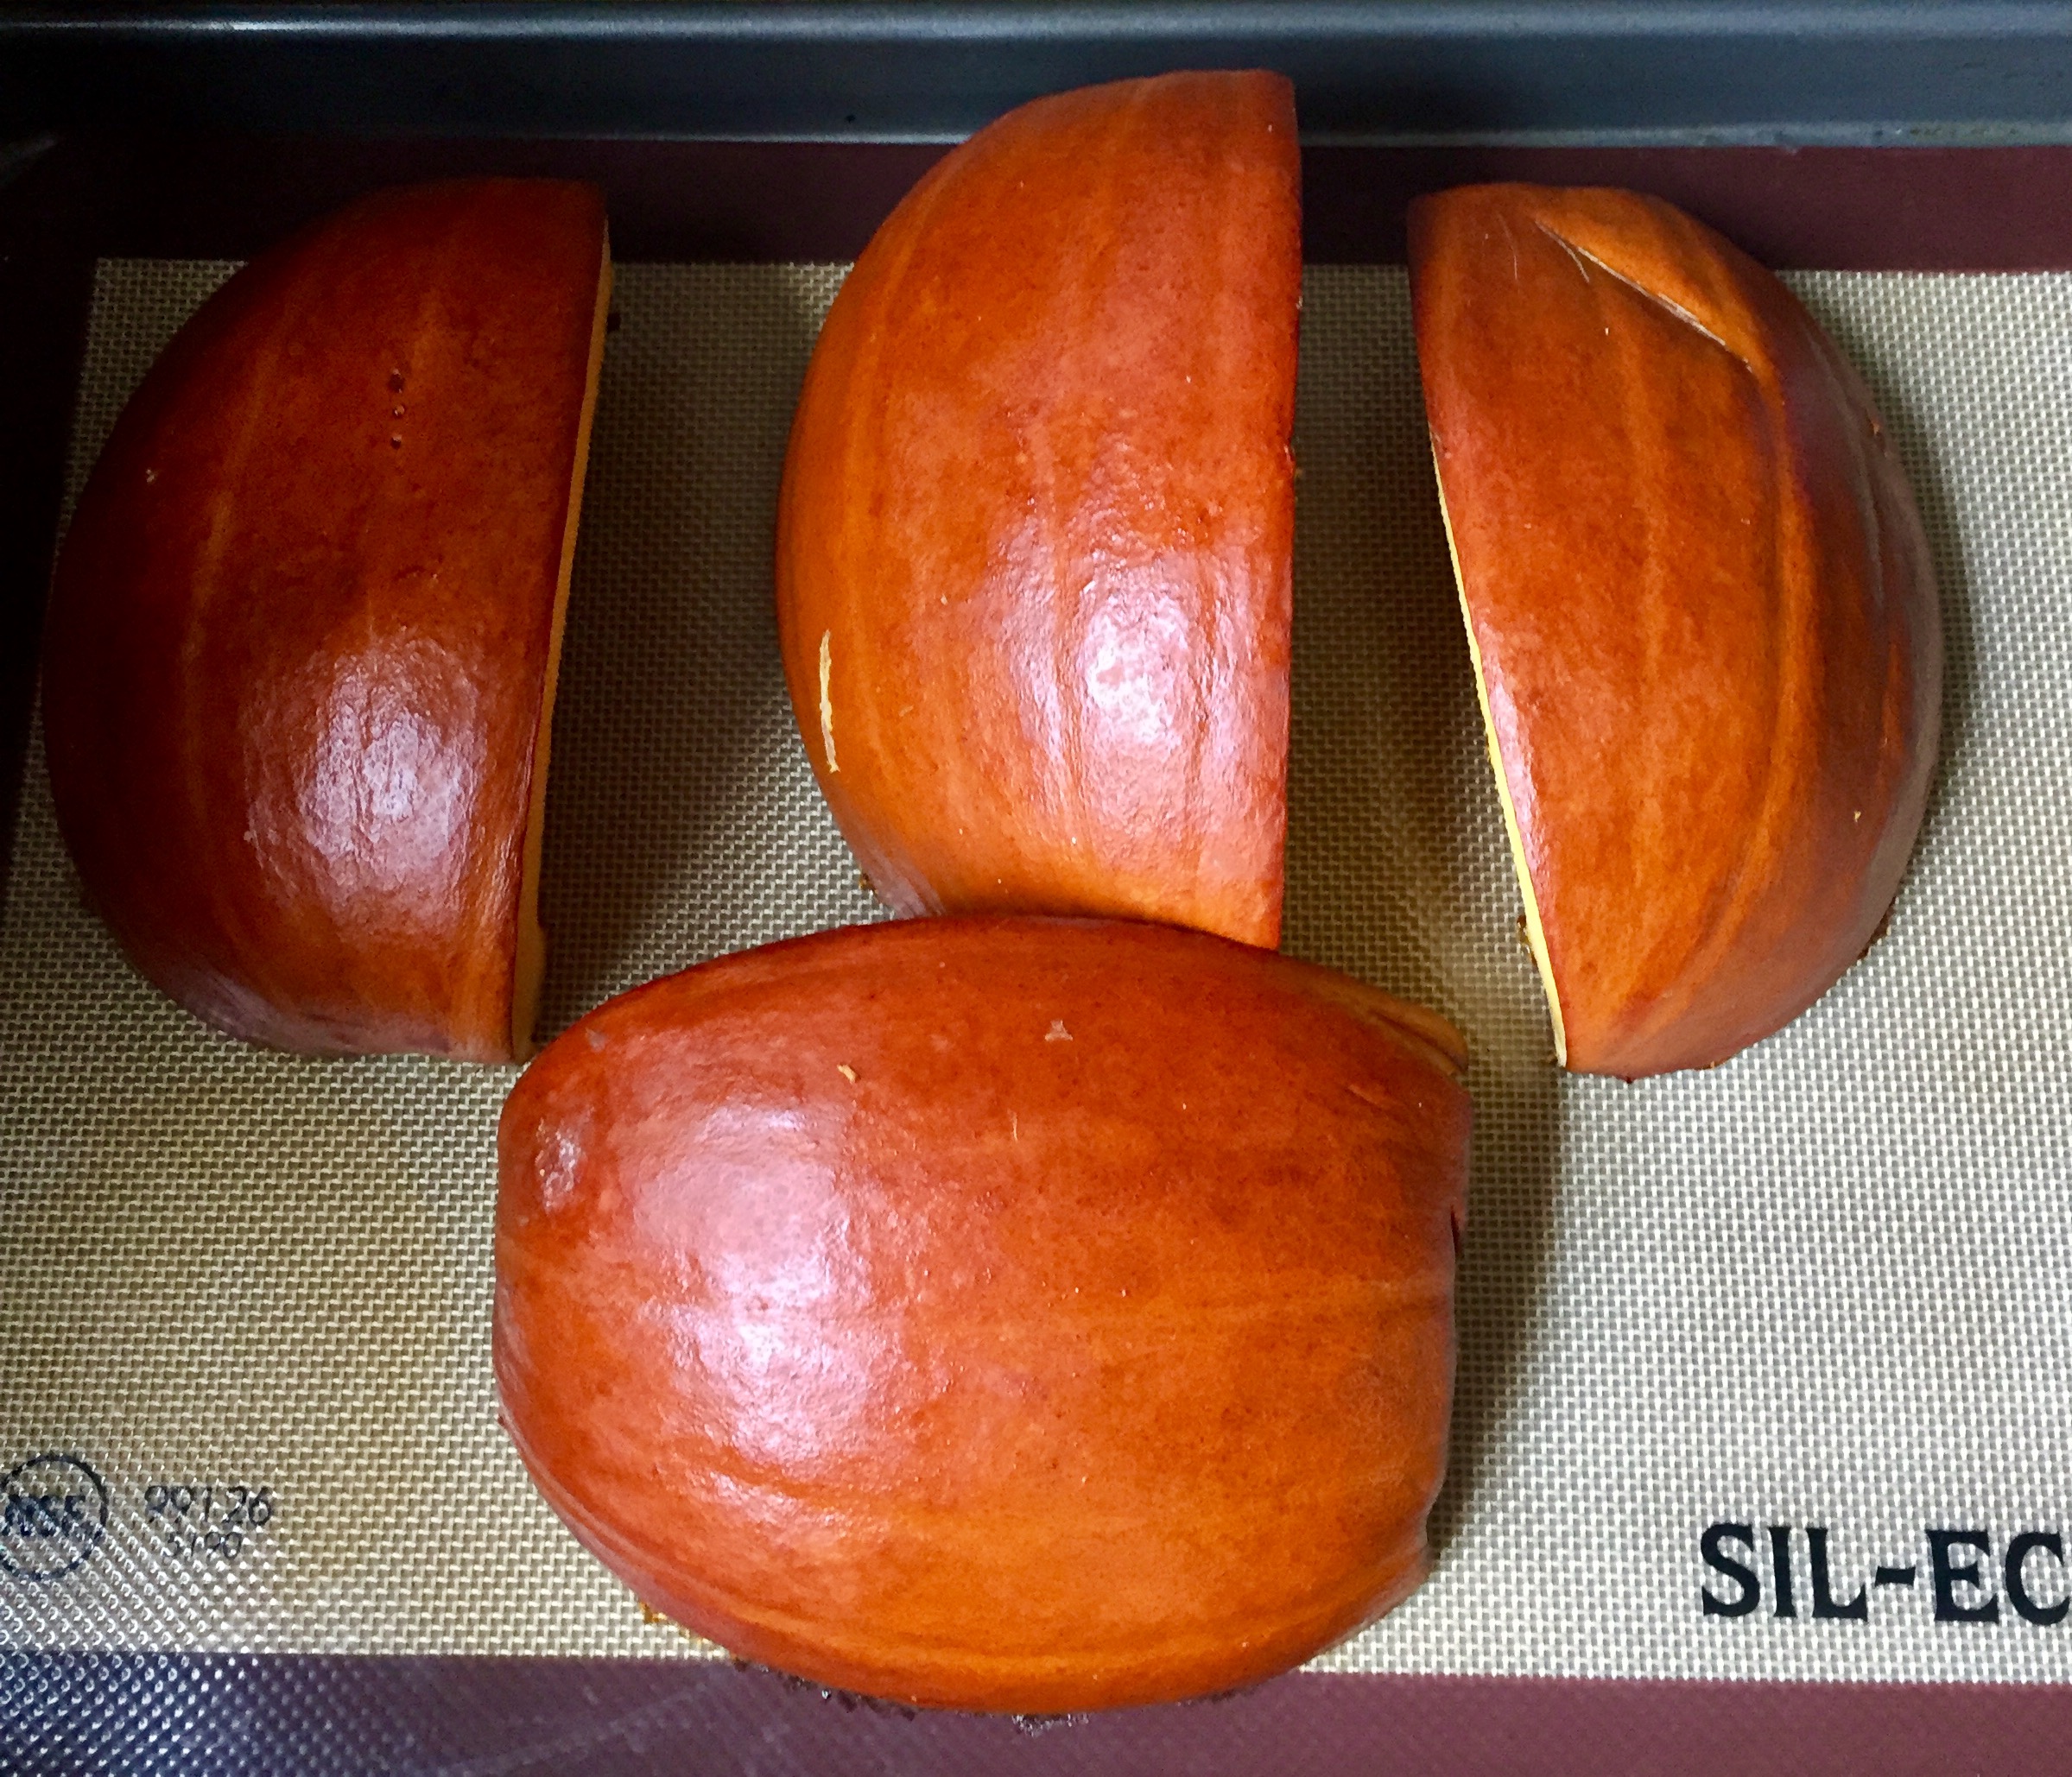
- Place the pumpkin quarters on a large cookie sheet covered with parchment paper or multiple cookies sheets if all the pumpkin does not fit on one
- Roast in oven for 45 minutes, or until the flesh is soft when pierced with a fork
- Remove the pumpkin from the oven and allow to cool until pumpkin can be touched
- Gently peel the skin off of all of the pumpkin pieces, discarding skin
- Roughly chop pumpkin into smaller pieces
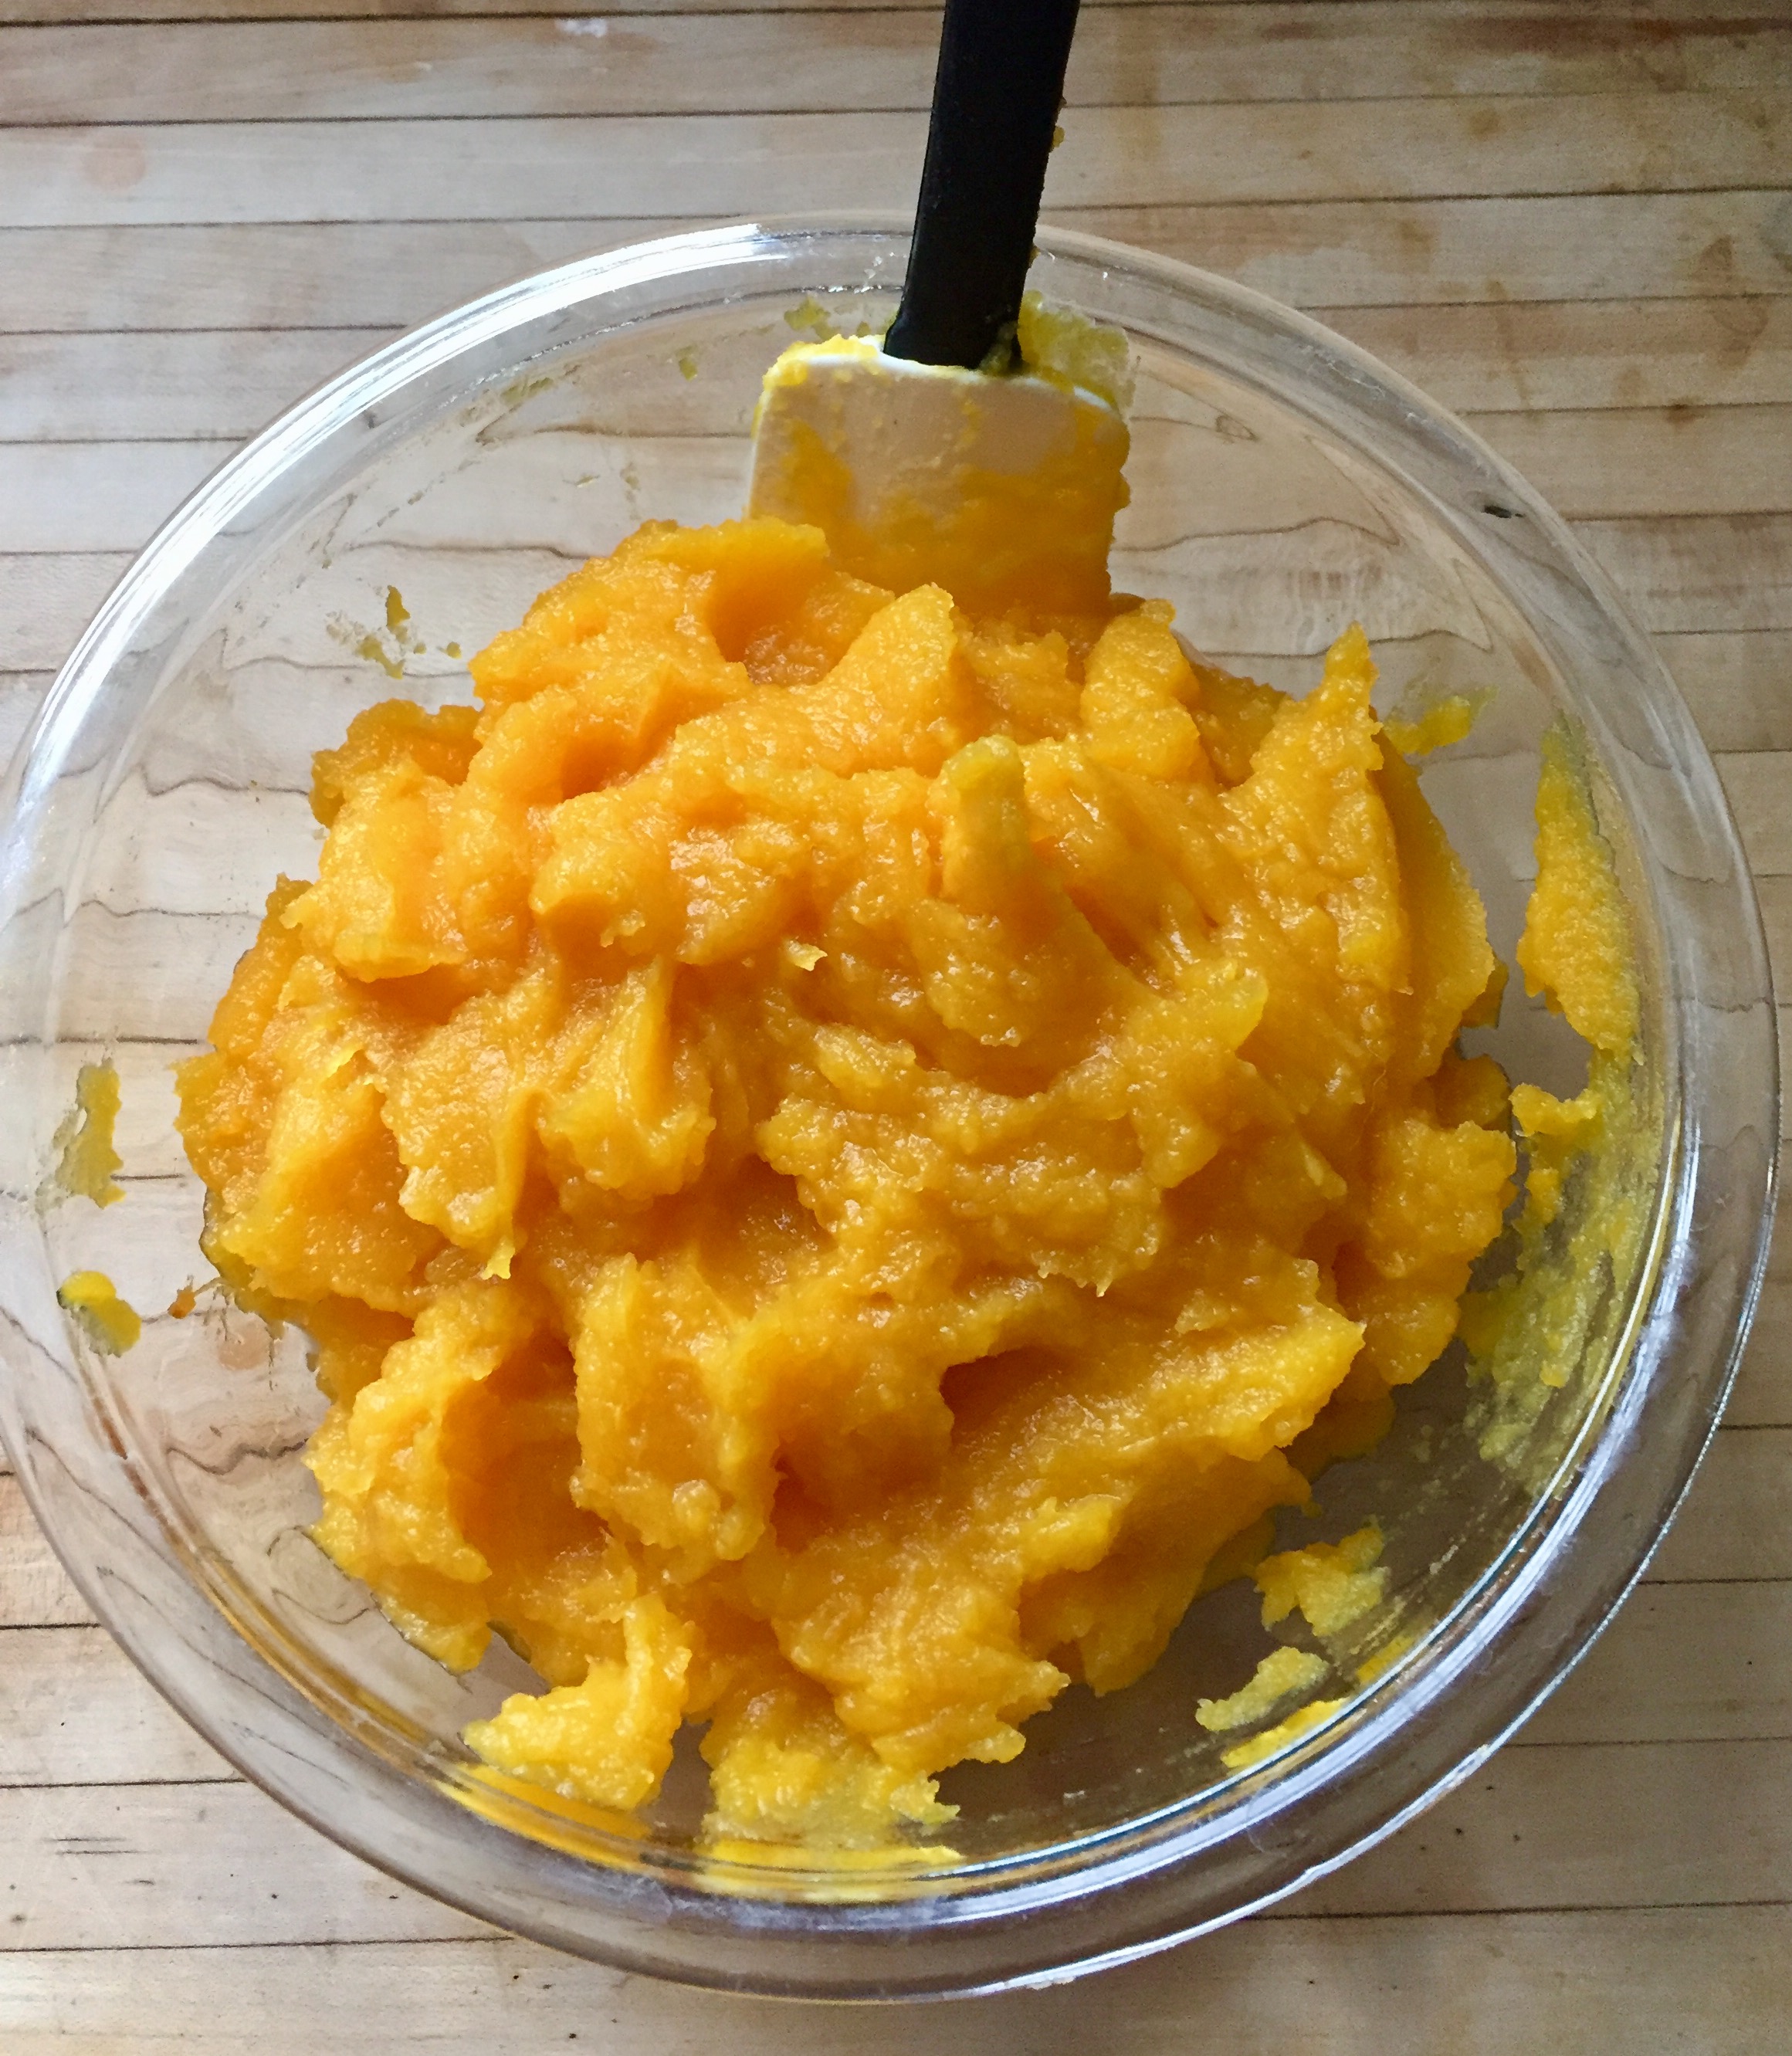
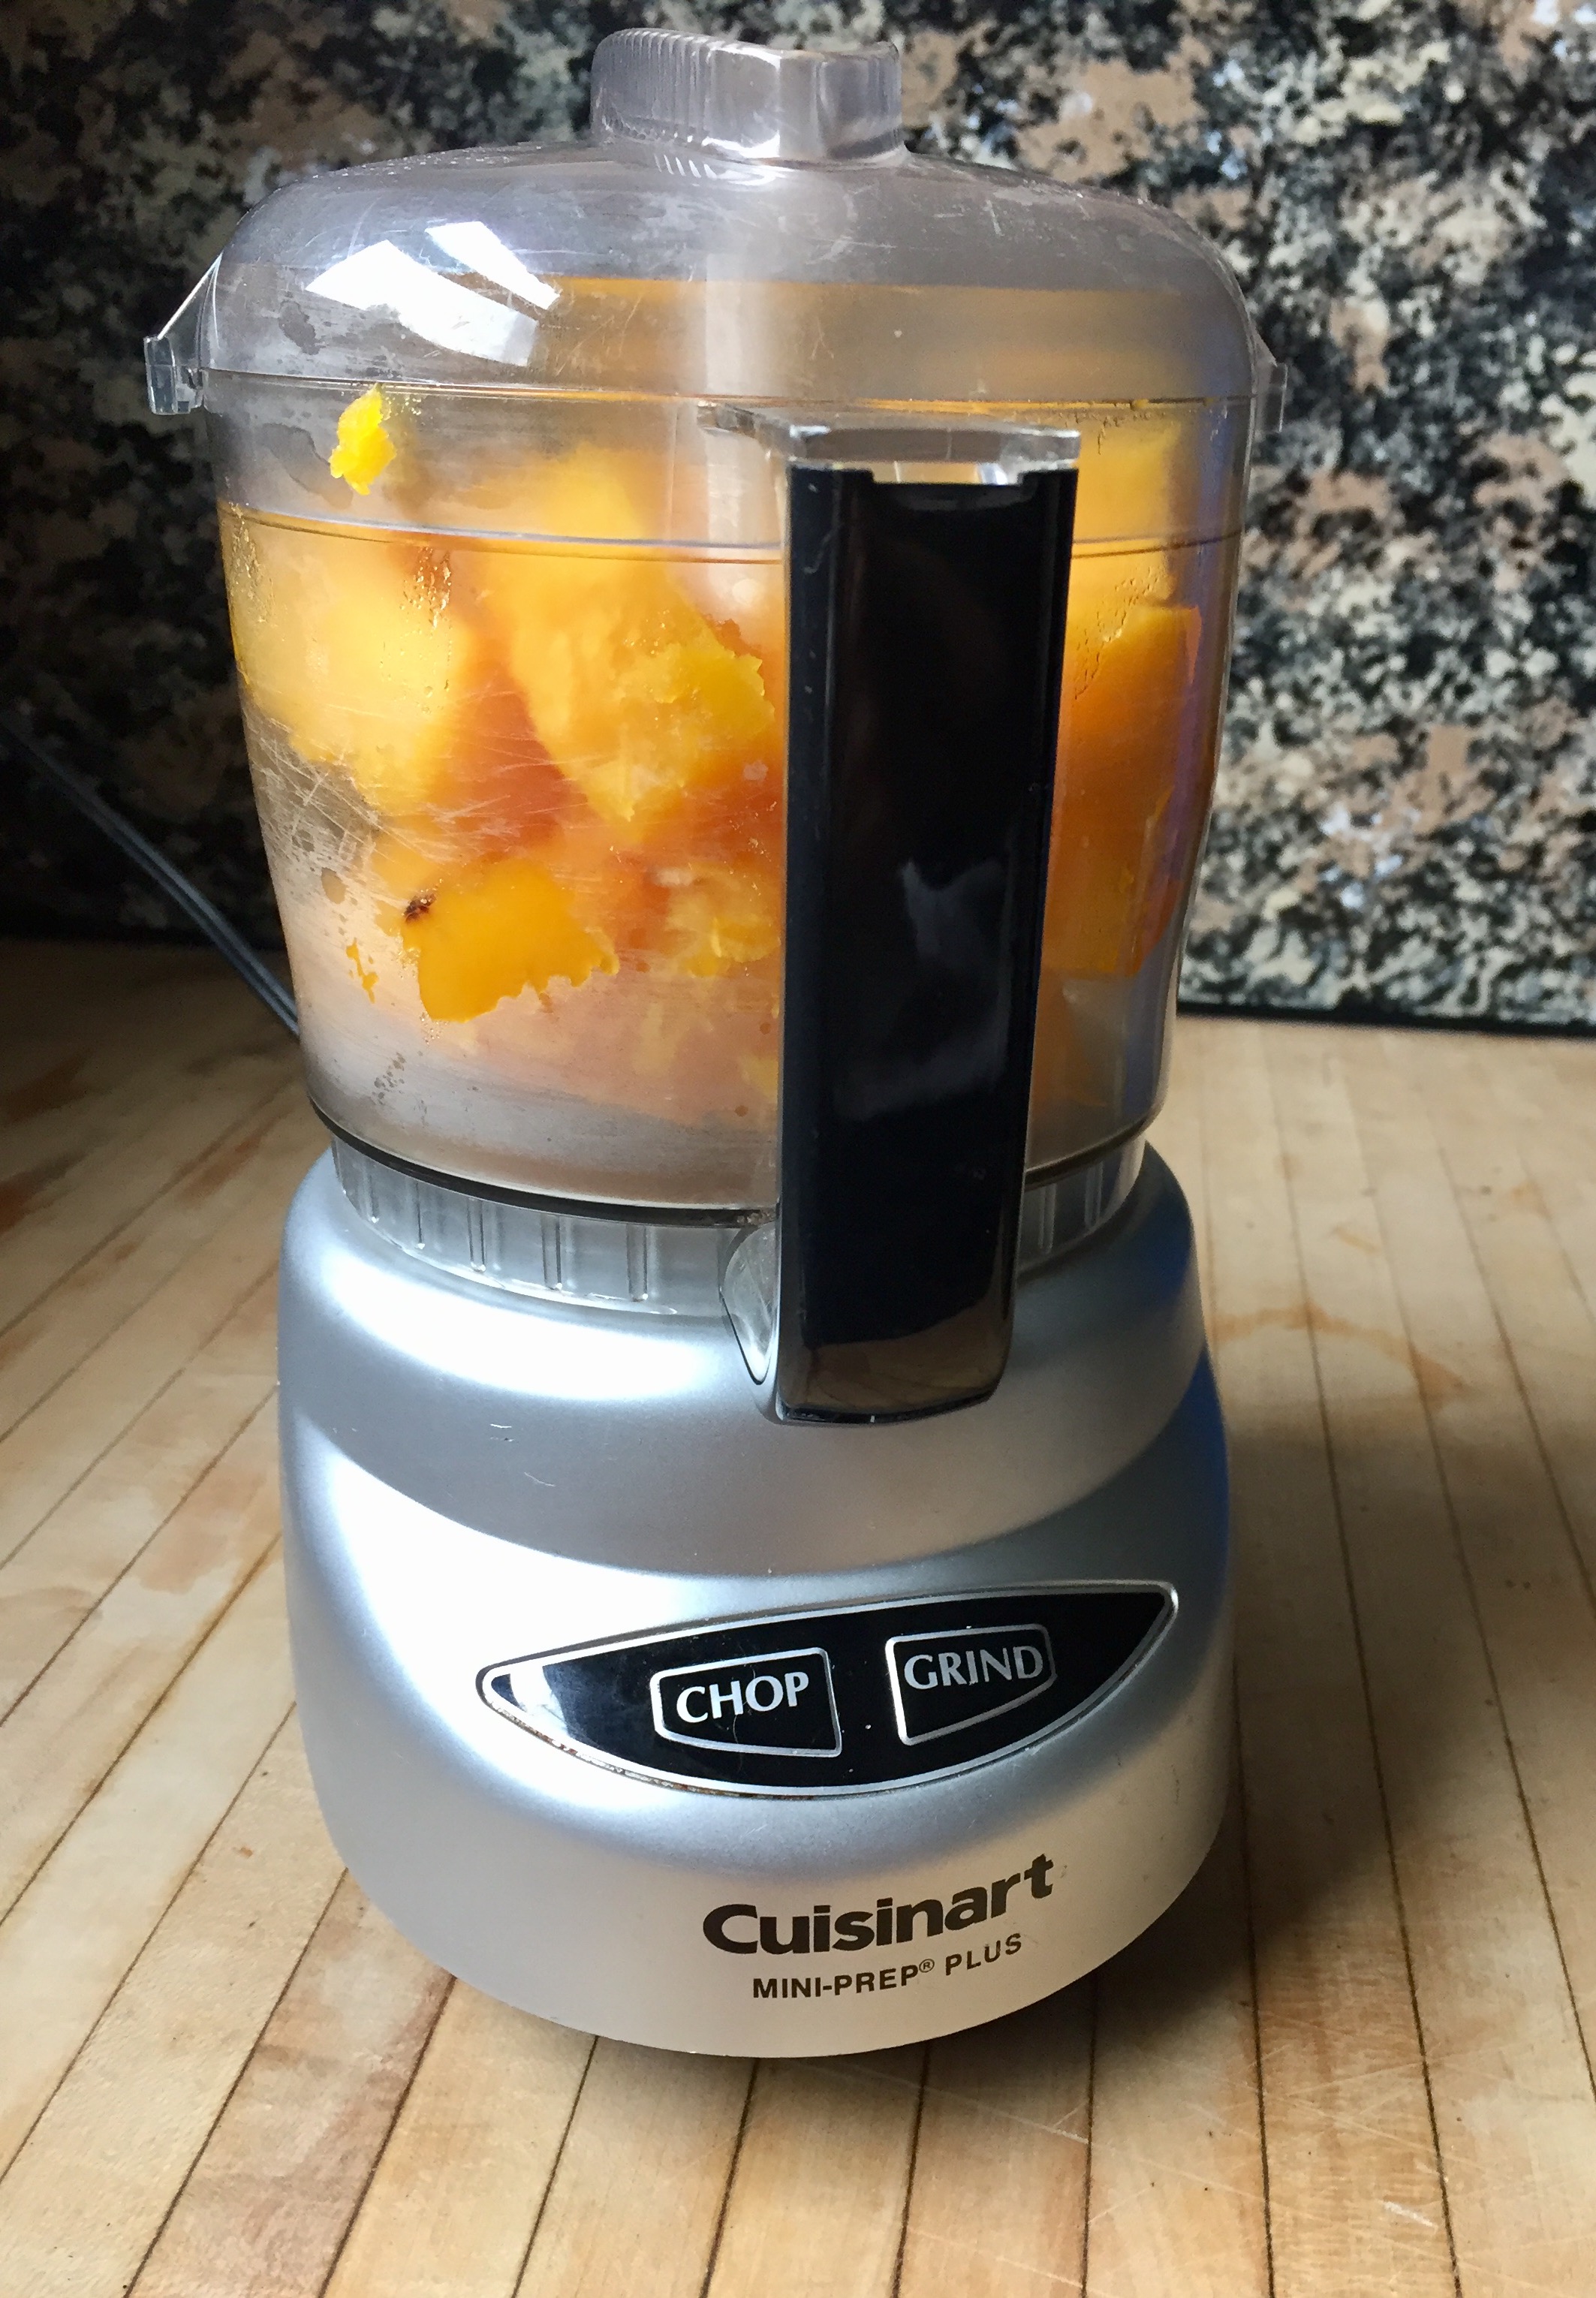
- Using a food processor or food mill, smash pumpkin to desired consistency-if necessary,work in batches to ensure you do not crowd the pumpkin in the processor/mill
- Store in an airtight container and use or freeze within 5 days. Puree can be frozen for up to 9 months

Tips
- A food processor is really the best way to get the creamy consistency similar to the pumpkin in a can. If you do not have a food processor or food mill, you can use a potato masher and mash by hand, but the puree will have more chunks. You can use a hand mixer or immersion blender to smooth out the puree after using a potato masher.
- Since this puree has no ingredients or spices added, be sure that when you bake or use it, you do not use it in place of “Pumpkin Pie Puree” as this has had spices added to give it that “pumpkin pie” flavor. You will need to add cinnamon, nutmeg, sugar, cloves, etc. to your preference when using this pumpkin. To me this is great as then I can control how much of it goes in and pull back on spices I might find overpowering (cloves I’m looking at you!)