Fall's Best Apple Pie

Last week I talked extensively about my love of all things fall and apples. If you missed it check it out here. This week, I will share the first of my apple recipes, the classic, the one and only Apple Pie.
There are as many ways to make an apple pie as there are people in this world. Some use lots of seasoning, some use very sweet apples, some use tart apples, some use sharp cheddar cheese on the side. No matter how you make or serve the pie though, there is something about apple pie that makes us all stop and breath in deeply. Maybe we are taken back to our favorite relatives kitchen, where we sat on stools and watched the pie magic happen. Maybe it’s our favorite restaurant’s seasonal special or our favorite orchard’s fresh baked on site apple pie slices. Or maybe it’s just that apple pie makes an appearance at all of our favorite gatherings and when we see or smell apple pie, we think of those we love and like and feel happy for that moment.
Whatever the reason, fall is not fall without a piping hot pie with apples bursting with flavor and just picked freshness. However you do it, whenever you do it, make a pie with and for people you like and love because pie is best served with loved ones.
Fall’s Best Apple Pie
Prep Time: 30 minutes | Total Time: 1 hour 15 minutes, plus cooling | Serves: 8
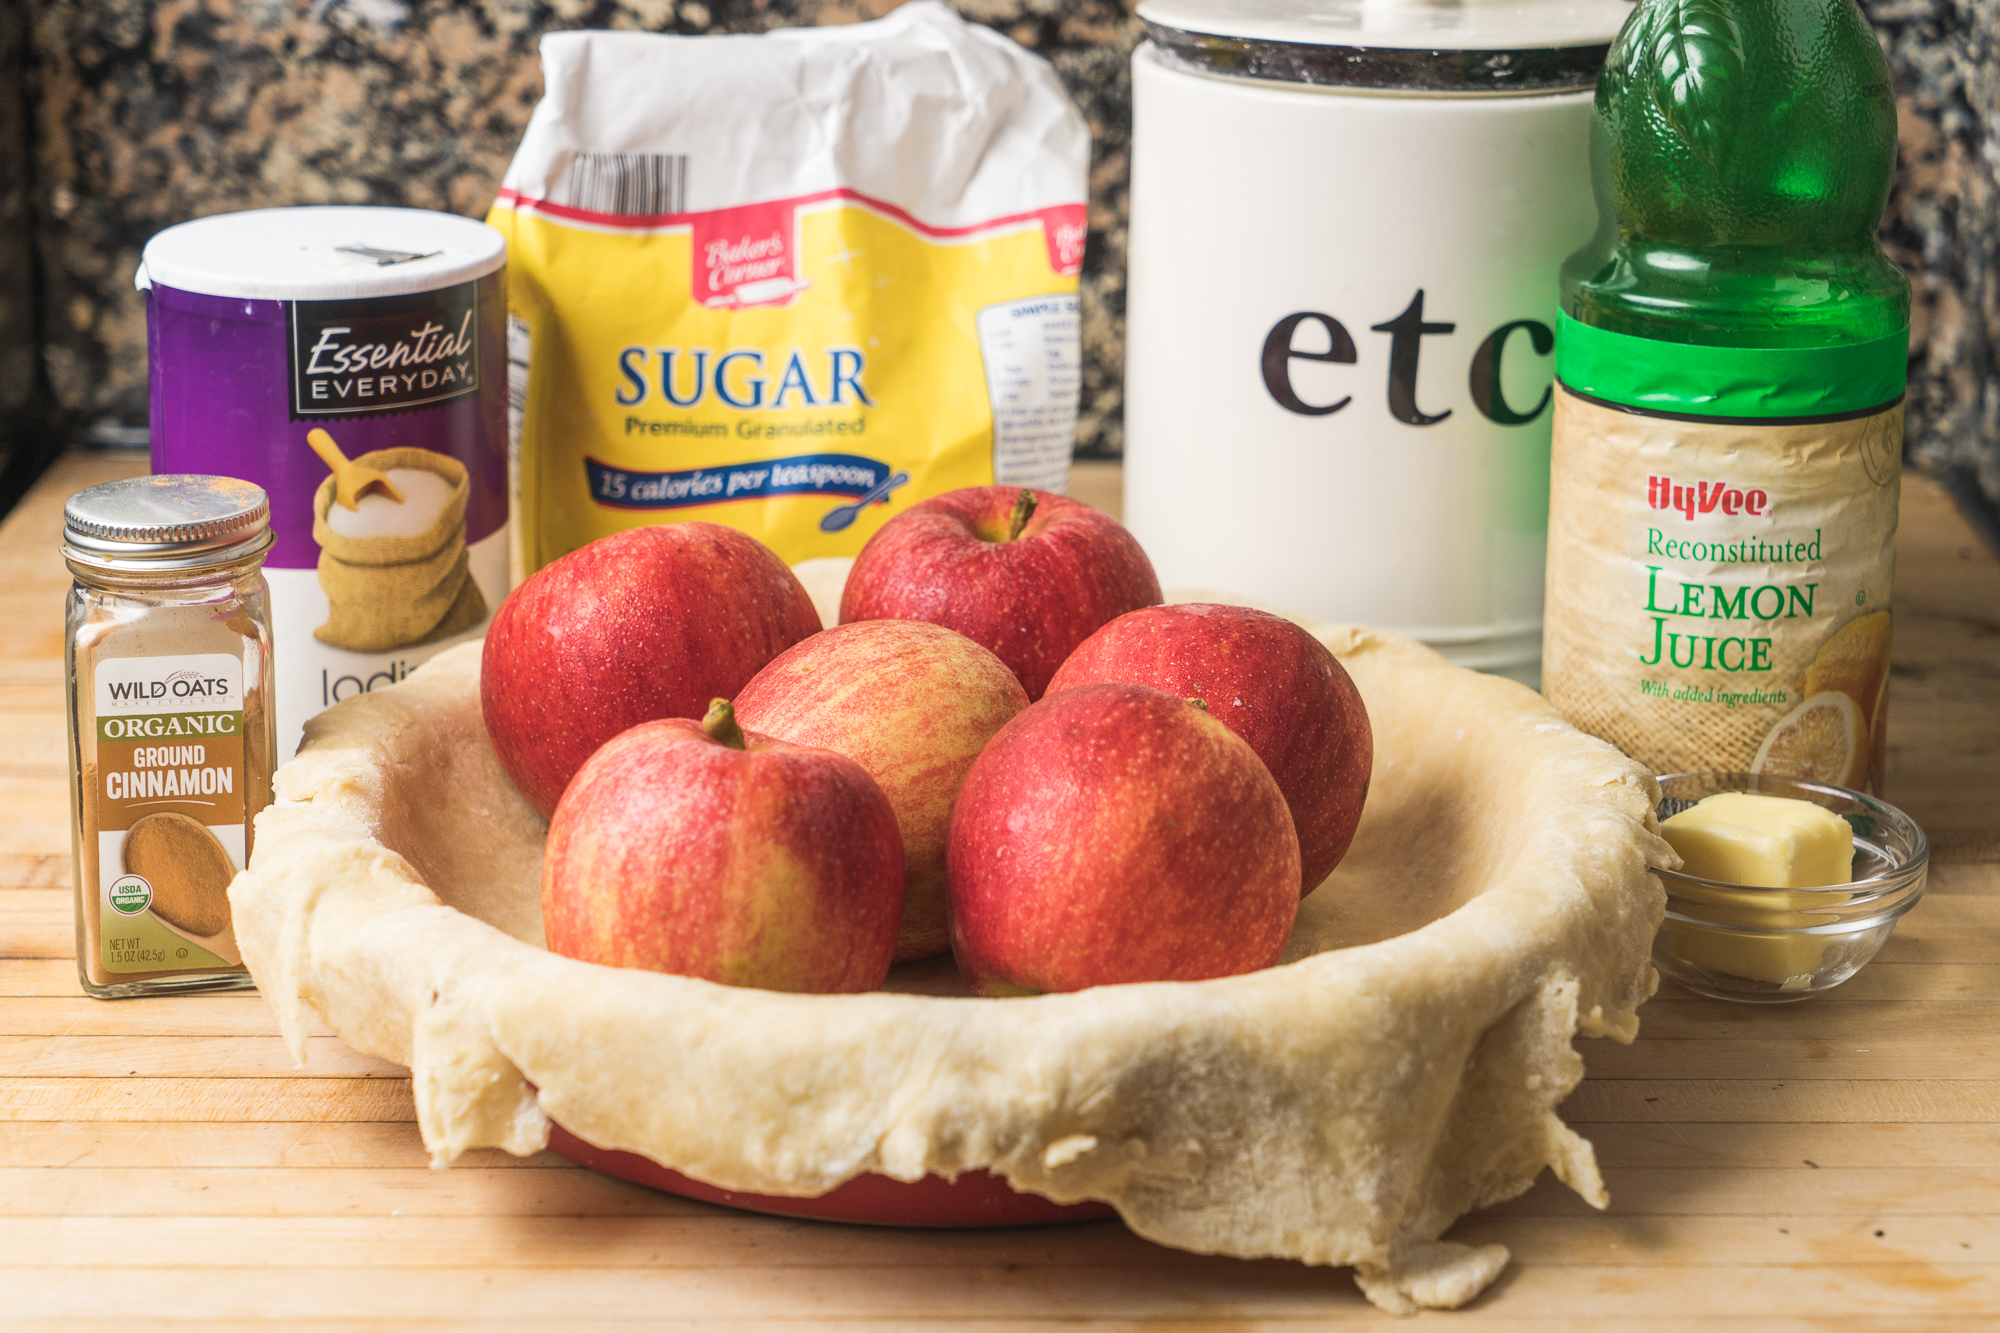
Ingredients
- 2 9 inch pie crusts (homemade or store bought)
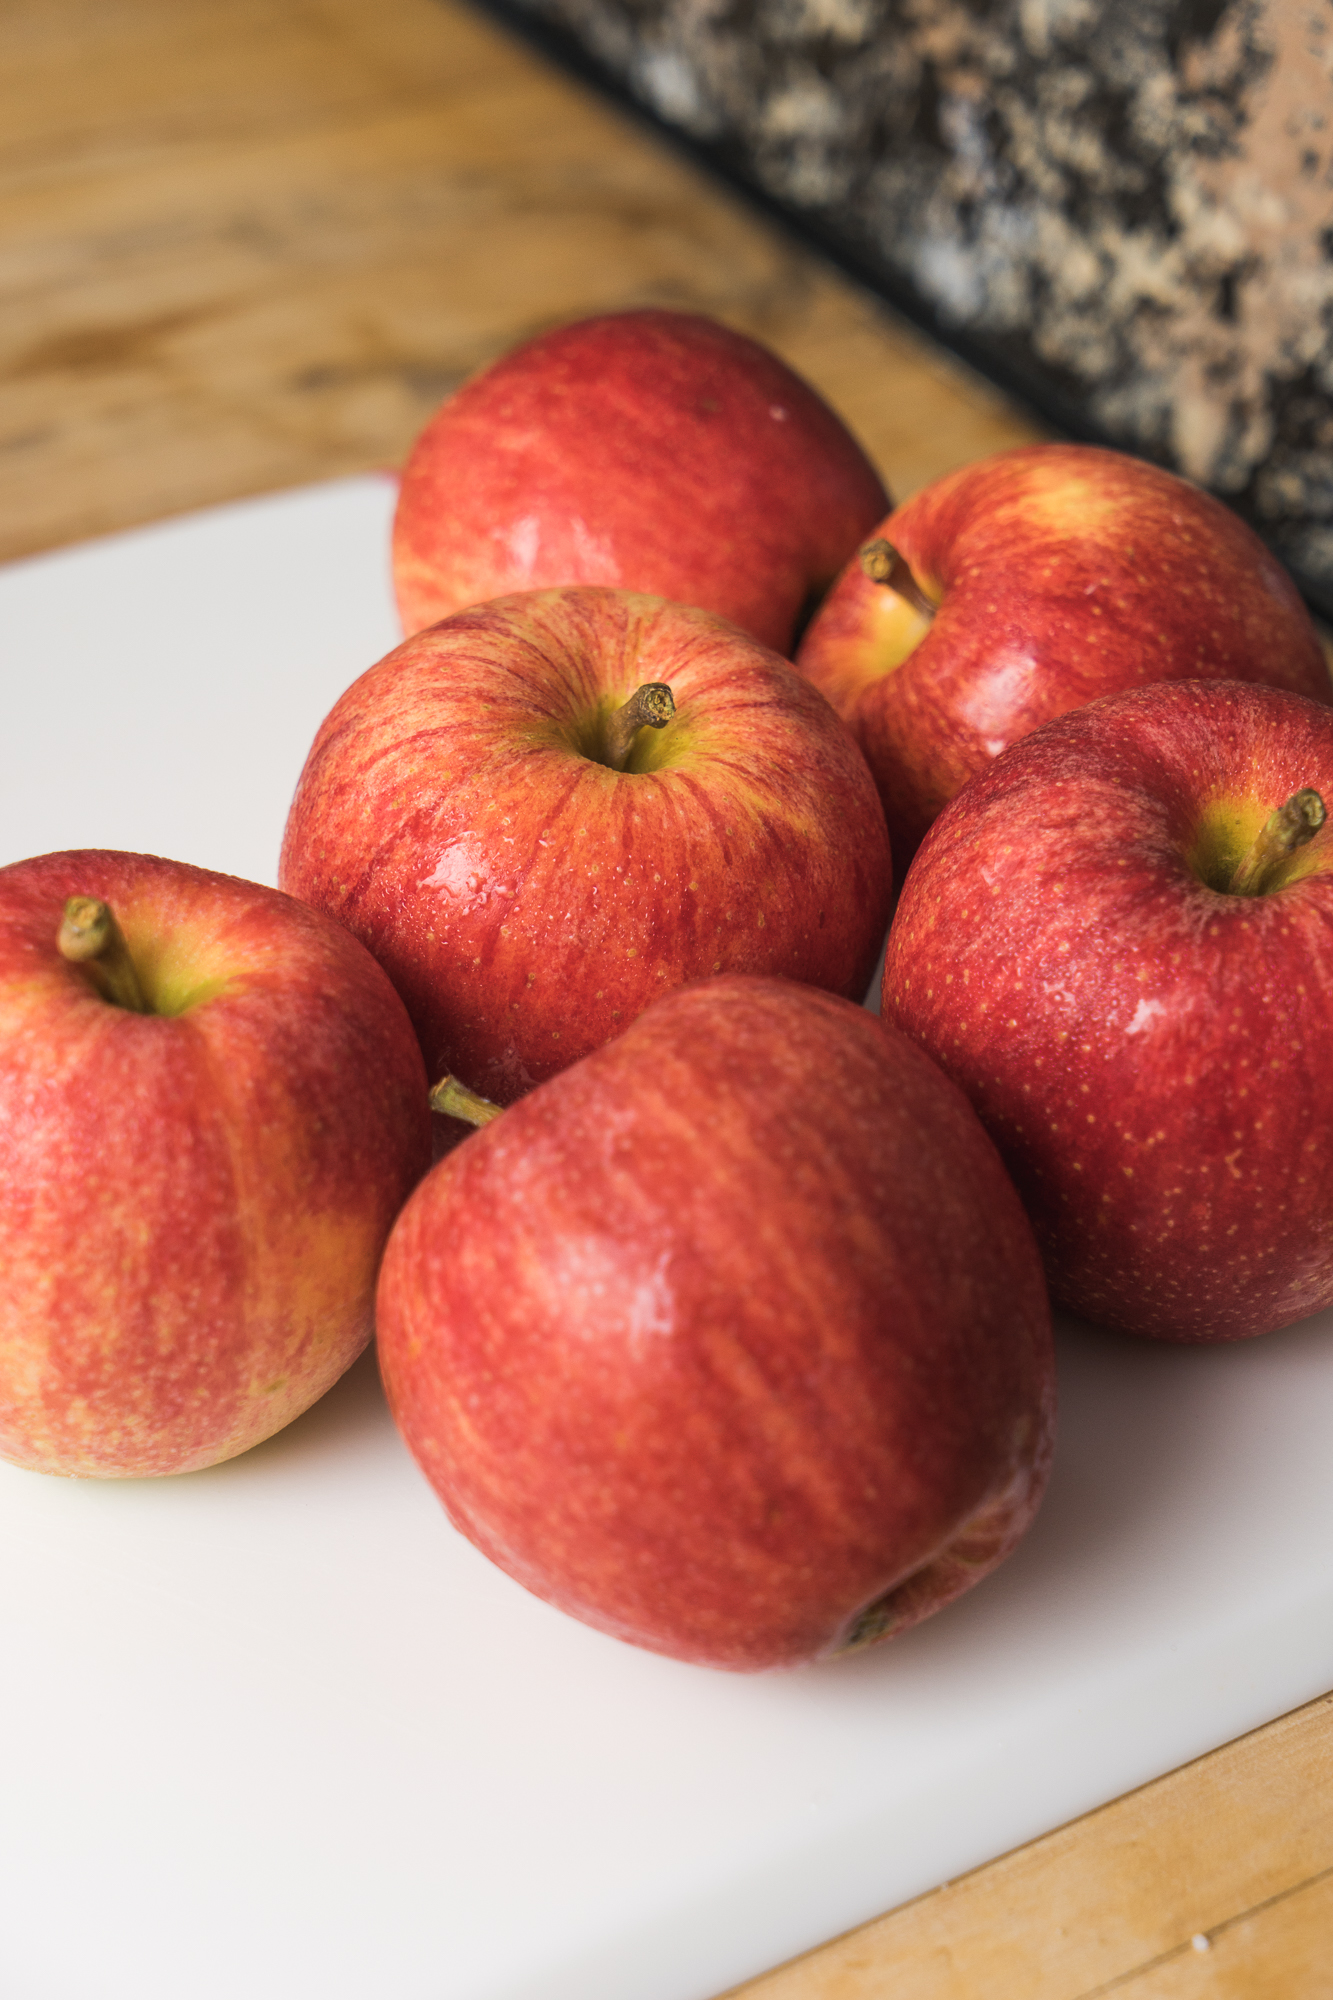
- 5-6 medium sized apples (Gala or Golden Delicious are good choices here)
- 3/4 cup sugar and 2 tablespoons sugar, divided
- 3 tablespoons flour
- 1 tablespoon lemon juice
- 1/2 teaspoon cinnamon and 1/4 teaspoon cinnamon, divided
- 1/4 teaspoon salt
- 2 tablespoon unsalted butter
Directions
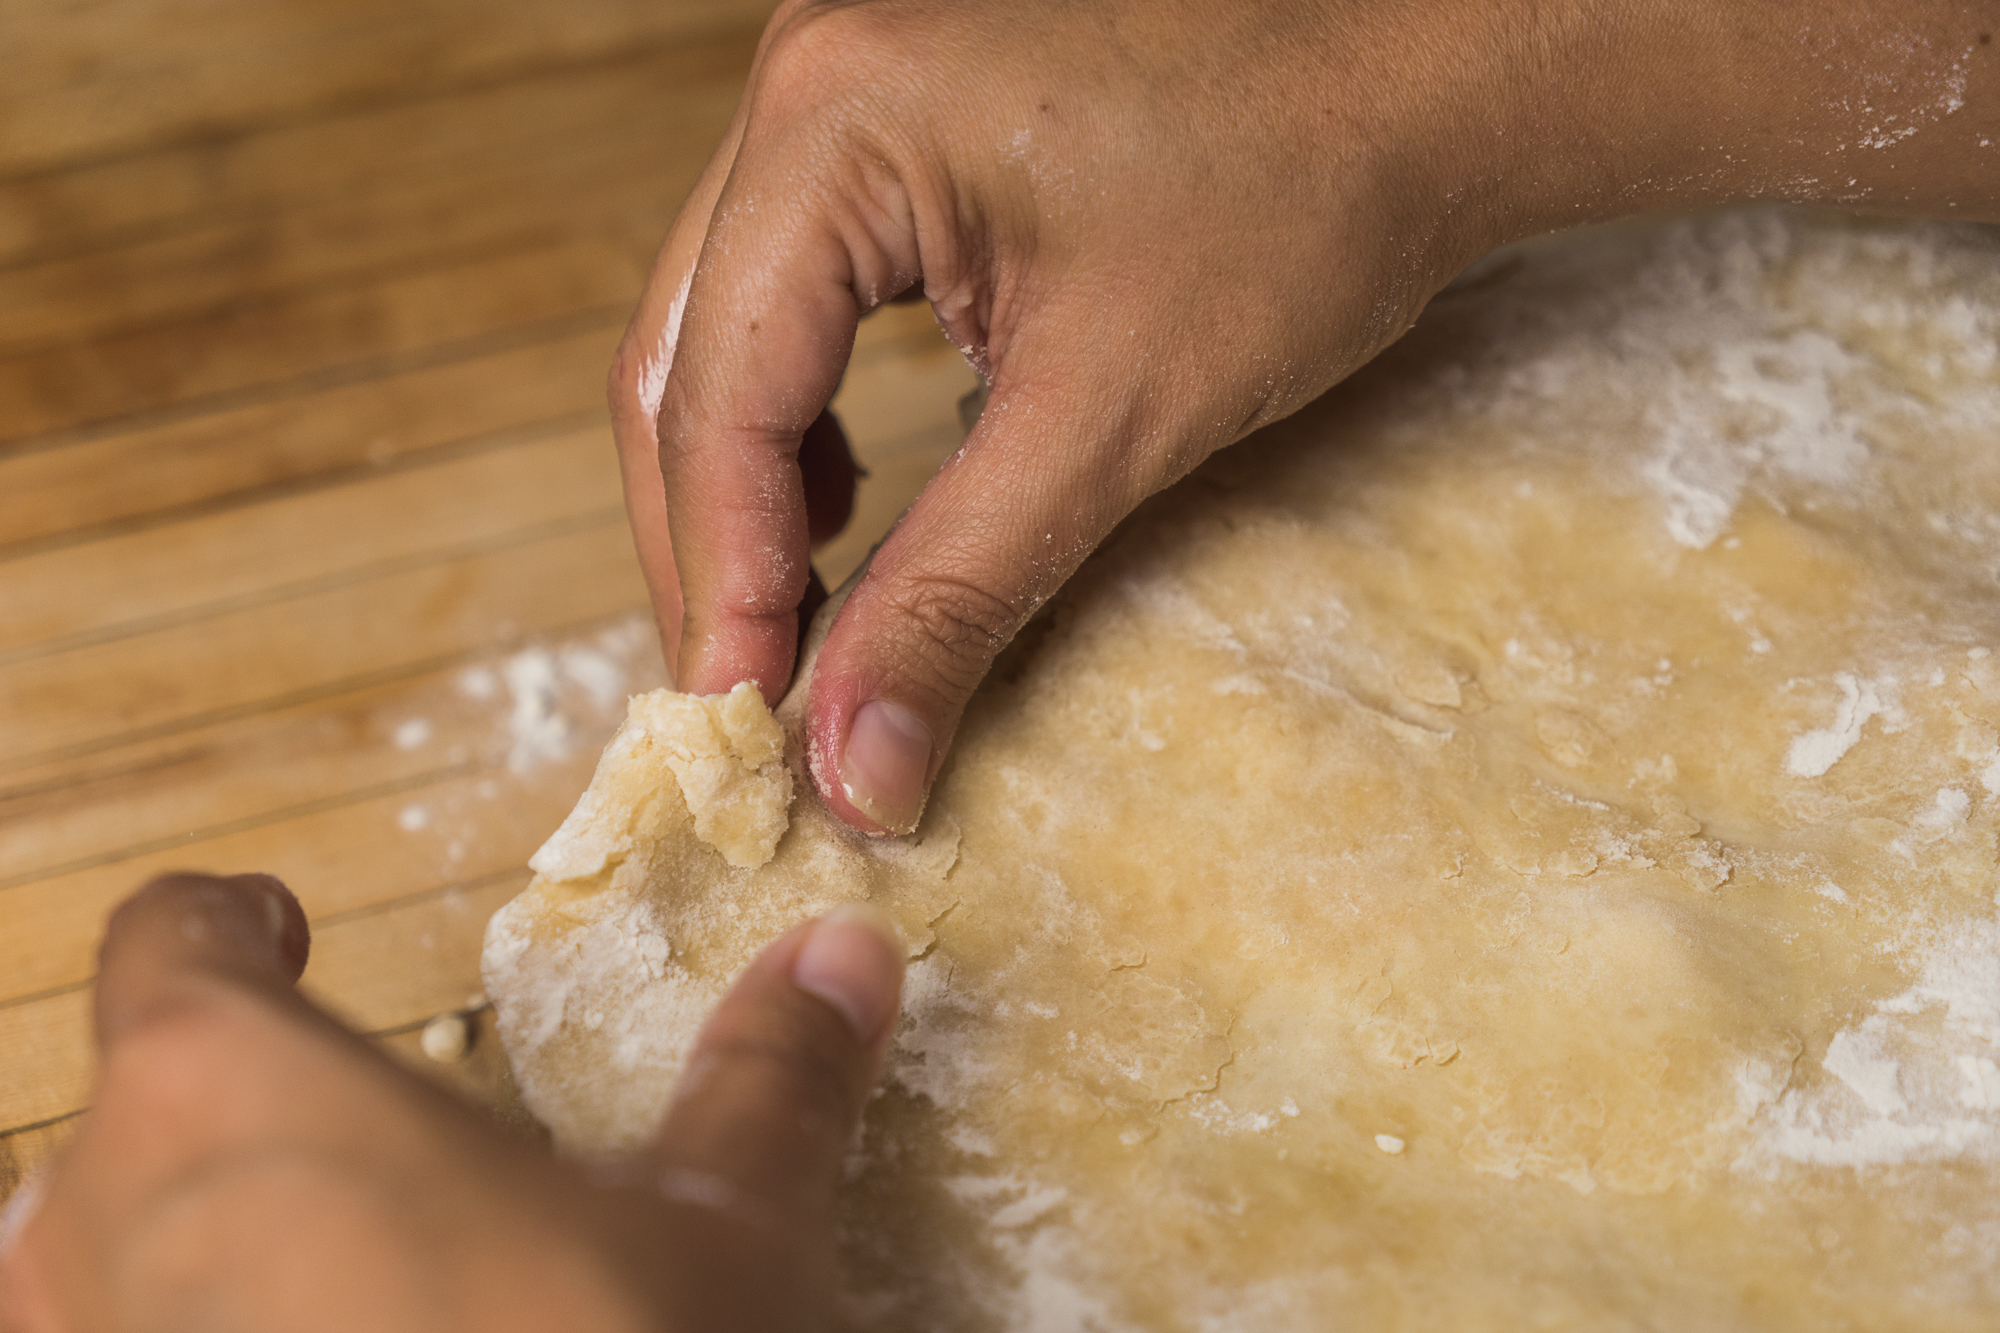
- Roll out one of the pie crusts (make it about 13 inches measured from end to end) and placed in a well greased 9 inch pie pan making sure a bit of the bottom crust hangs over the pan.
- Roll out second pie crust to about 12 inches measured from end to end and place in the refrigerator for use as the top.
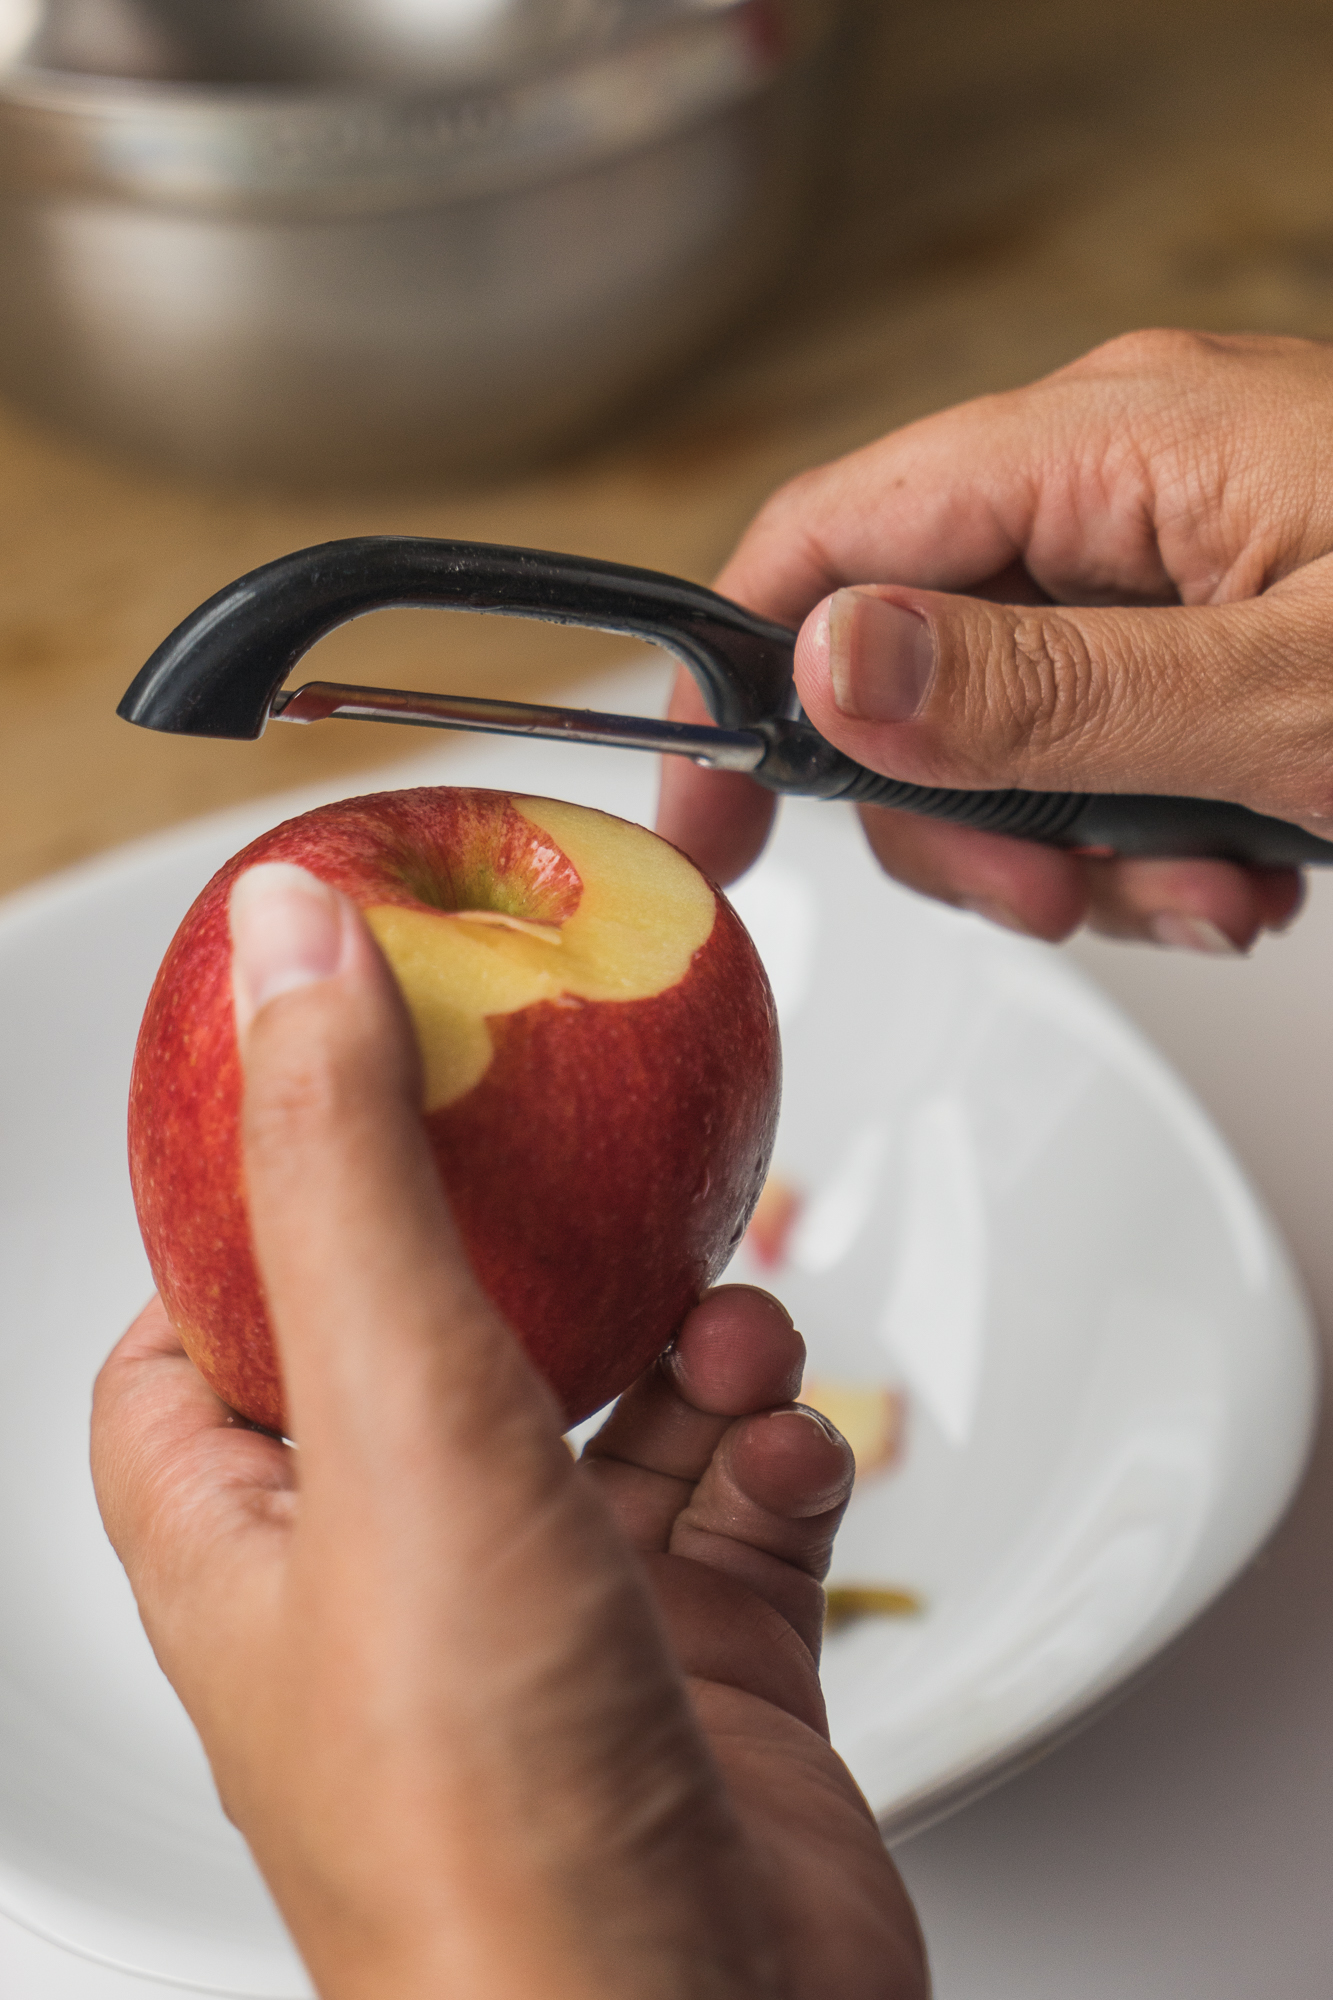
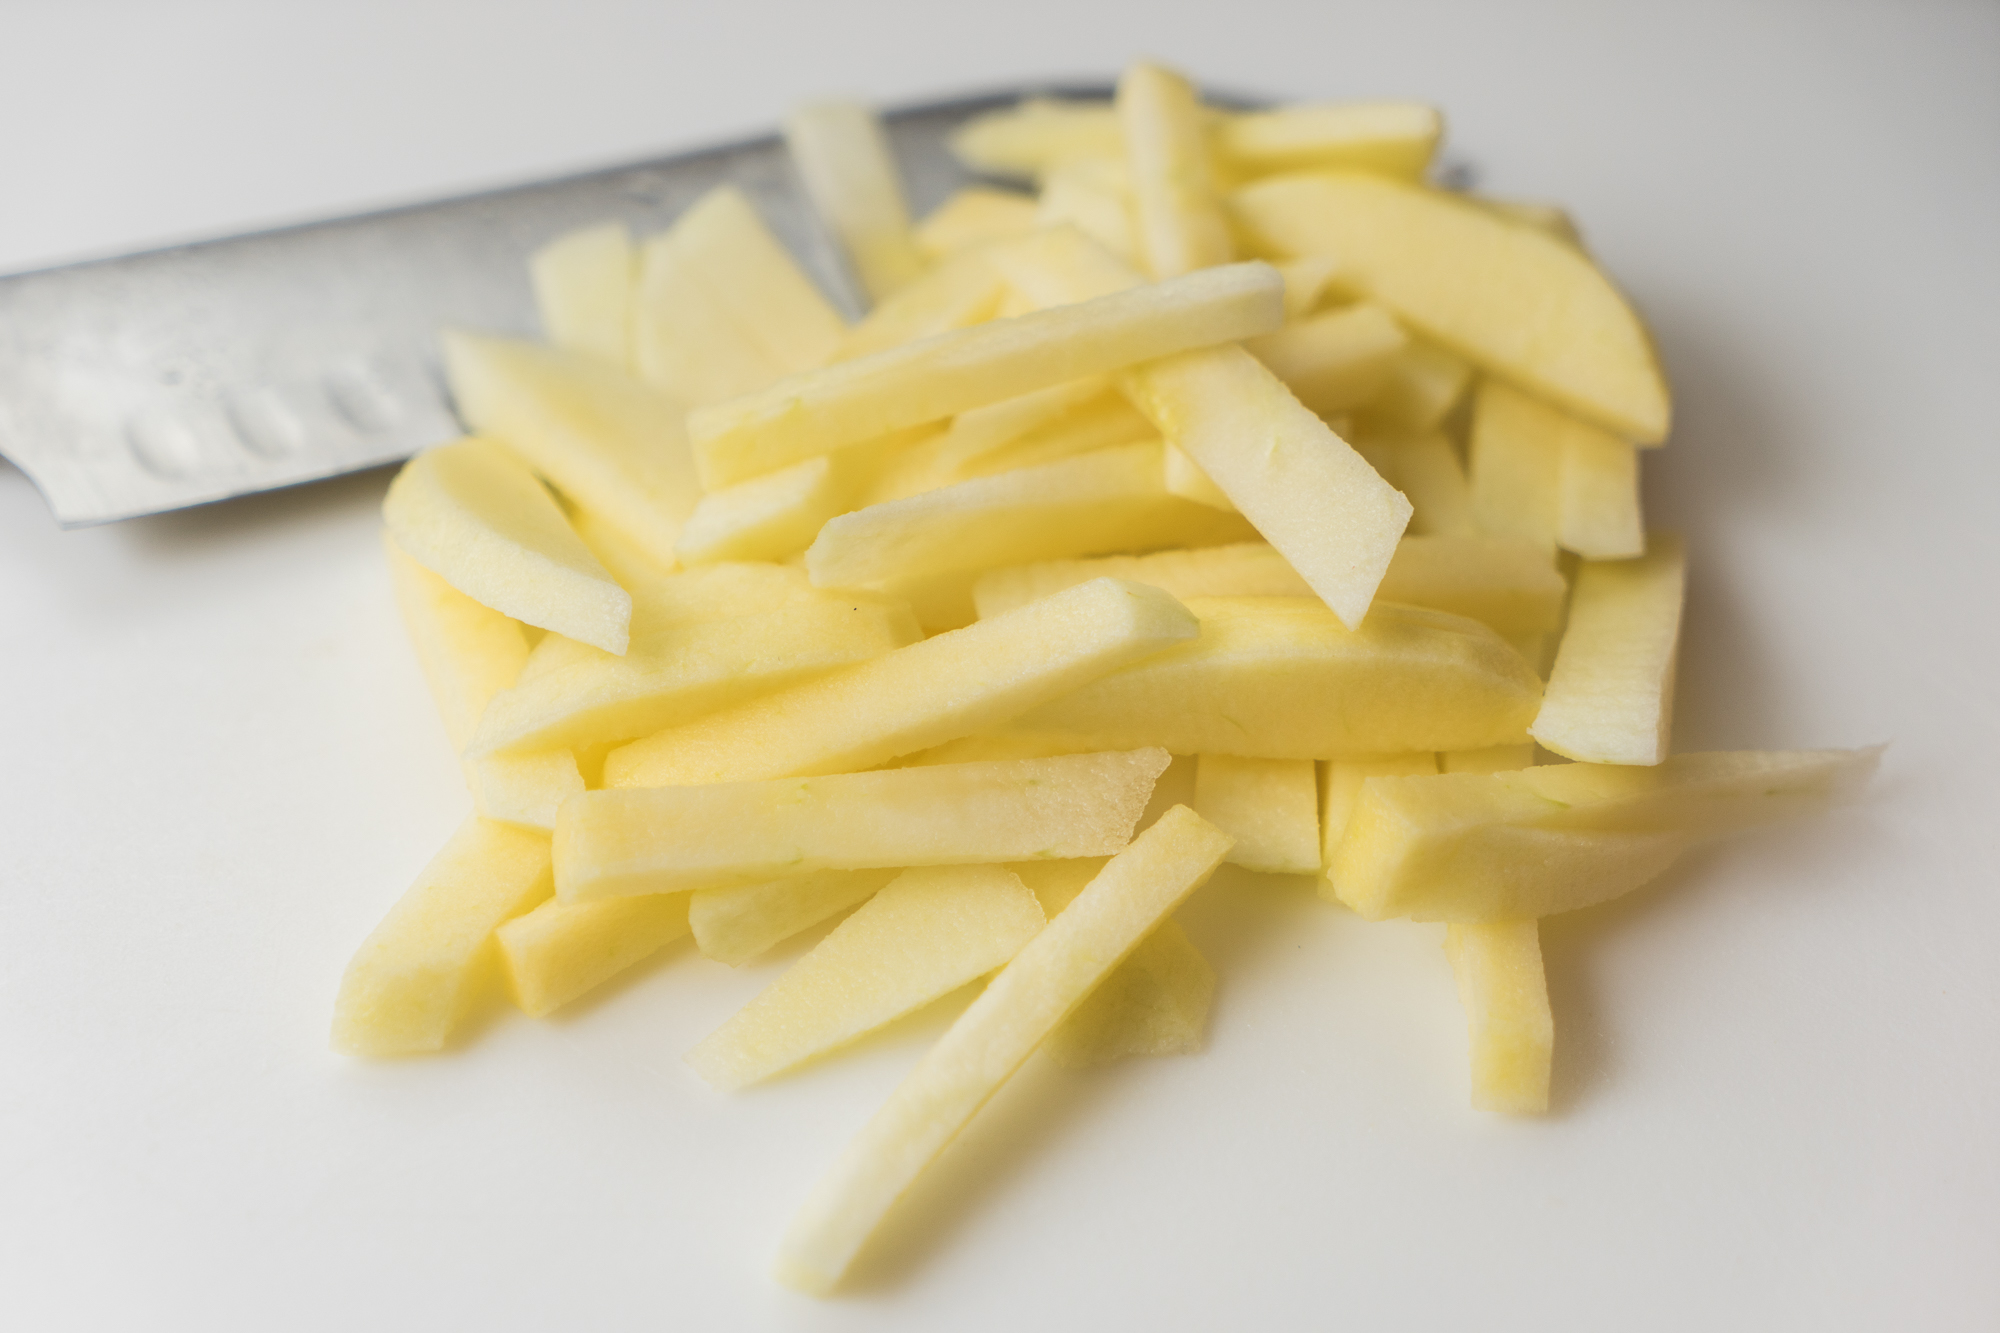
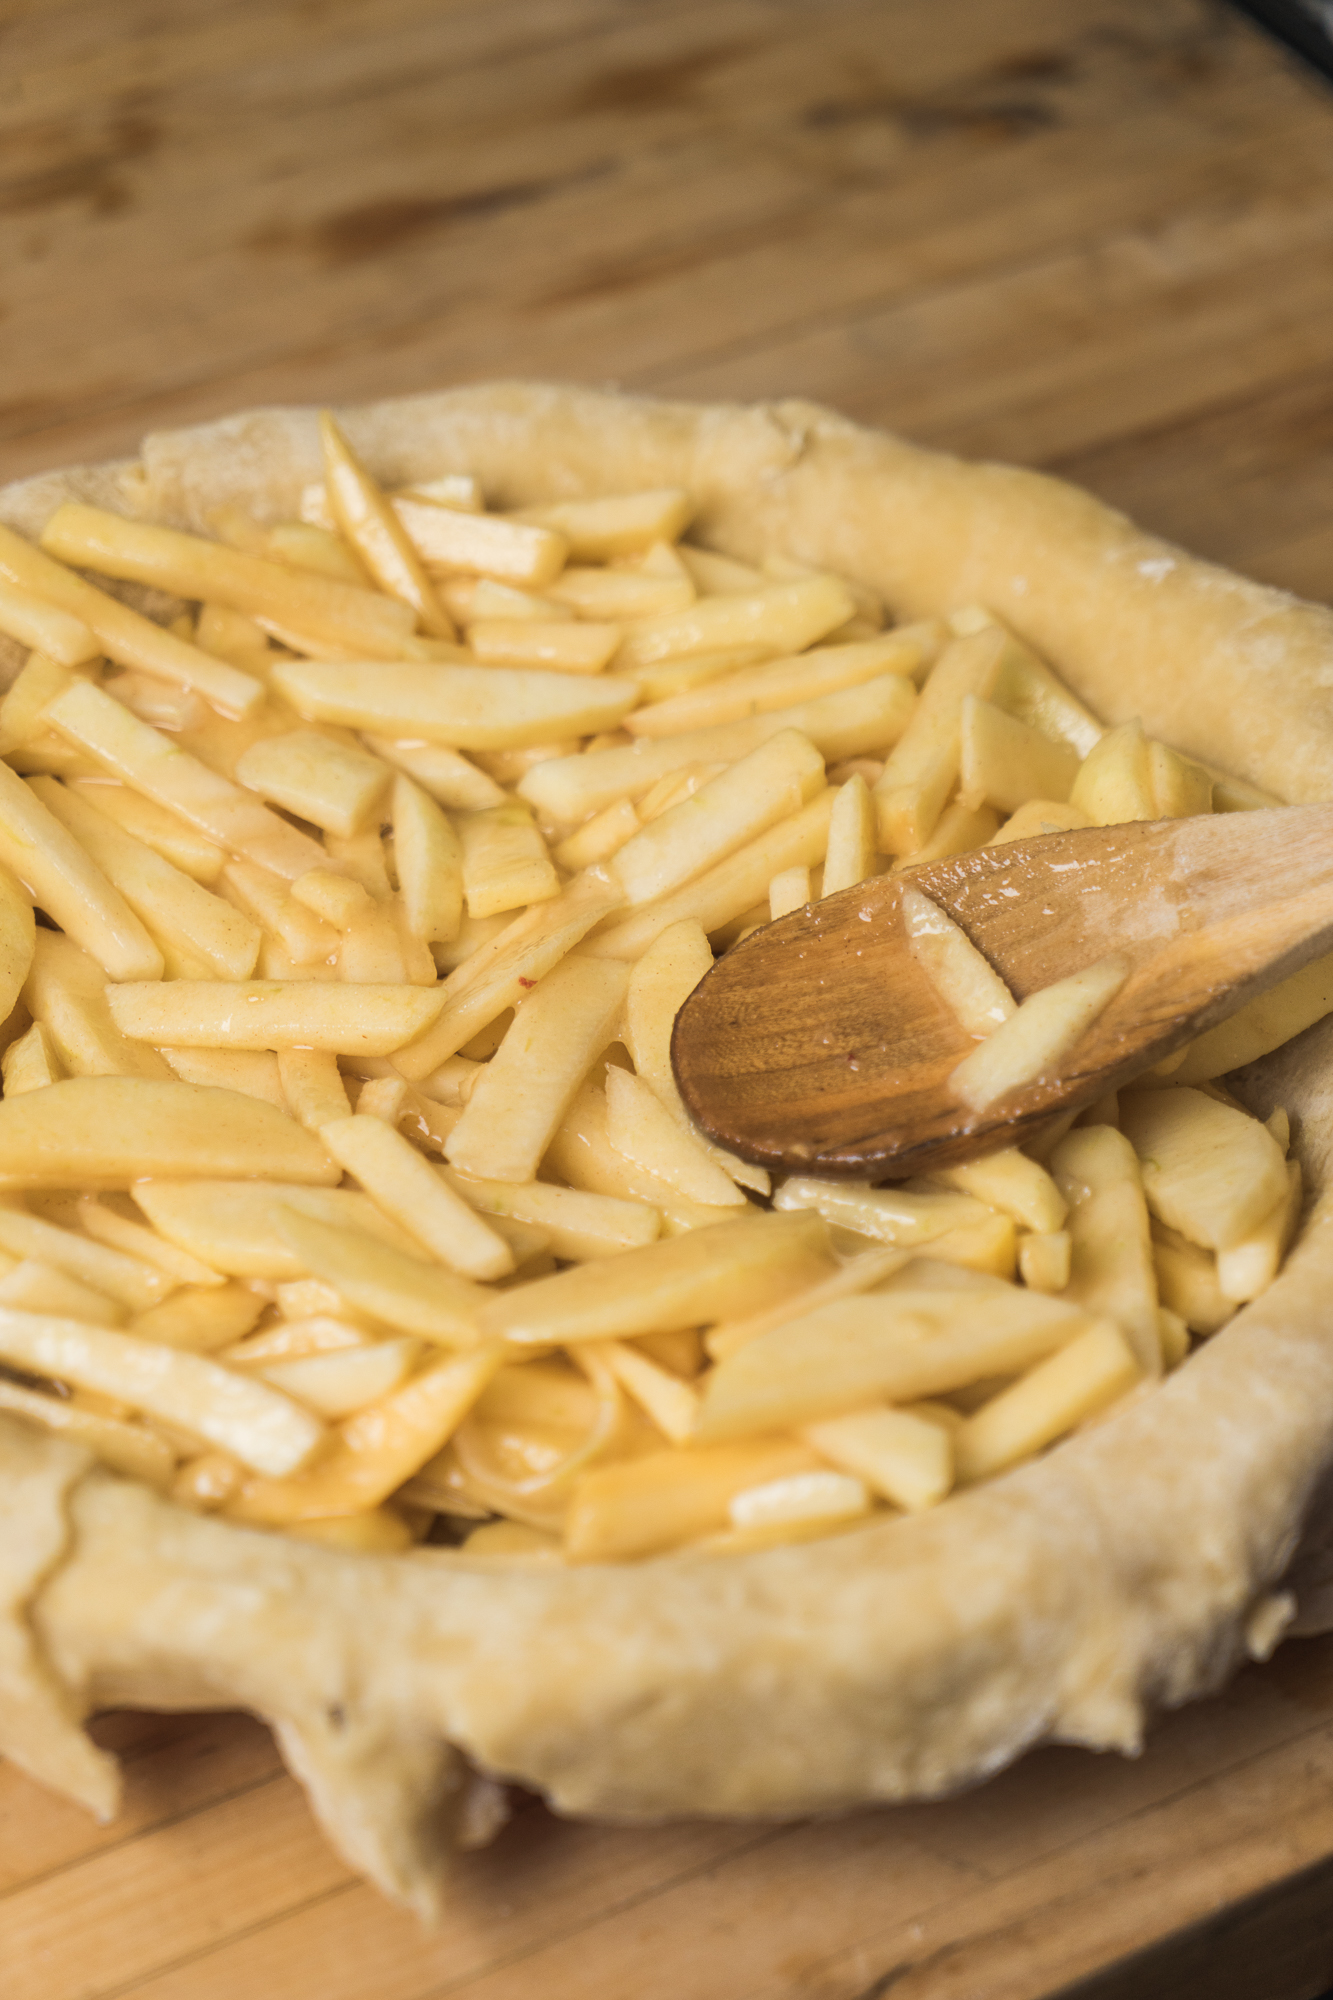
- Peel and core apples, then carefully slice into 1/4 thick strips.
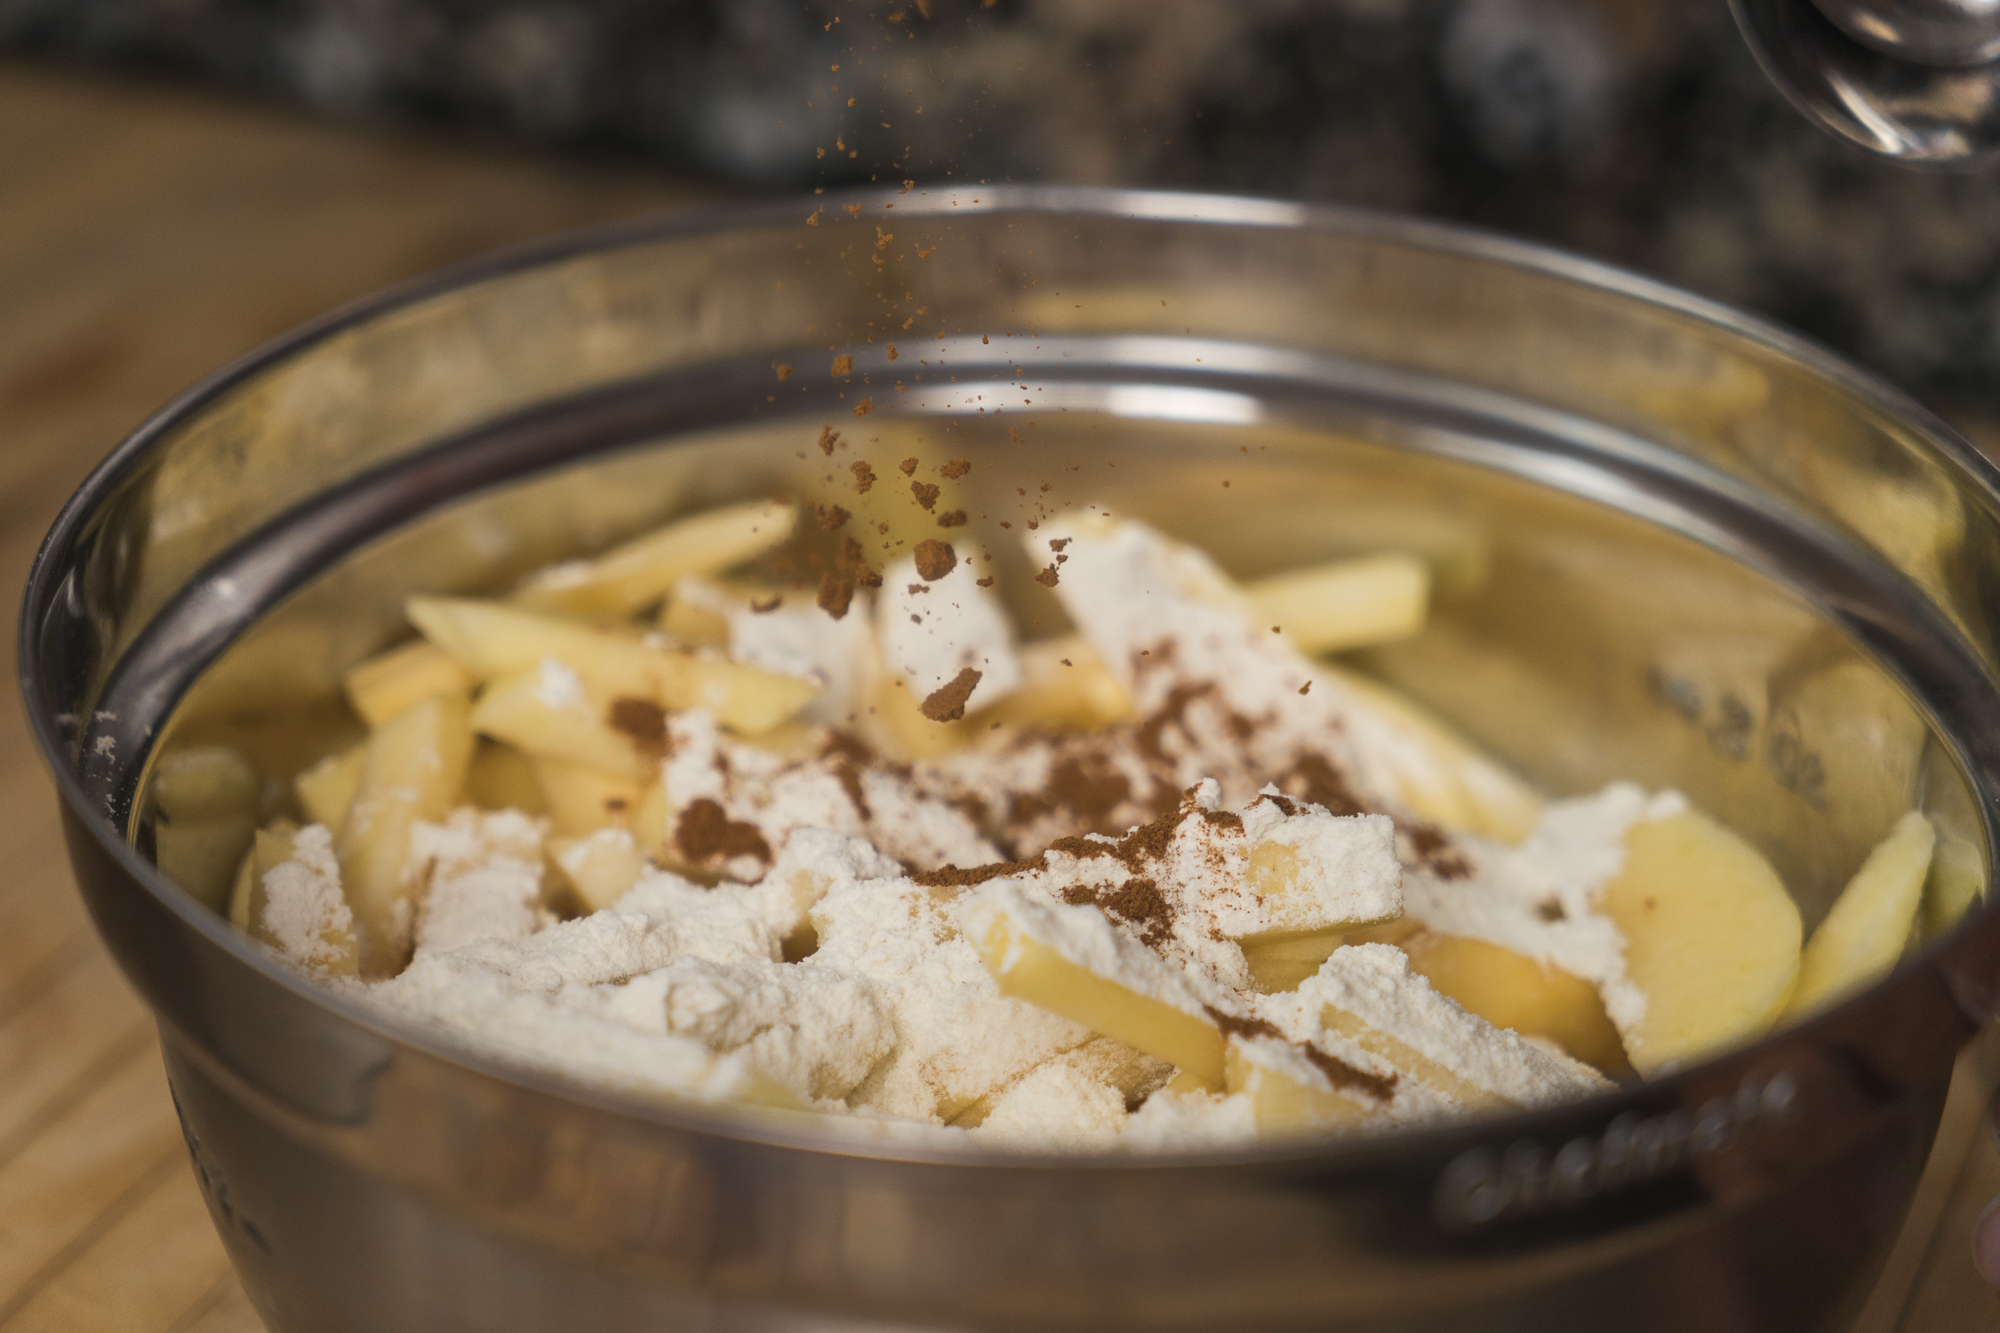
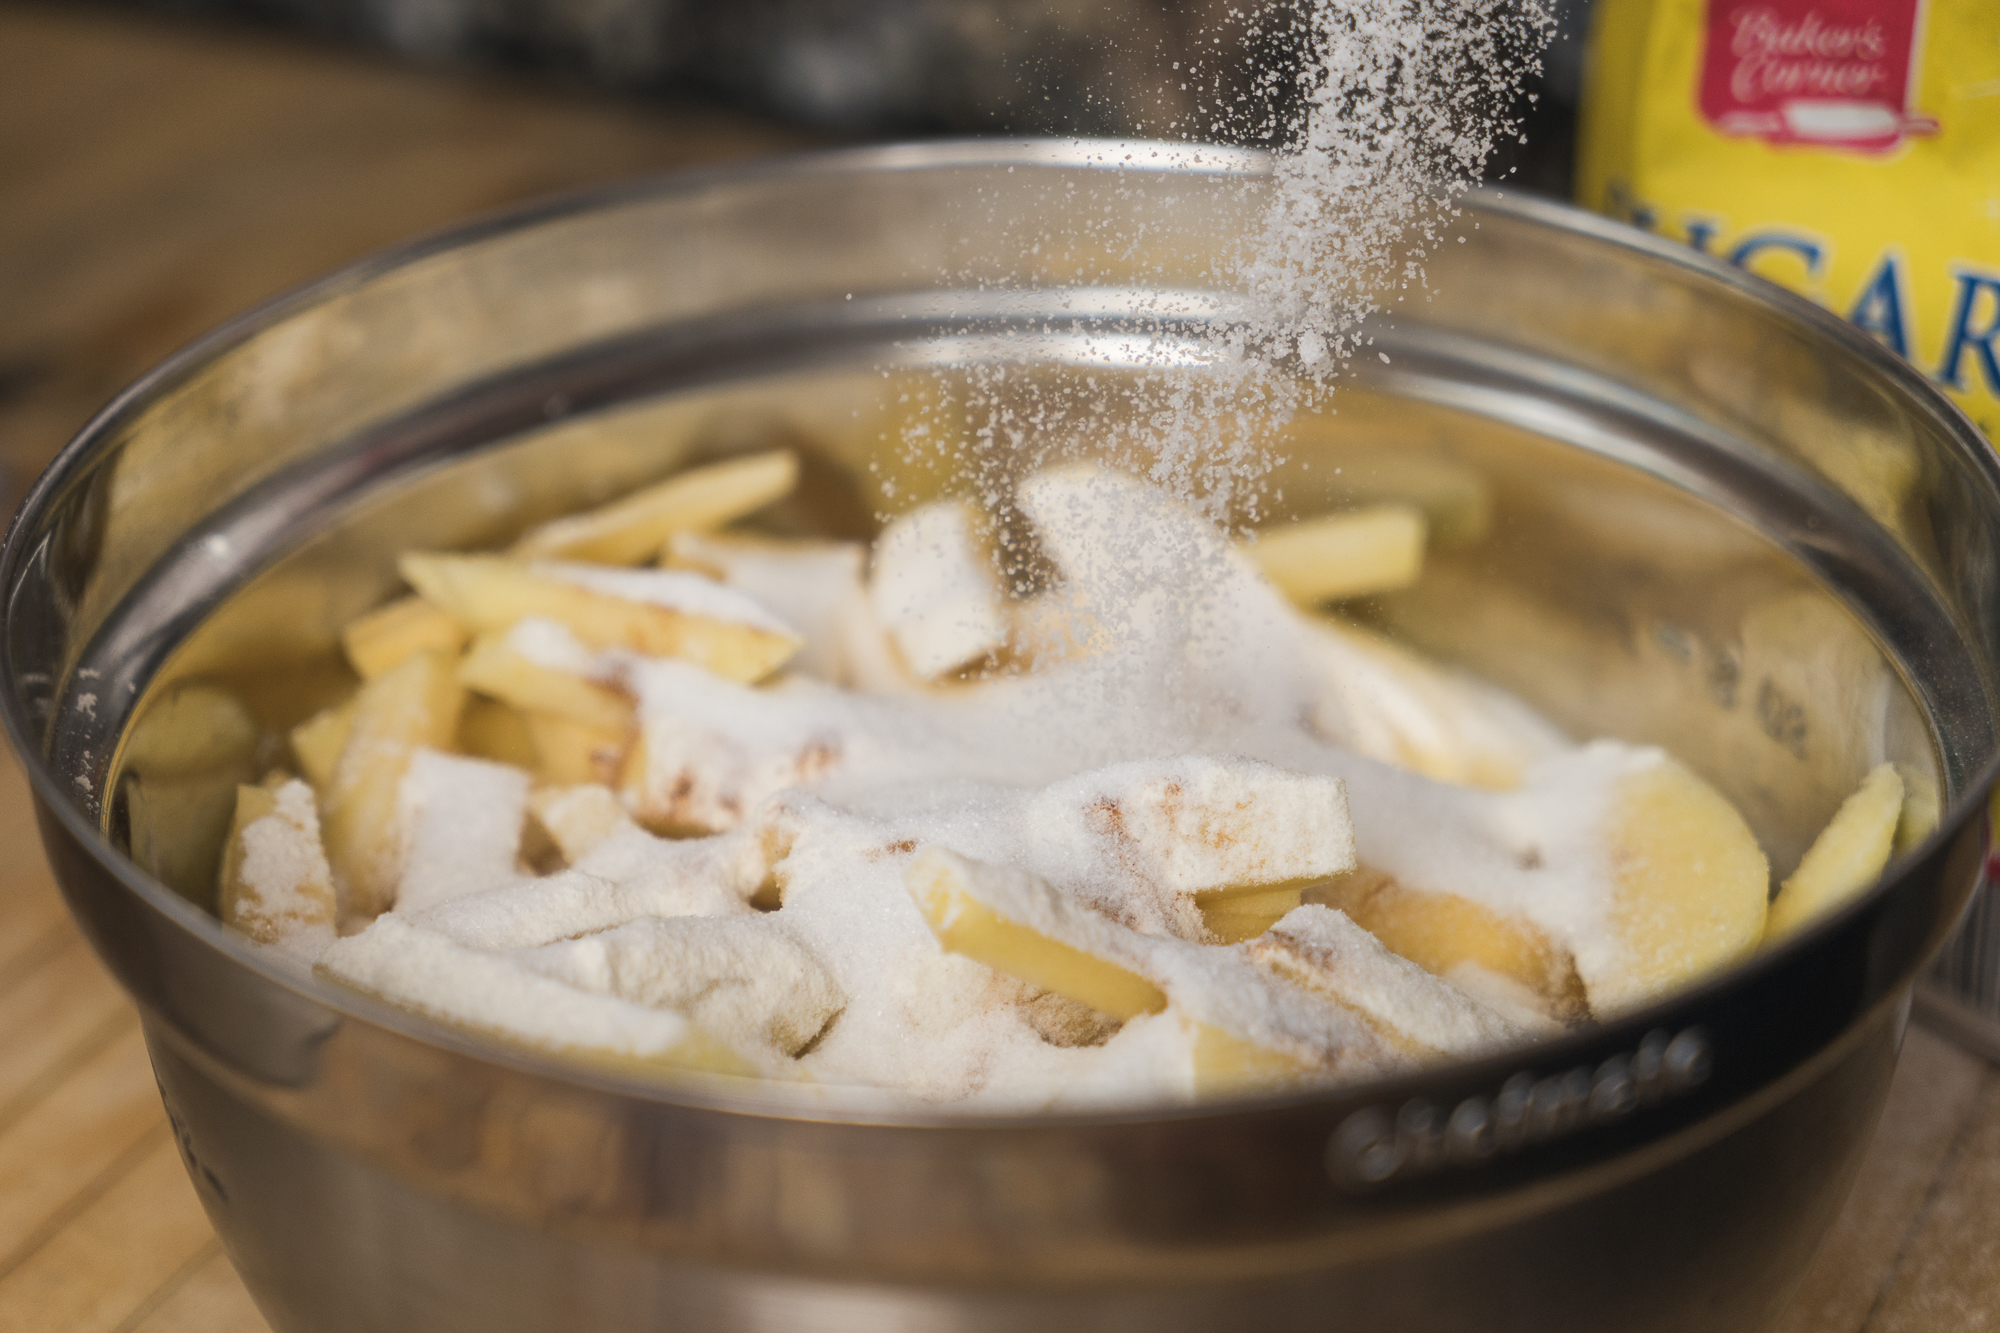
- In a medium bowl, combine the apples with 3/4 cup of sugar, flour, lemon juice, 1/2 teaspoon of cinnamon, and salt.
- Preheat oven to 425 degrees.
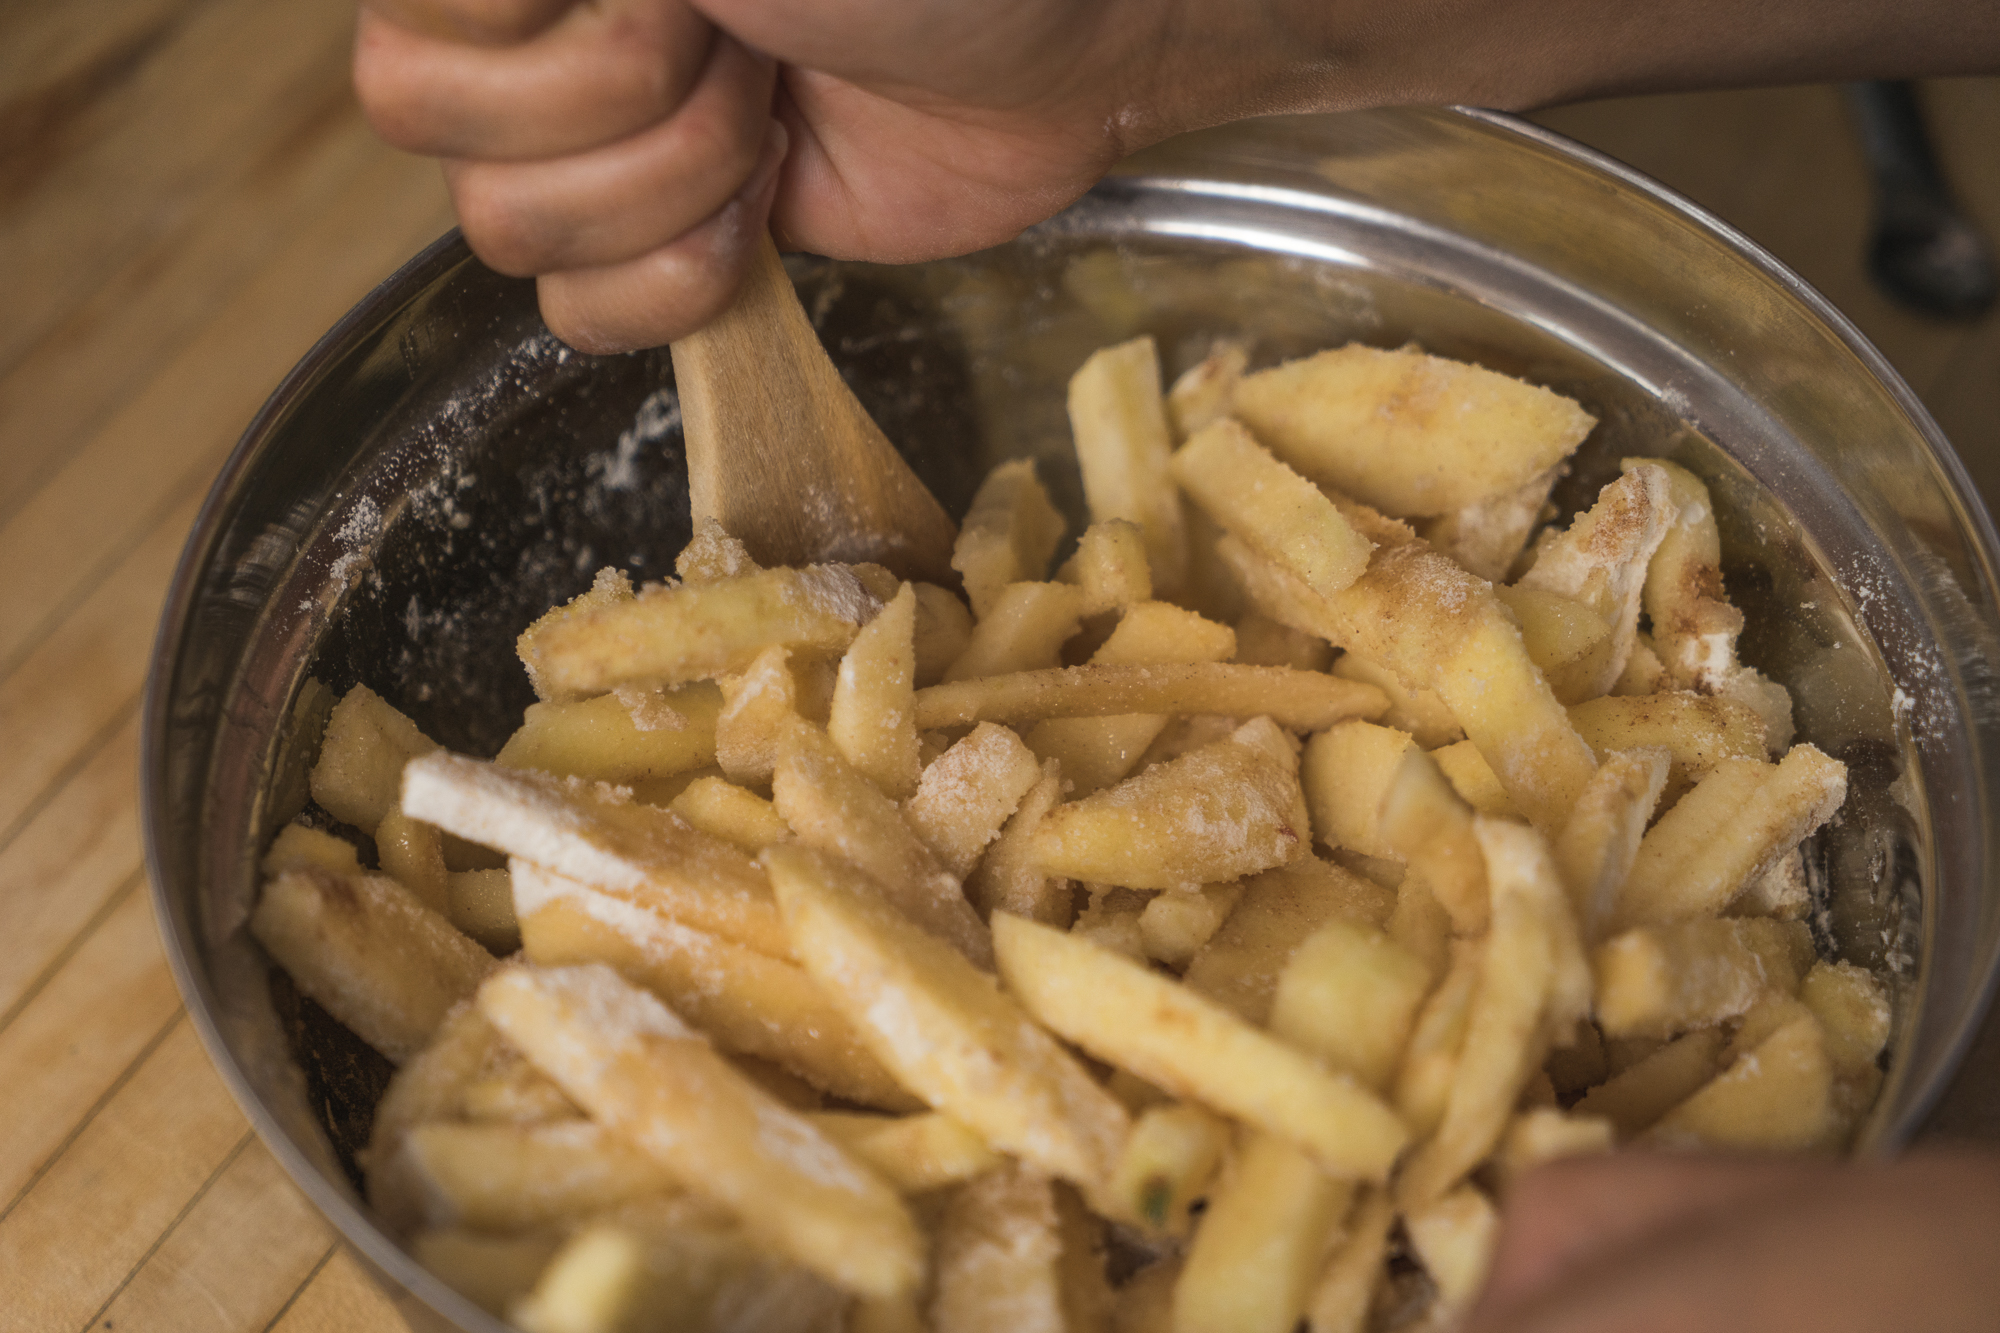
- Allow the apple mixture to sit for 15 minutes, stirring frequently.
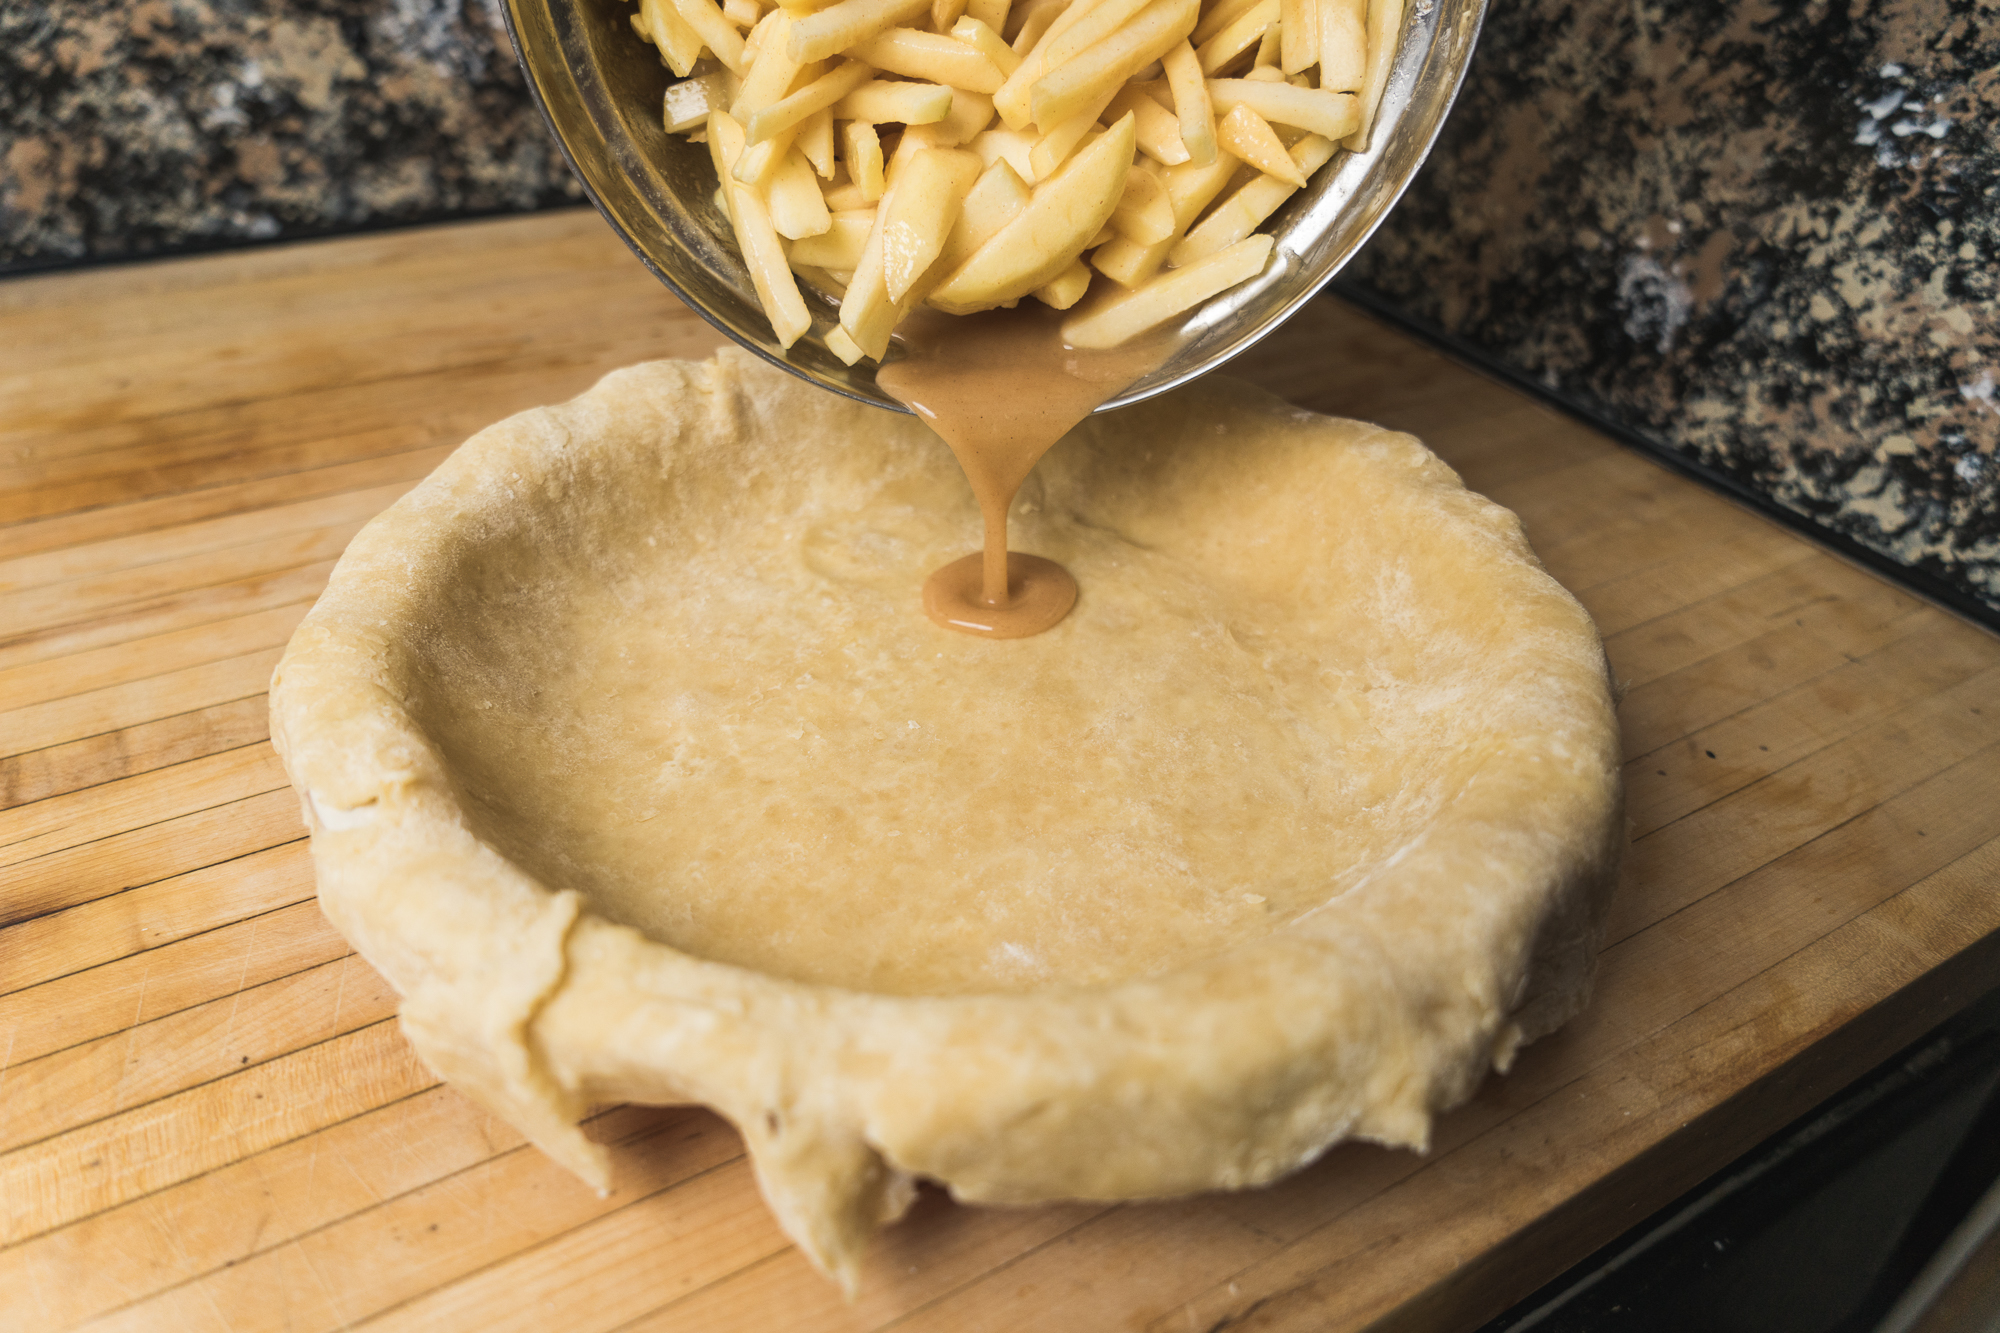
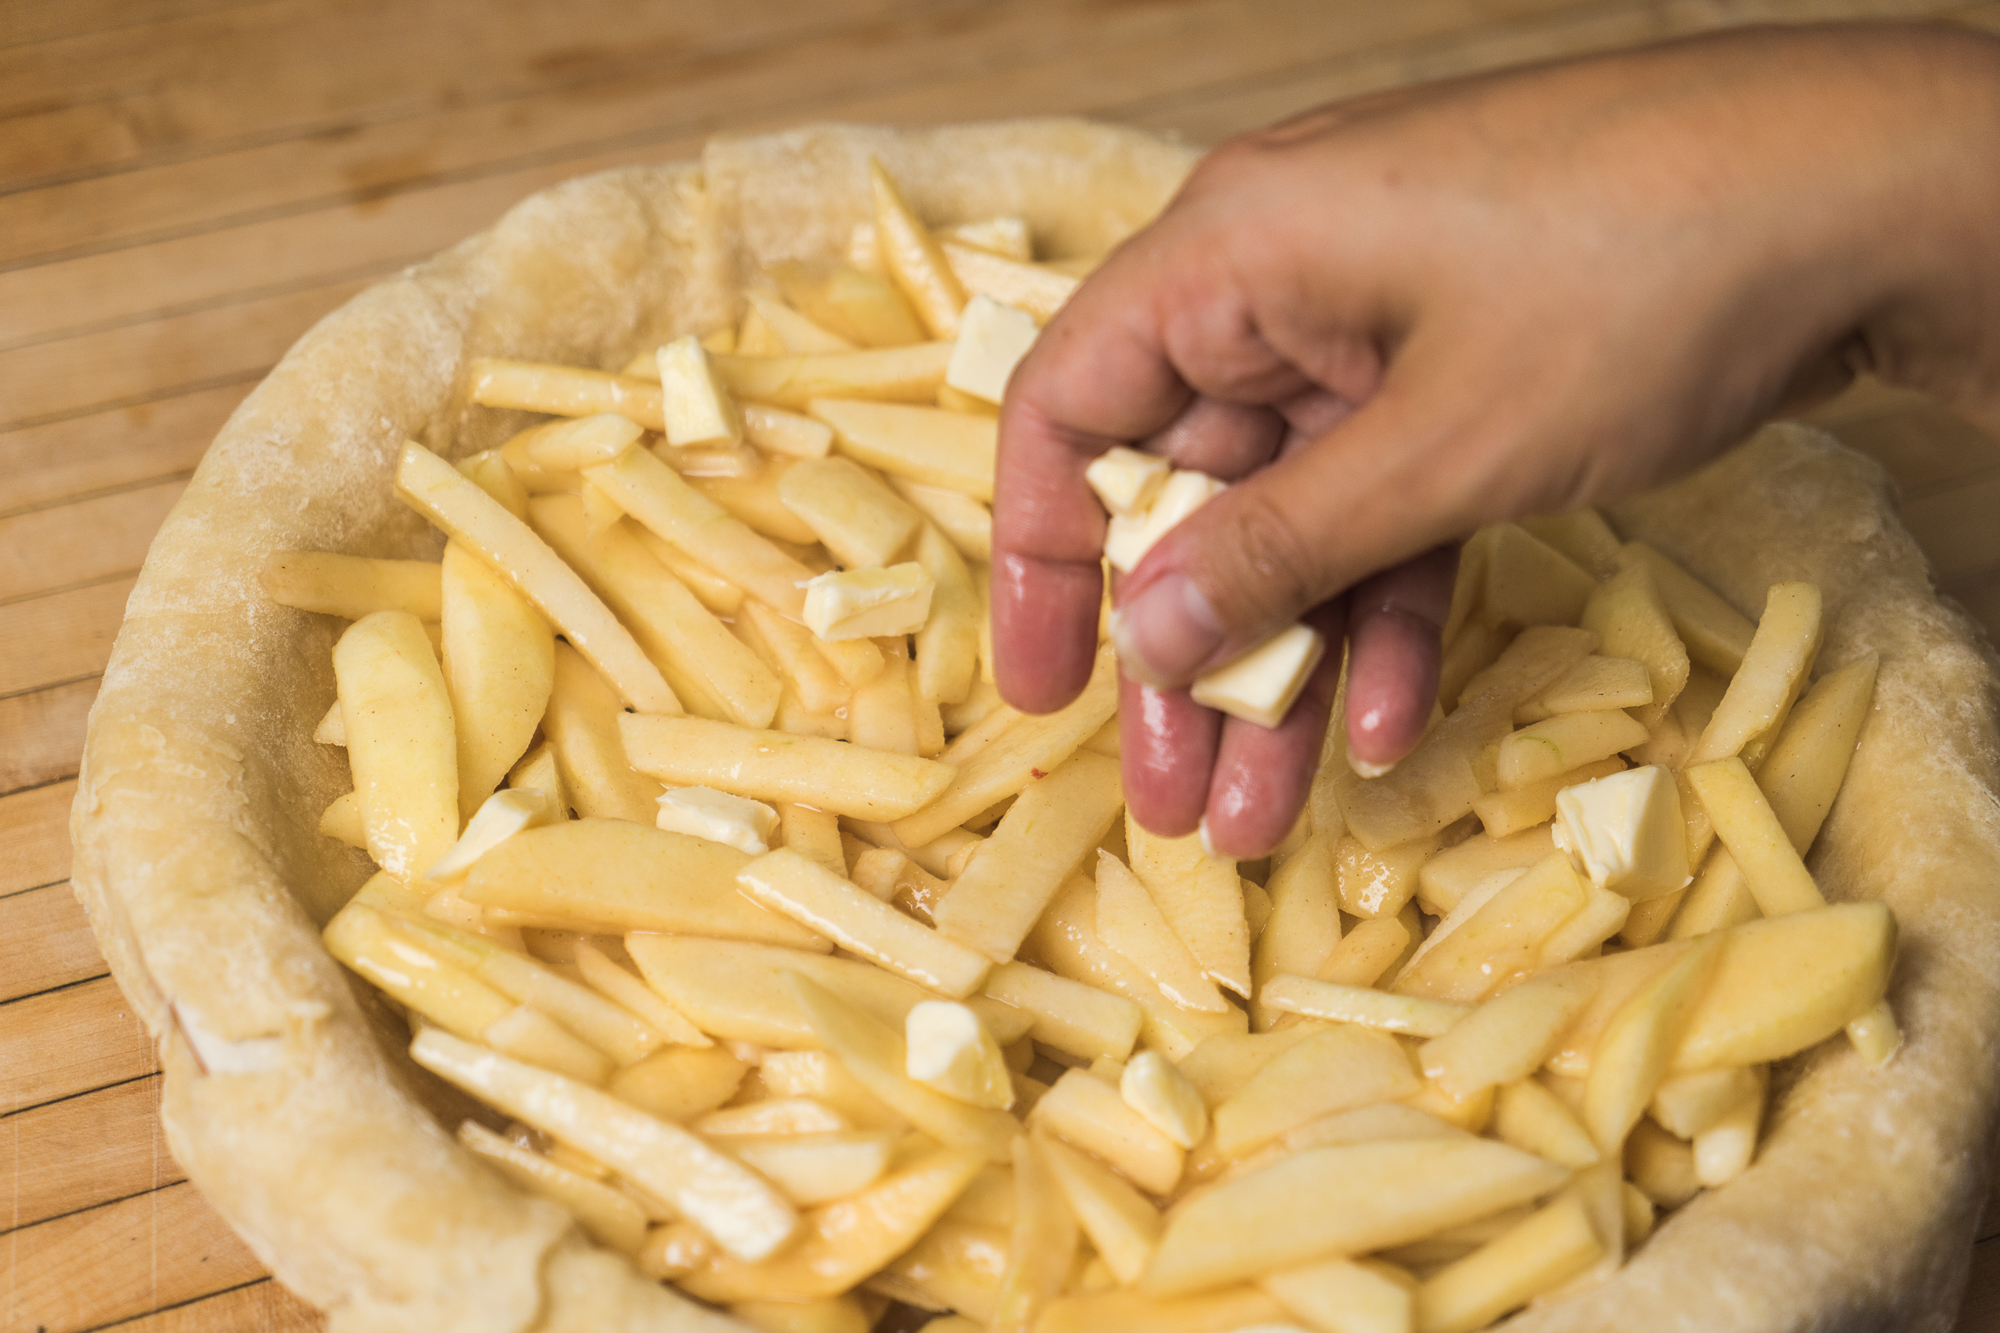
- Place apple mixture in pie pan, being sure to smooth down the apples and top all over with butter, cut into tiny squares.
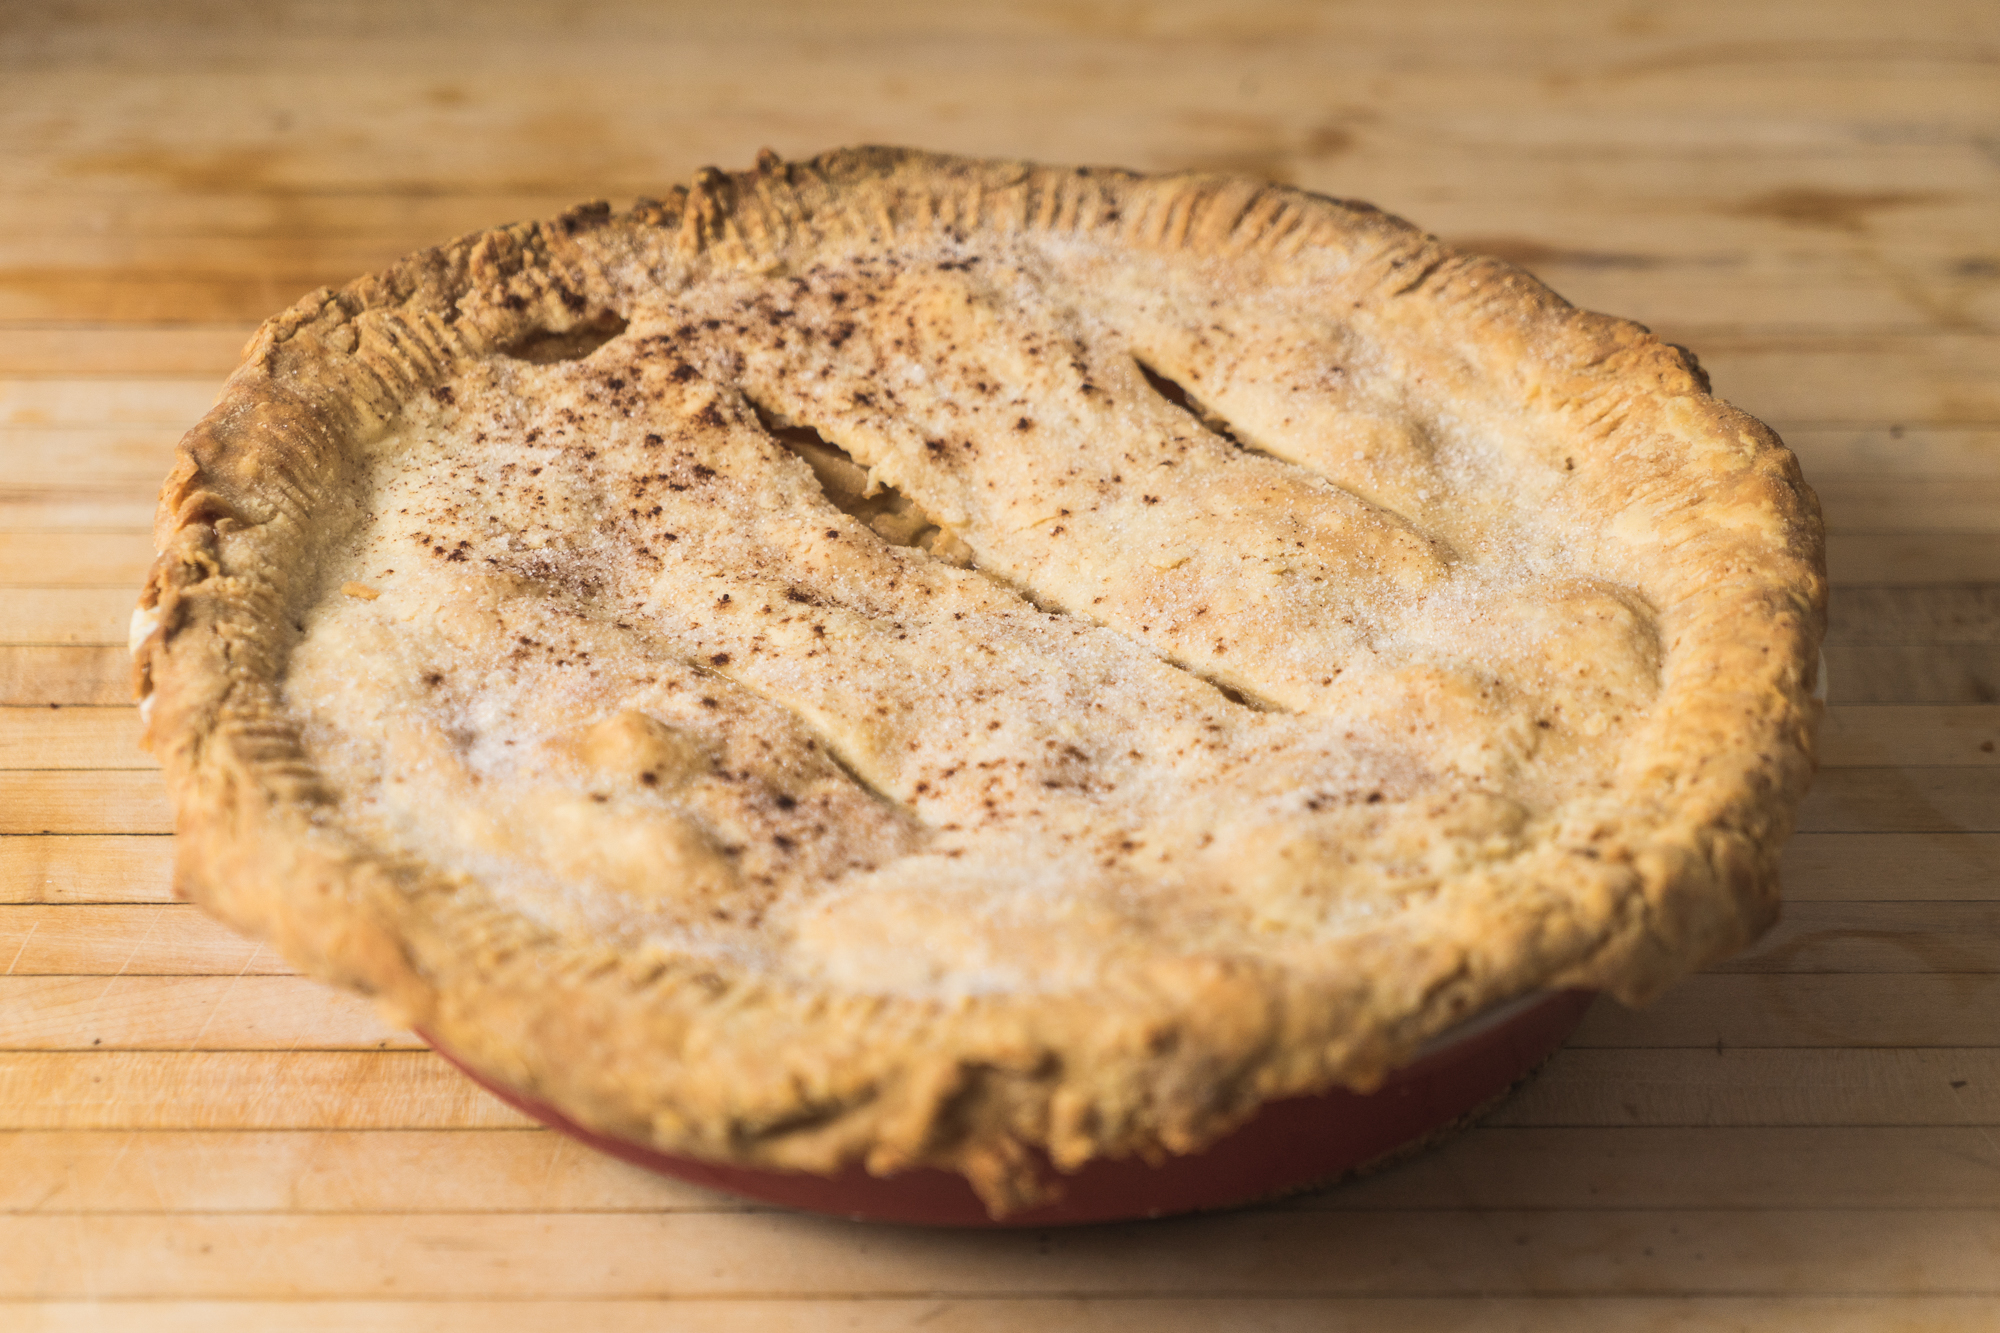
- Remove second pie crust from refrigerator and brush the crust hanging over the bottom with cold water, then gently place the top crust over the mixture, gently pinching the top and bottom curst together so they seal together. You may cut the excess dough if necessary and create pattens along the pie crust edge if you wish.
- Cut steam vents in the top of the pie (I do three) and sprinkle crust with 2 teaspoons of sugar and 1/4 teaspoon cinnamon.
- Bake for 30 minutes.
- Reduce the oven temperature to 350 degrees, place a cookie sheet that is larger than your pie pan on the rack directly below the pie and bake for an additional 30-45 minutes, keeping a close eye on the pie.
- The pie is done when a knife poked in the steam vent finds slightly tender and soft fruit and when thick, juicy filling has begun to bubble through the cut steam vents.
- Allow pie to rest for at least 3-4 hours on a cooling rack (the pie needs this time to thicken up to get the perfect filling consistency!)
- Finally you can cut it up and serve it up!
Tips
- As tempting as it is to only cool the pie for a bit and just serve it up so it’s still warm, don’t! The pie will be runny and difficult to serve as the filling needs that time to set.
- If you do want the pie to be warmish, you may warm it back up in the oven at 350 for 5-10 minutes. We typically will slice off the pieces we are eating right then and warm them on a cookie sheet.
- Lemon juice helps the apples not brown when you are peeling and slicing them and does not alter the flavor of the pie much. If you are working alone, you should add a portion of the lemon juice after you cut the first apple and toss each apple with a bit more juice. If apples are a little brown it is not the end of the world, but lemon juice will go a long way to prevent this.
- Don’t let this recipe intimidate you! Yes, pies can be bought quite easily in the store and are pretty good but there is absolutely nothing like a fresh pie you sliced, seasoned and baked to perfection yourself.
- When I first made this pie, I used store bought crusts and over time, got brave enough to tackle a home made pie crust. Don’t go all out the first time you try! You can do this and you will be really happy that you did!


Now that you have made pie and are feeling proud, share your masterpiece over on Instagram or Facebook using #littleprairiekitchen. If you are a Twitter user, use @lprairiekitchen and let me see how great they turned out!
