Go-To Pie Crust

November is all about the food and the big meal is all about the pie. Specifically the pumpkin pie but really all pie is good! To really make a pie pop, I have found that homemade is best, right down to the crust.

Now before you moan and stomp that pie crust is hard, pie crust takes forever and you just don’t have the time hear me out! Pie crust can be hard, long and awful if you try to make the crust and the pie in the same day. The key to pie crust (for me anyway) is to make the crust in advance and have it all ready to roll. Then, when it’s time to make the pie, all I have to focus on is the filling and a little rolling. We can do that, right?
I have found that using a mixture of both vegetable shortening and real butter give me that wonderful flake and taste that makes a from scratch crust worth it. The beauty of this recipe is that it makes two crusts so you can use one for a pumpkin pie and use the second one for a weekend after Thanksgiving quiche. Even better if you are doing a two crust pie, you have a whole pie crust done in one session!
This pie crust freezes quite well for up to six months, so you can always make a few batches and be that much closer to homemade crust any day! Now that I have calmed you a bit why don’t we jump right in and make a pie crust on our own!
Go-To Pie Crust
Prep Time: 25 minutes | Total Time: 2 hours 40 minutes | Makes: 2 9-inch pie crusts
Ingredients
- 2 1/2 cups all purpose flour, plus more for rolling
- 1 teaspoon sugar
- 1 teaspoon salt
- 1/2 cup cold vegetable shortening (I recommend stick shortening)
- 1/2 cup cold real unsalted butter
- 1/3 cup plus 1 to 4 tablespoon ice cold water
Directions
- Chill the shortening in the refrigerator for at least 15 minutes before use
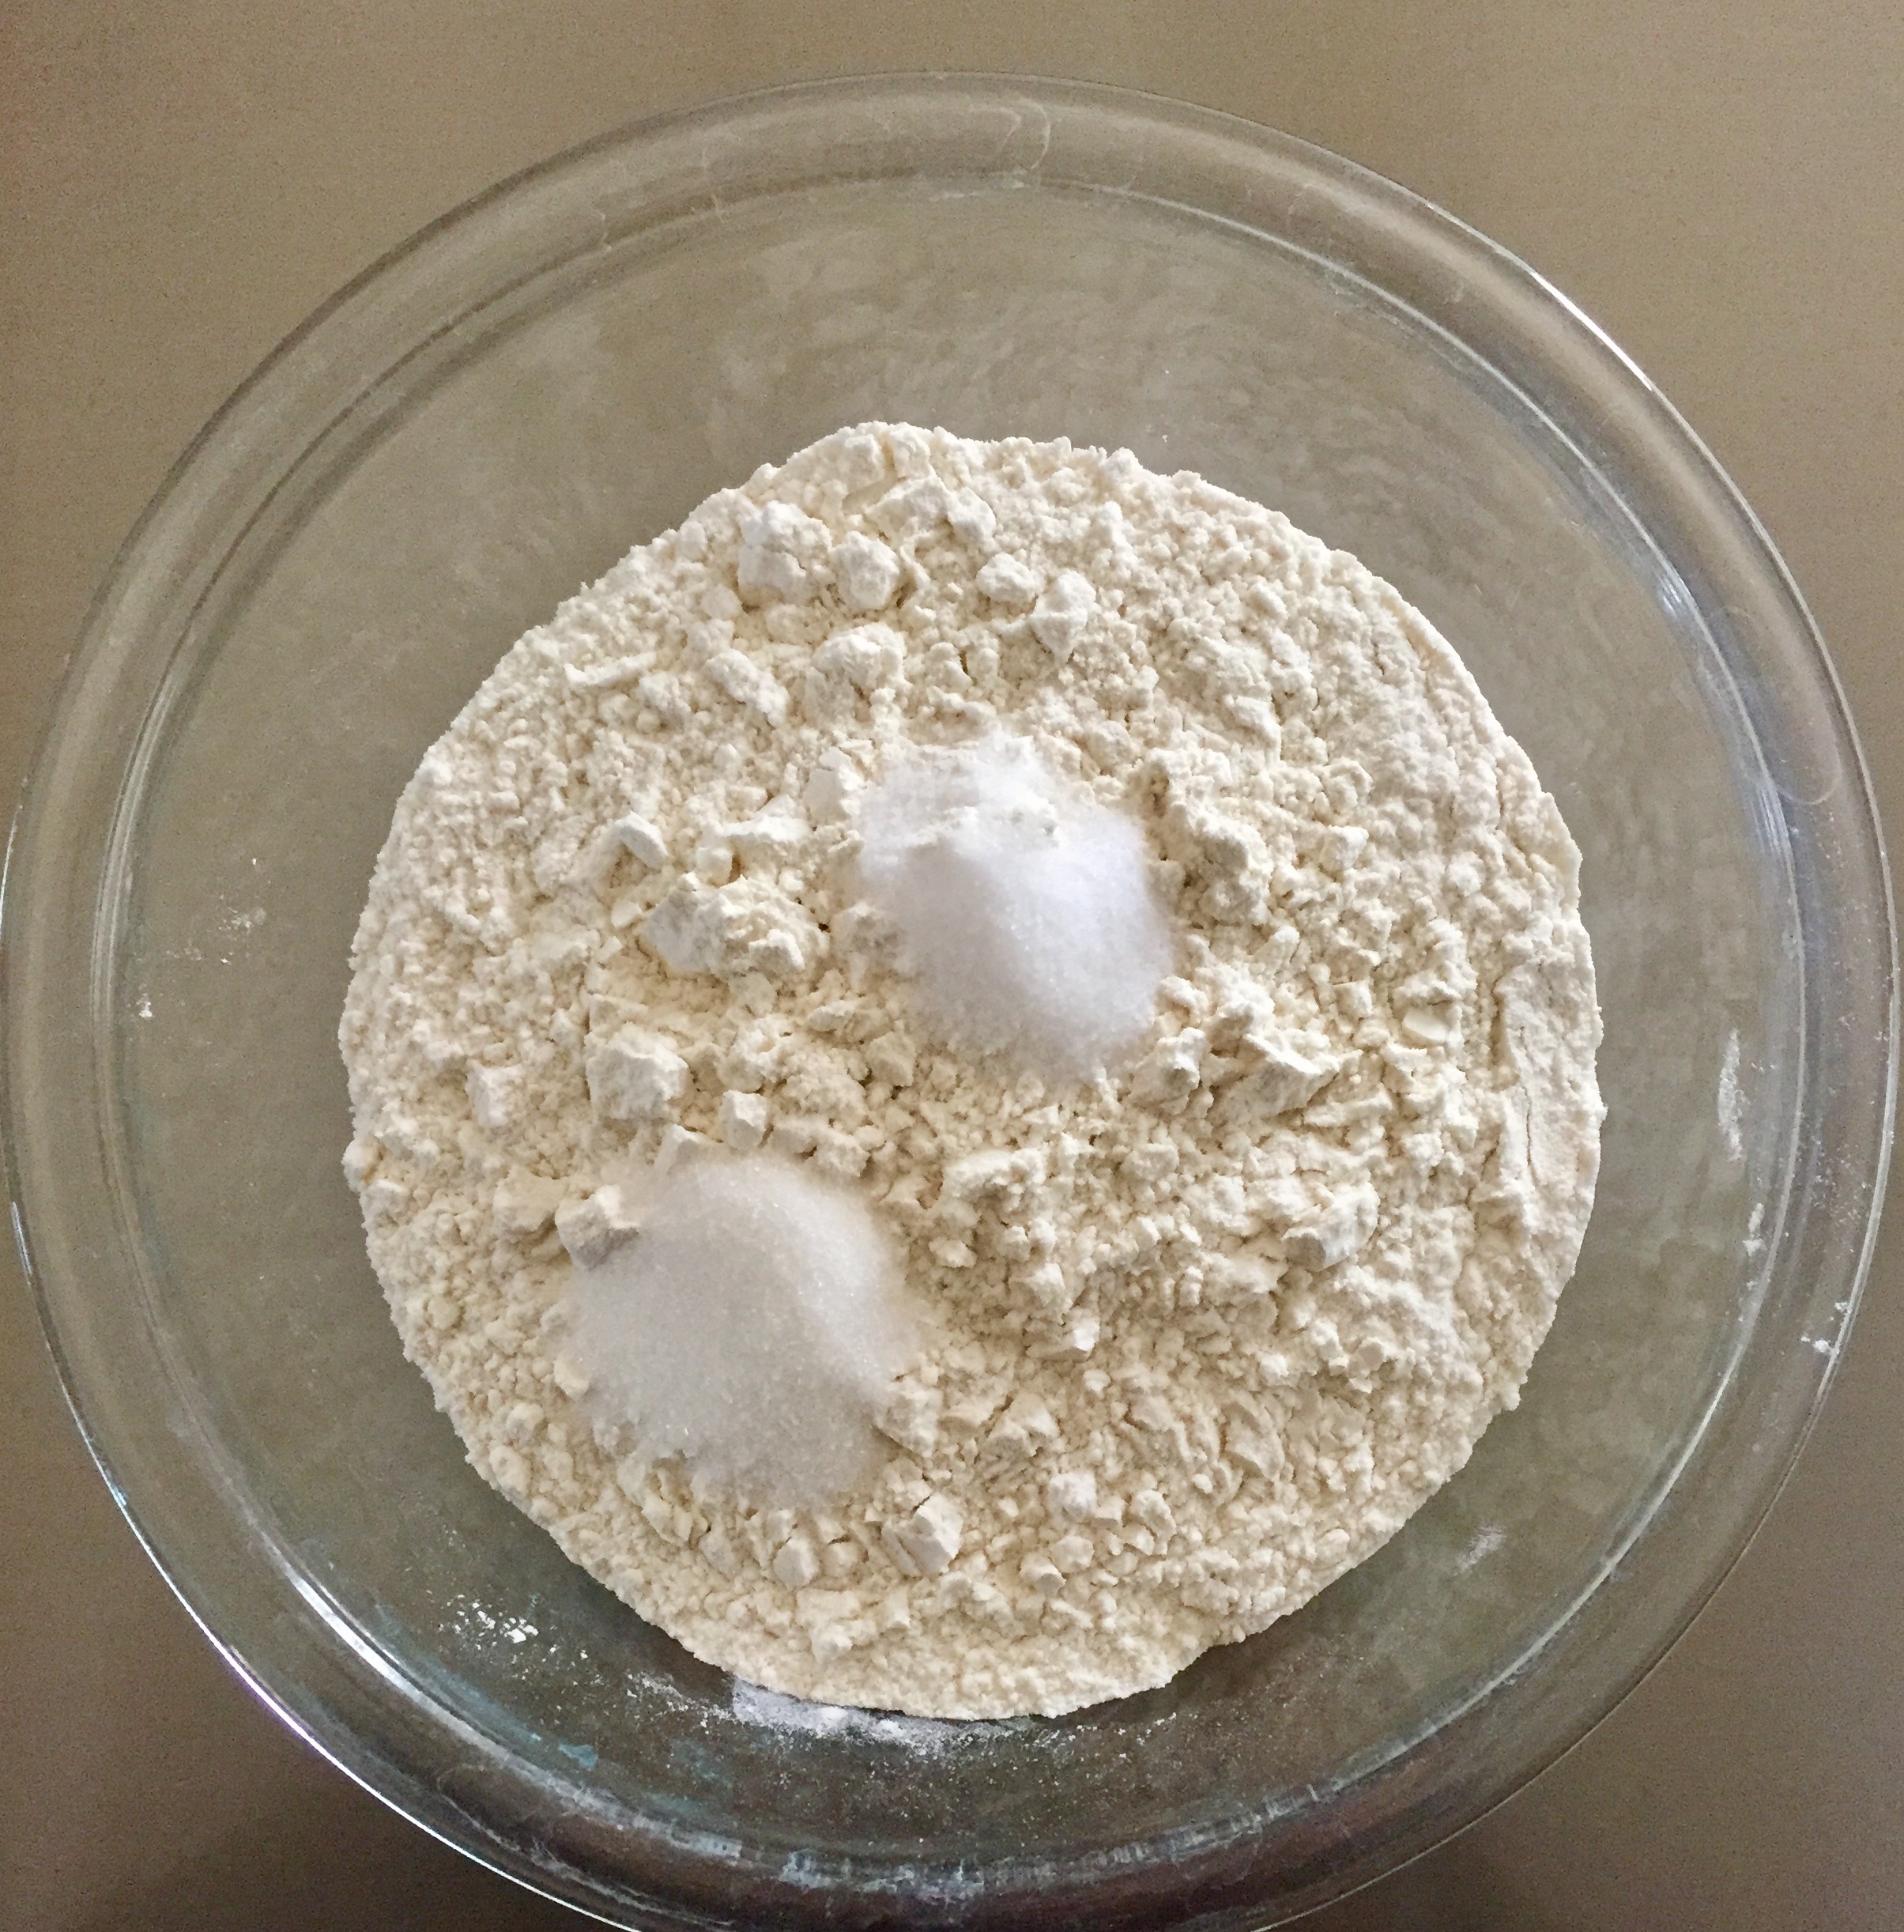
- In a large bowl add the flour, sugar, and salt. Use a rubber spatula to combine dry ingredients
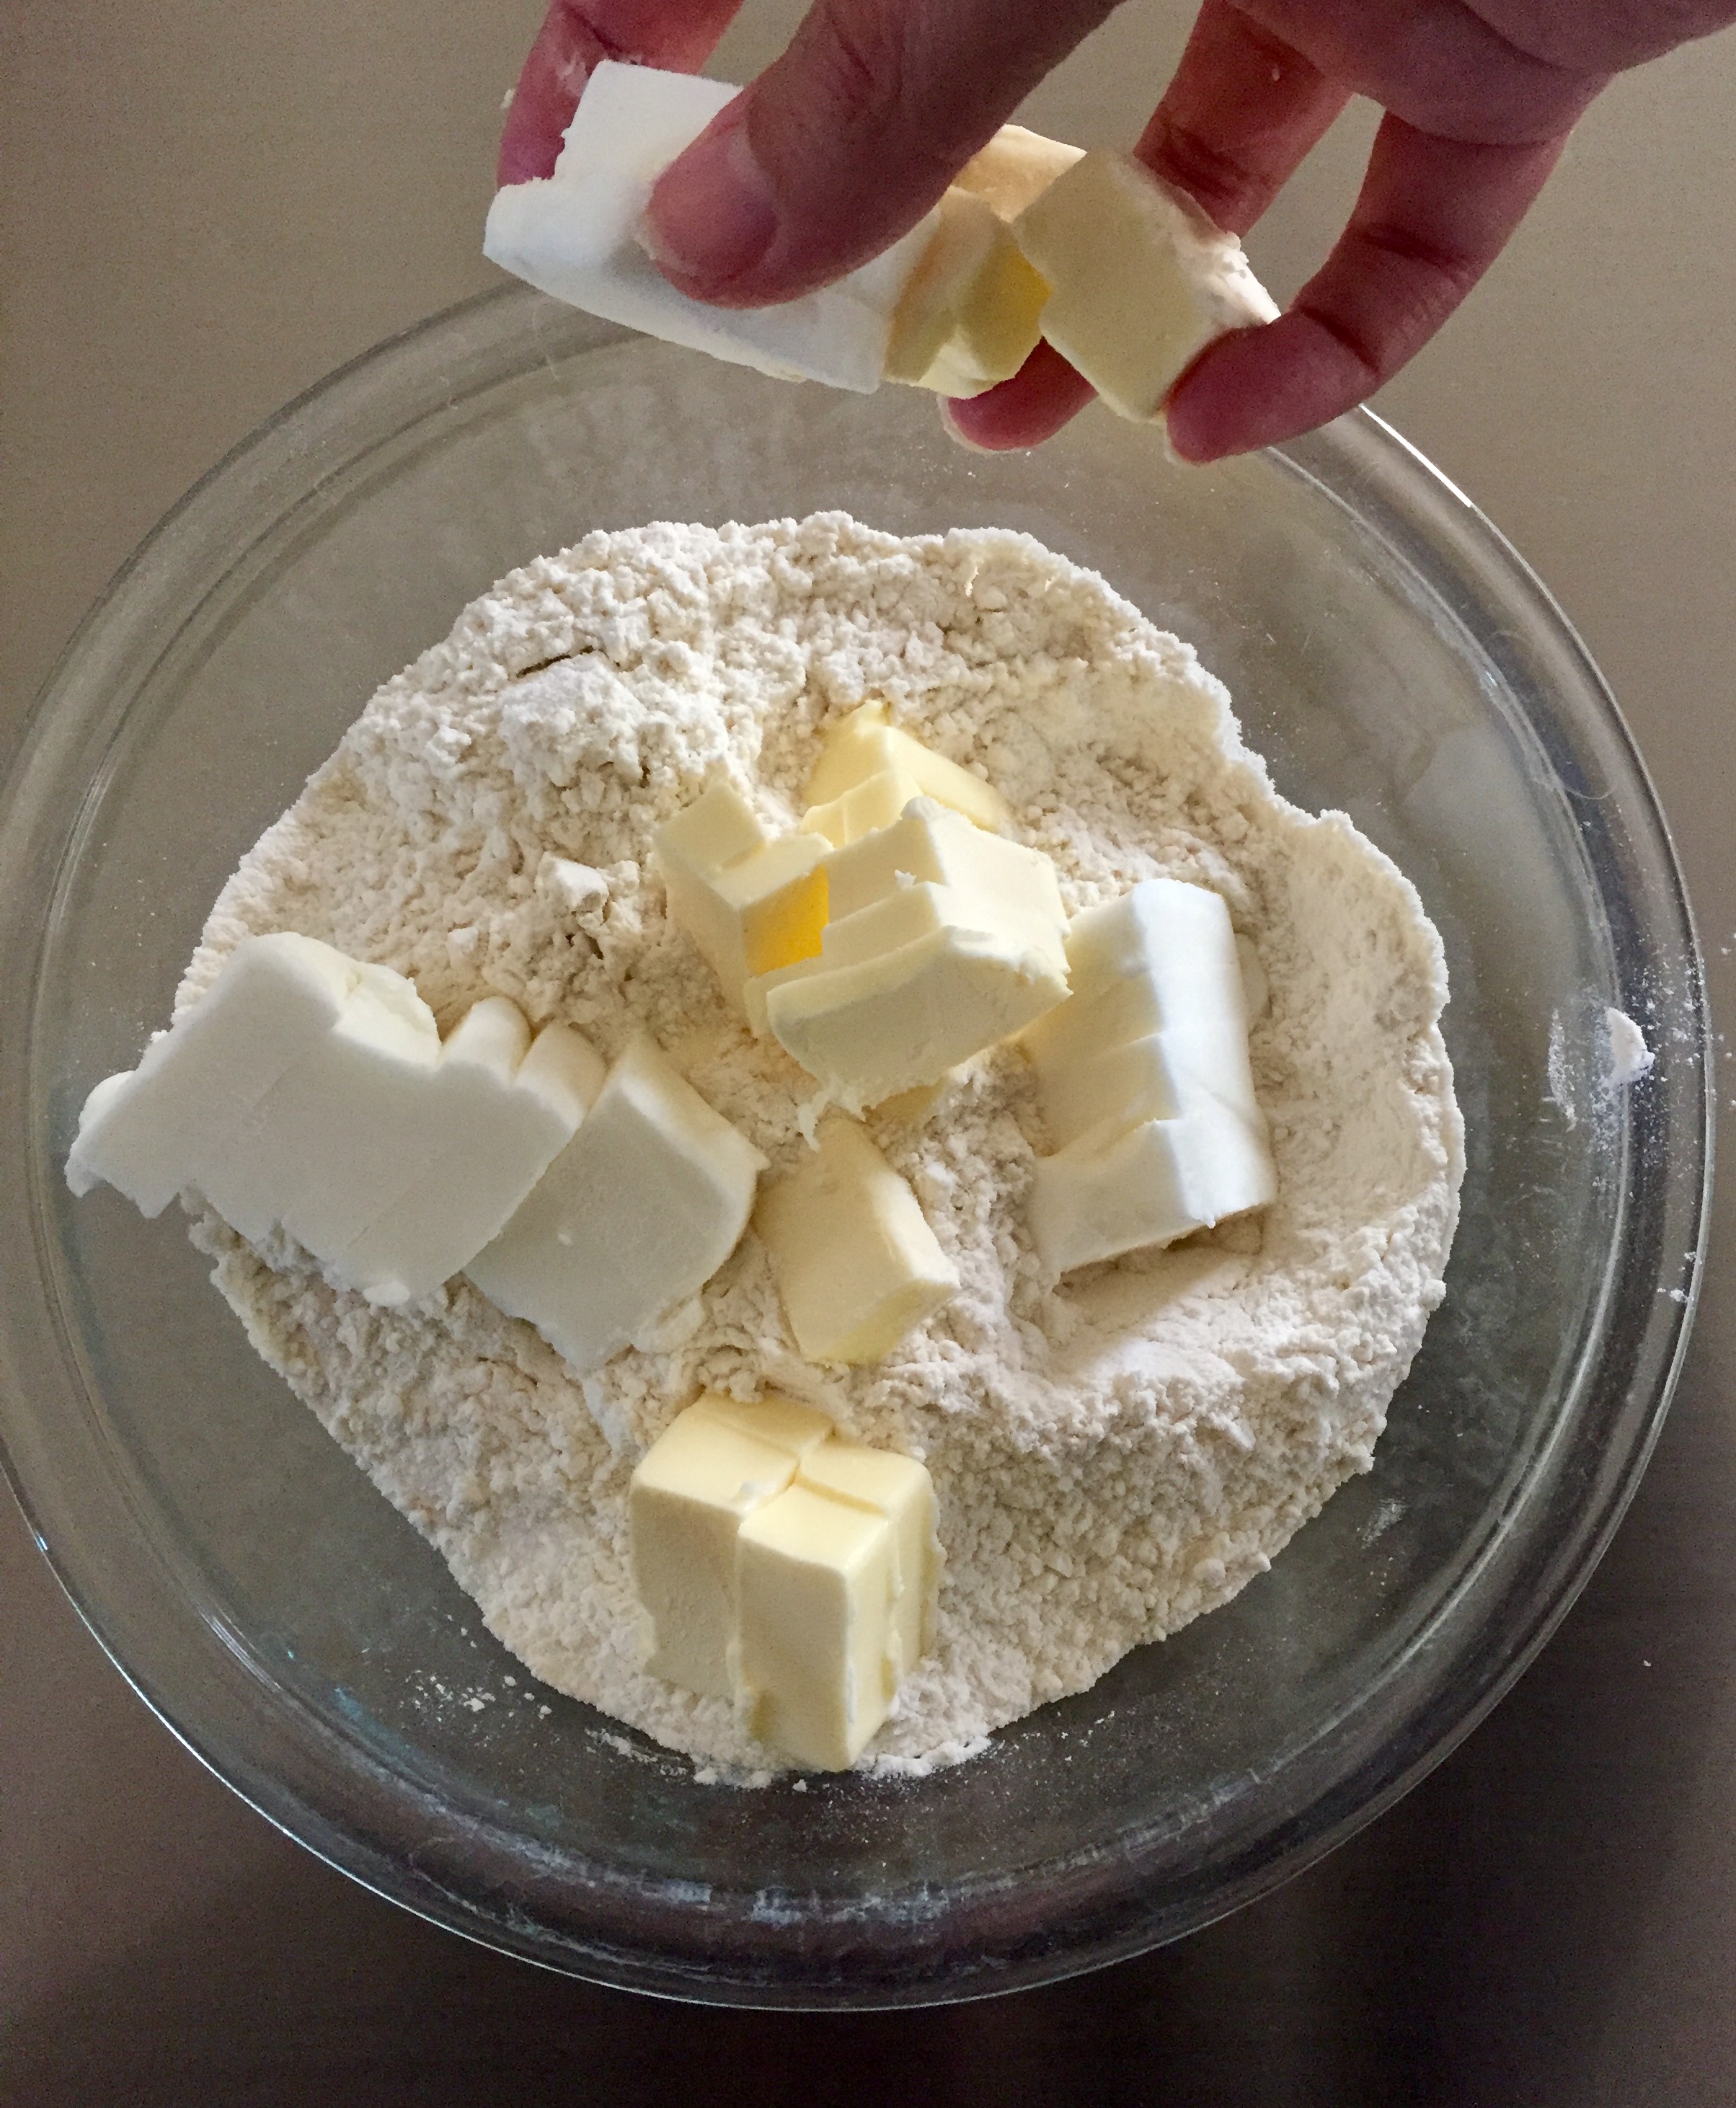
- Remove butter and shortening from the refrigerator and chop into small squares and add both to the flour mixture
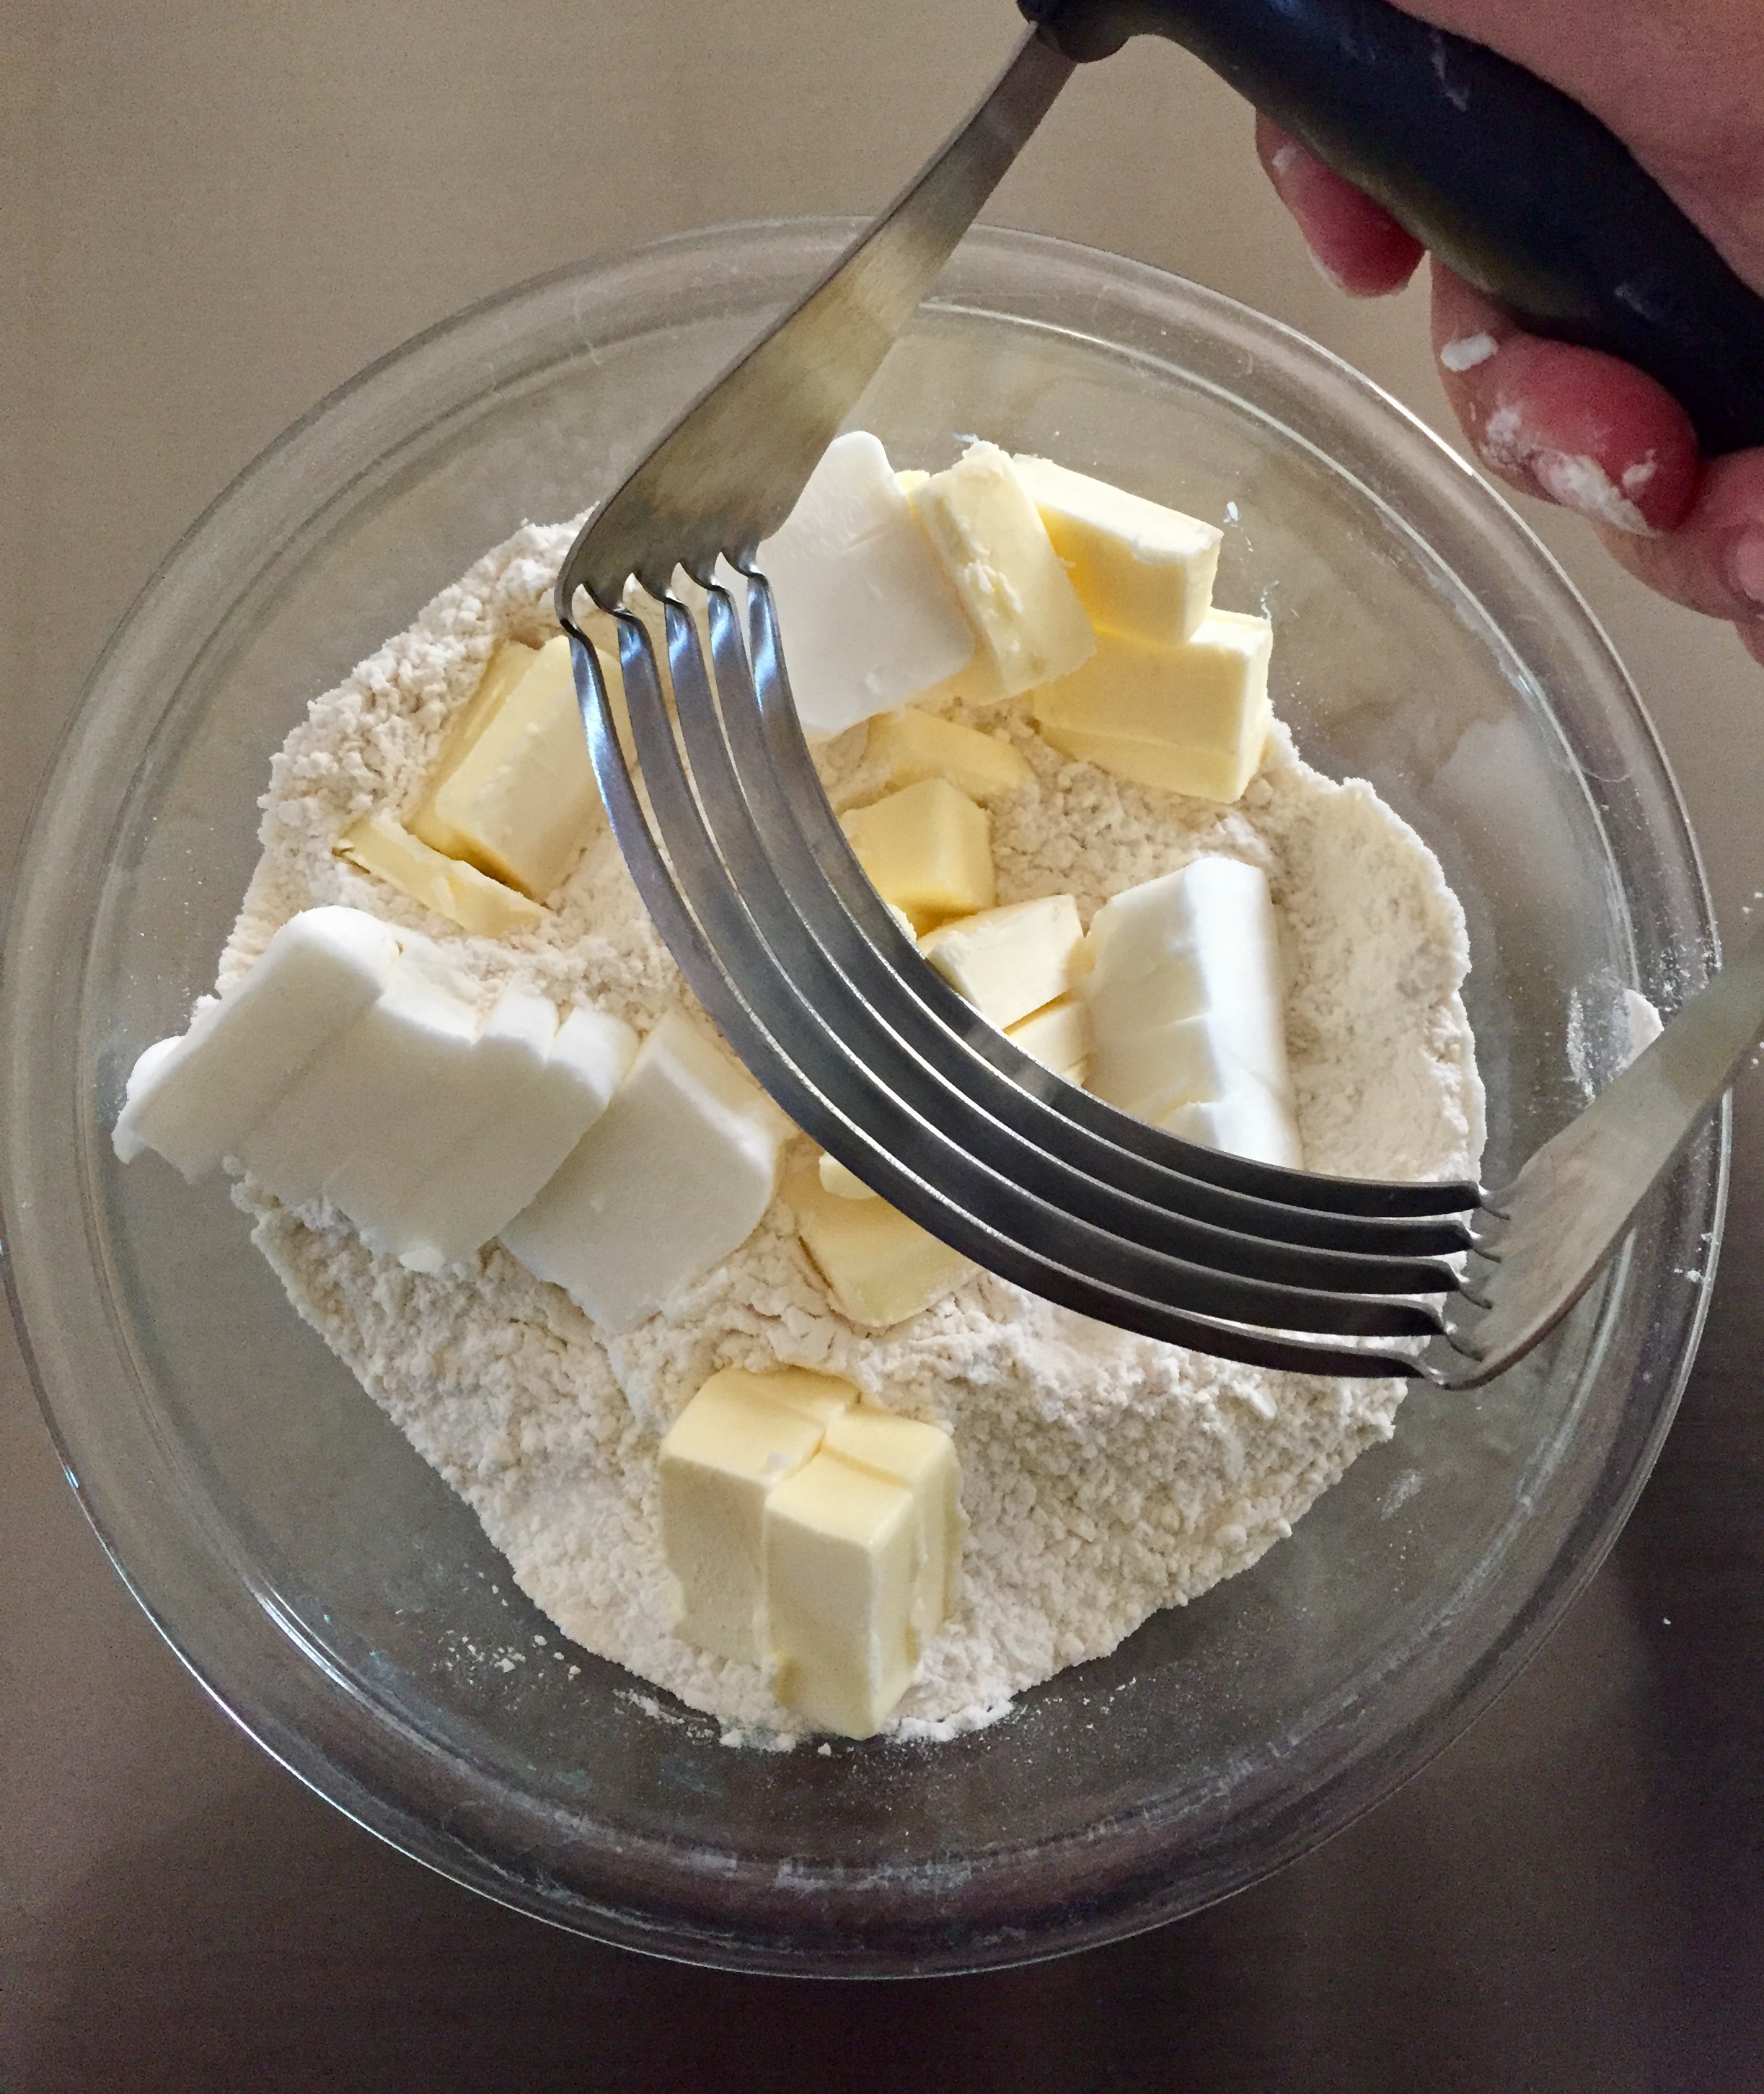
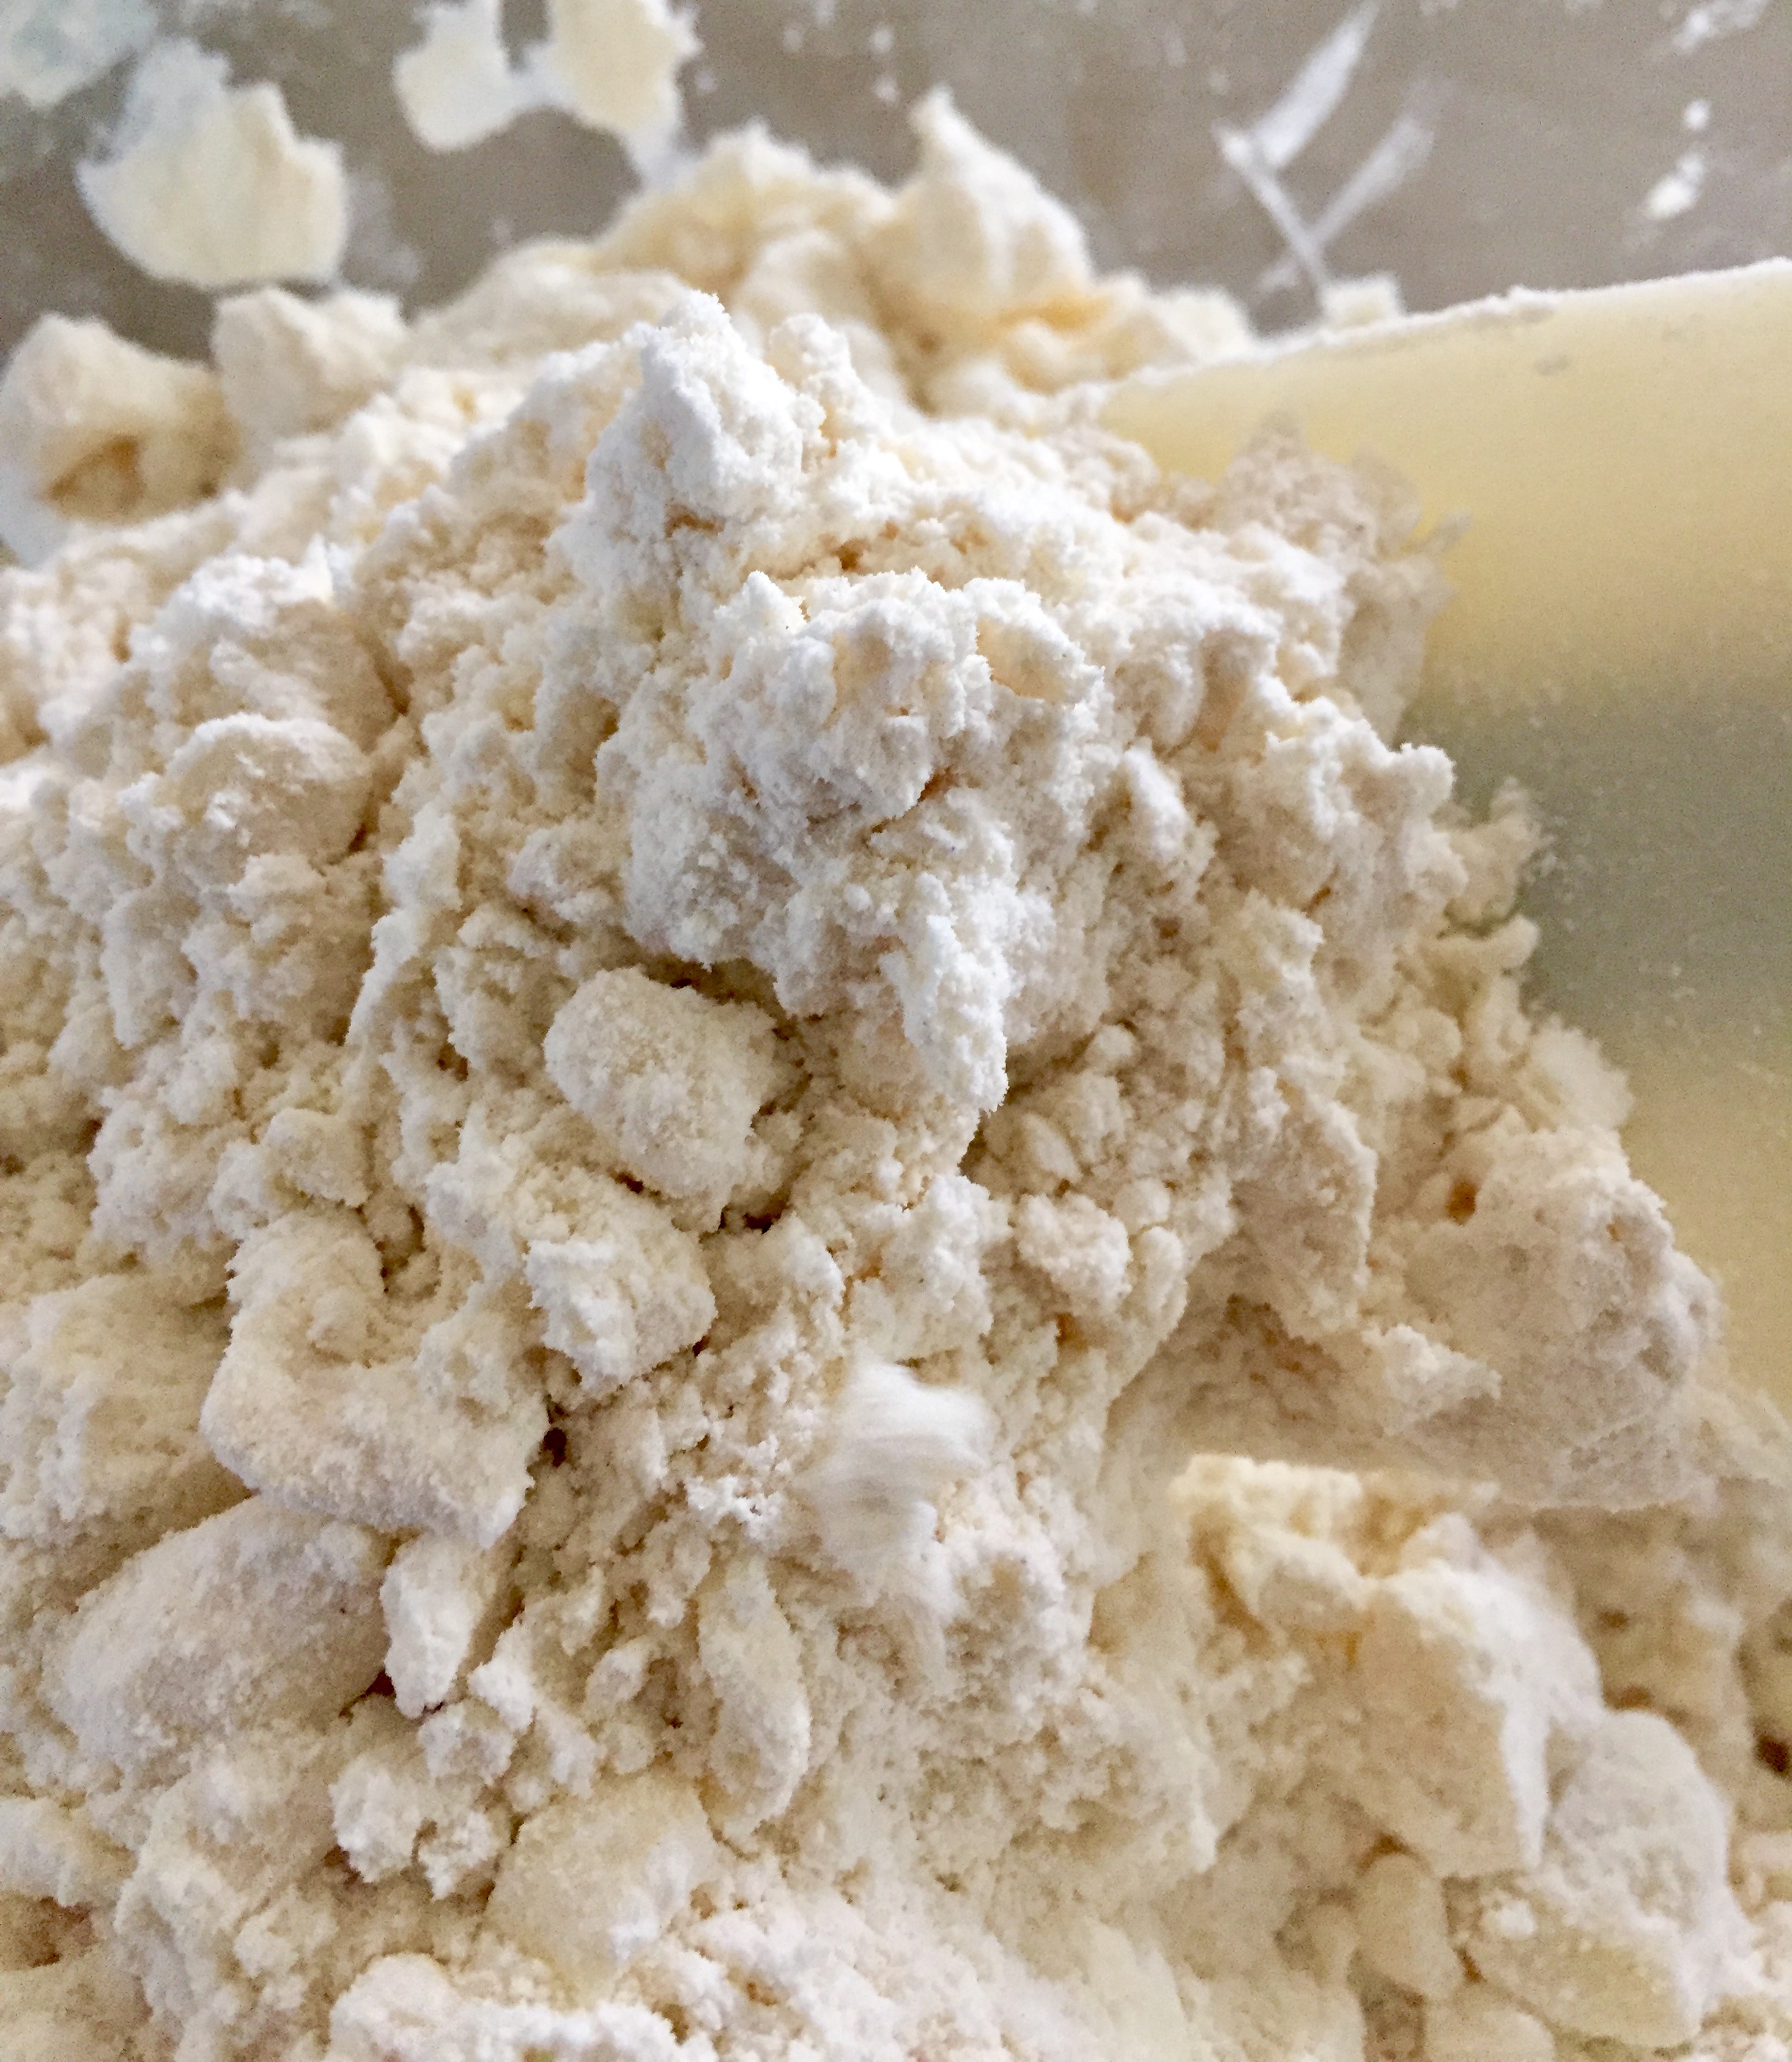
- Using a pastry blender or two table knives, cut the butter and shortening mixture into the flour mixture until the consistency is like cornmeal and dry and powdery. While mixing, make sure to mix in flour at the bottom of the bowl to ensure even butter and shortening distribution
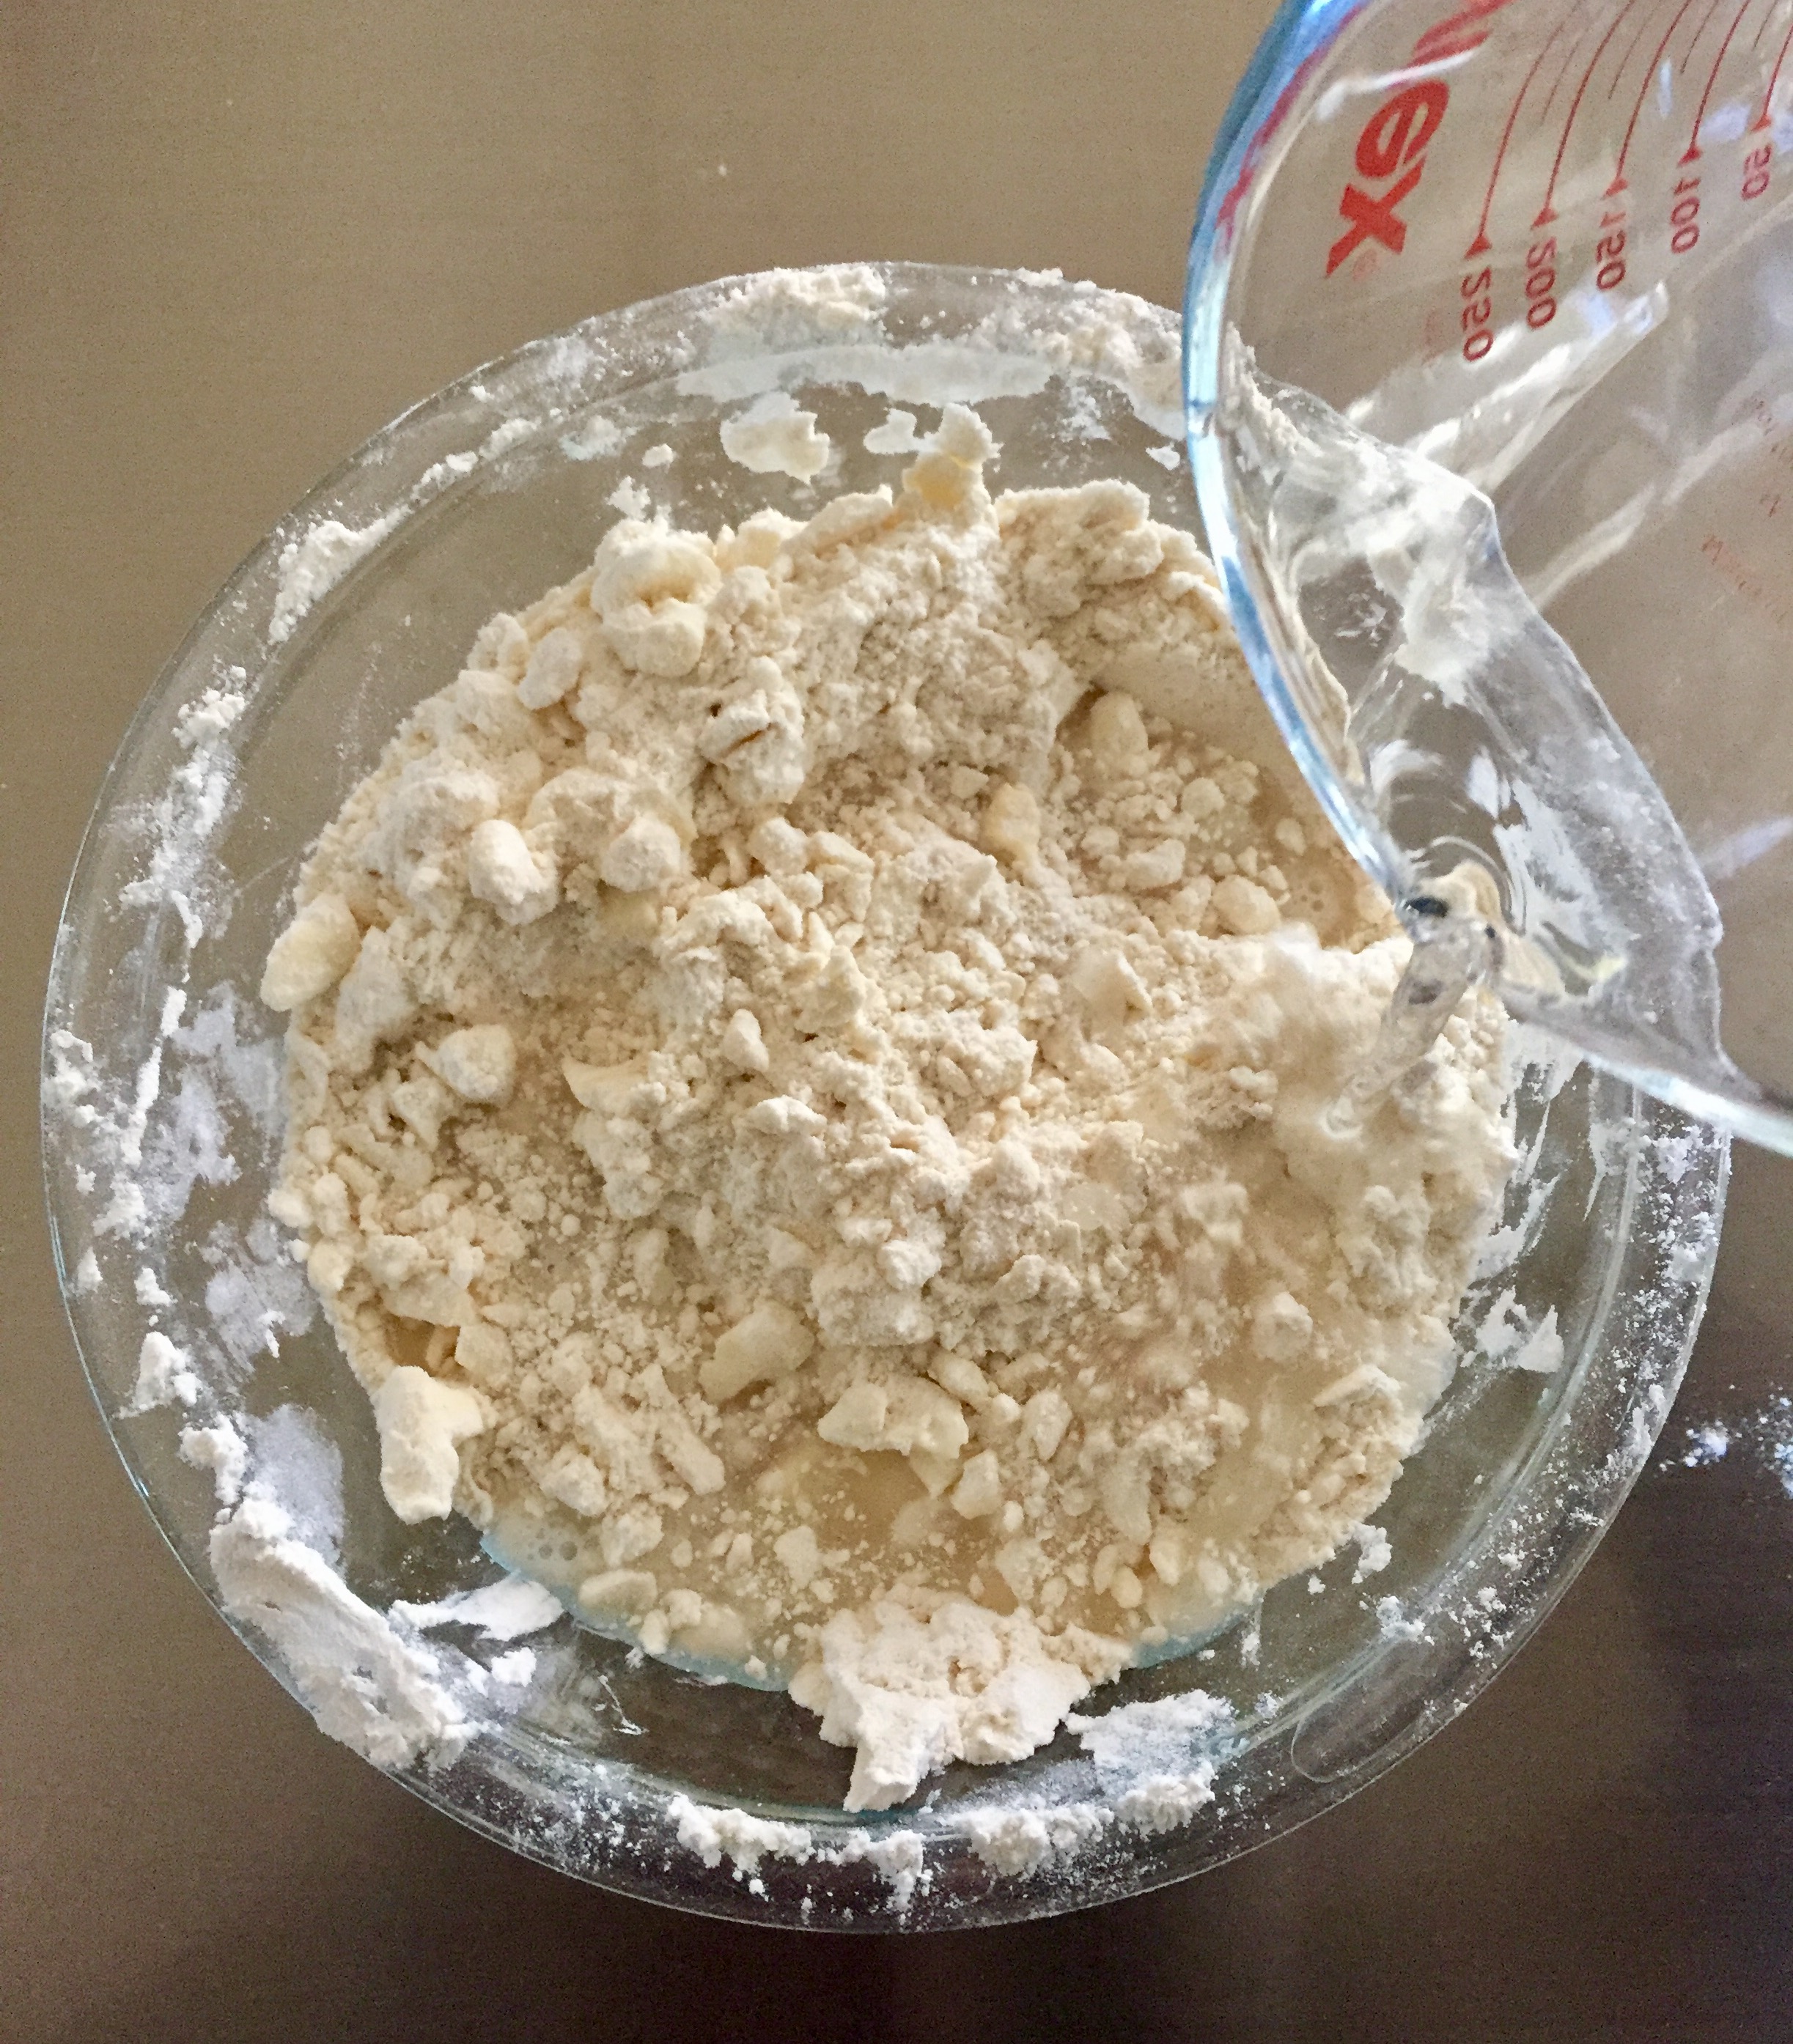
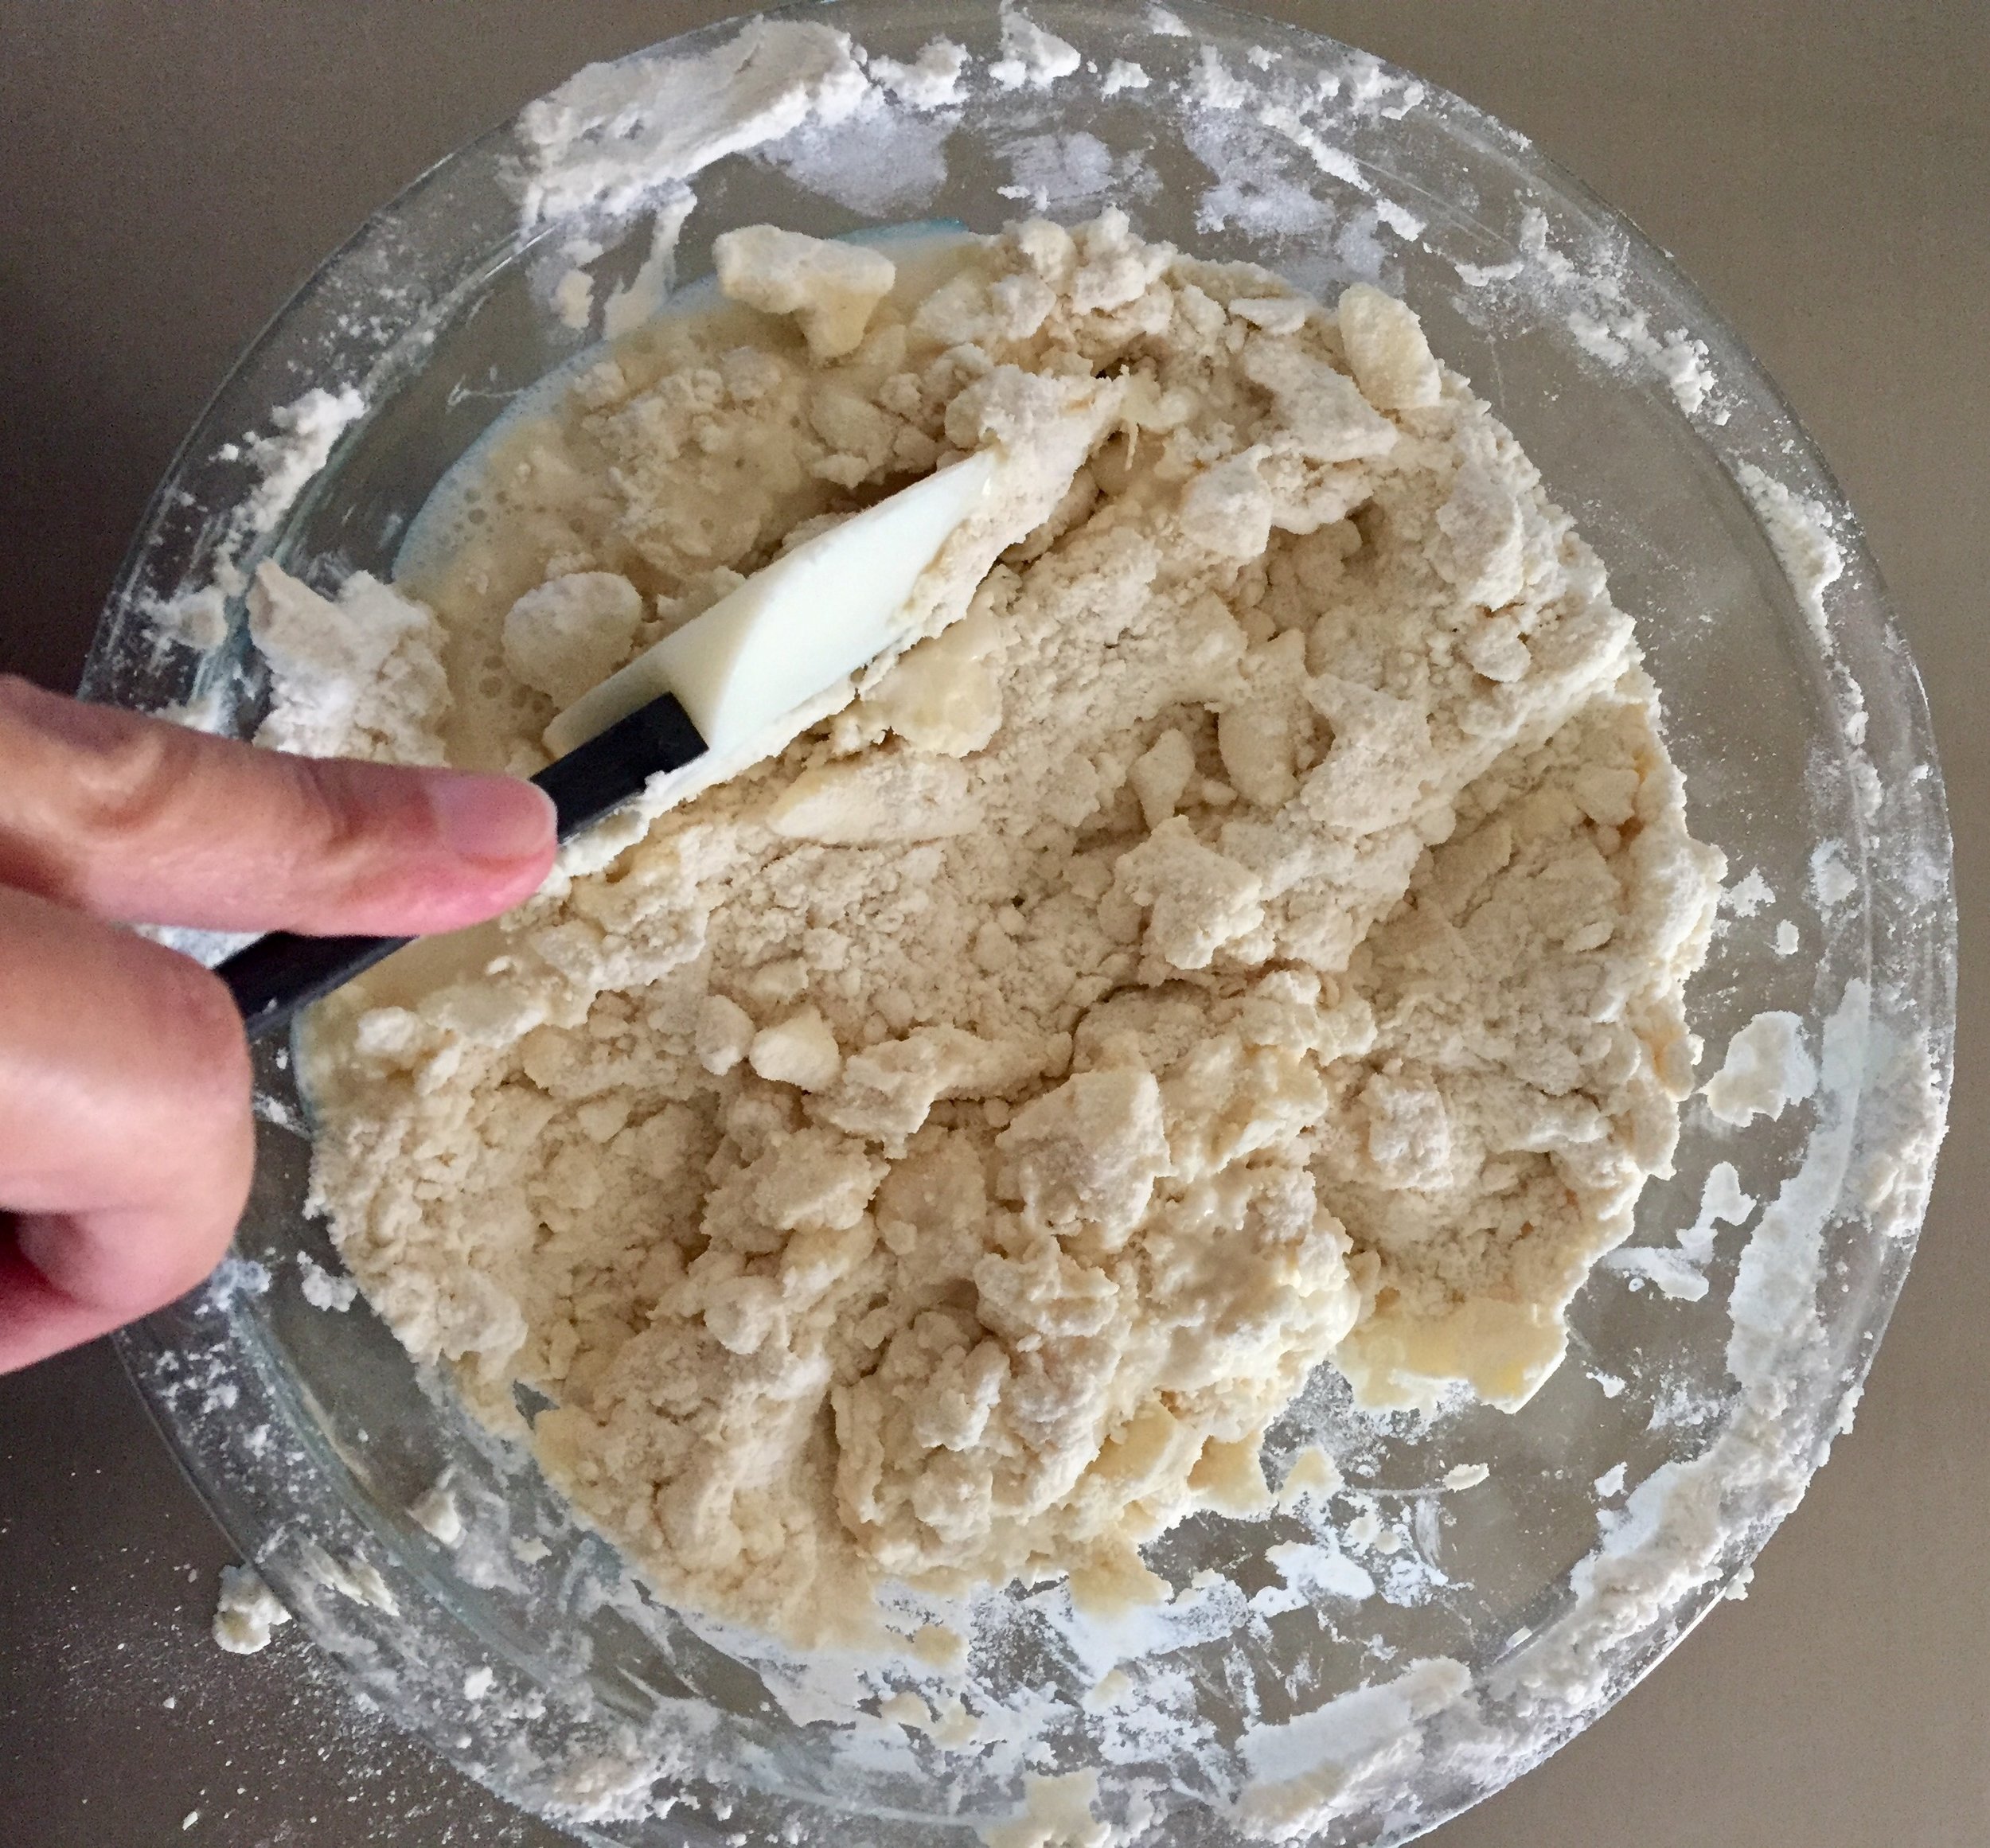
- Slowly drizzle water over mixture and using the spatula gently cut and mix water into mixture until small balls begin to form
- Once mixed in, press dough balls together with the bottom of the spatula. If the balls start to stick together, no more water is needed. If the balls are still dry and not sticking together, add 1 tablespoon of water at a time until desired stick is reached. Do not overwater, the dough should just bind together, not become mushy
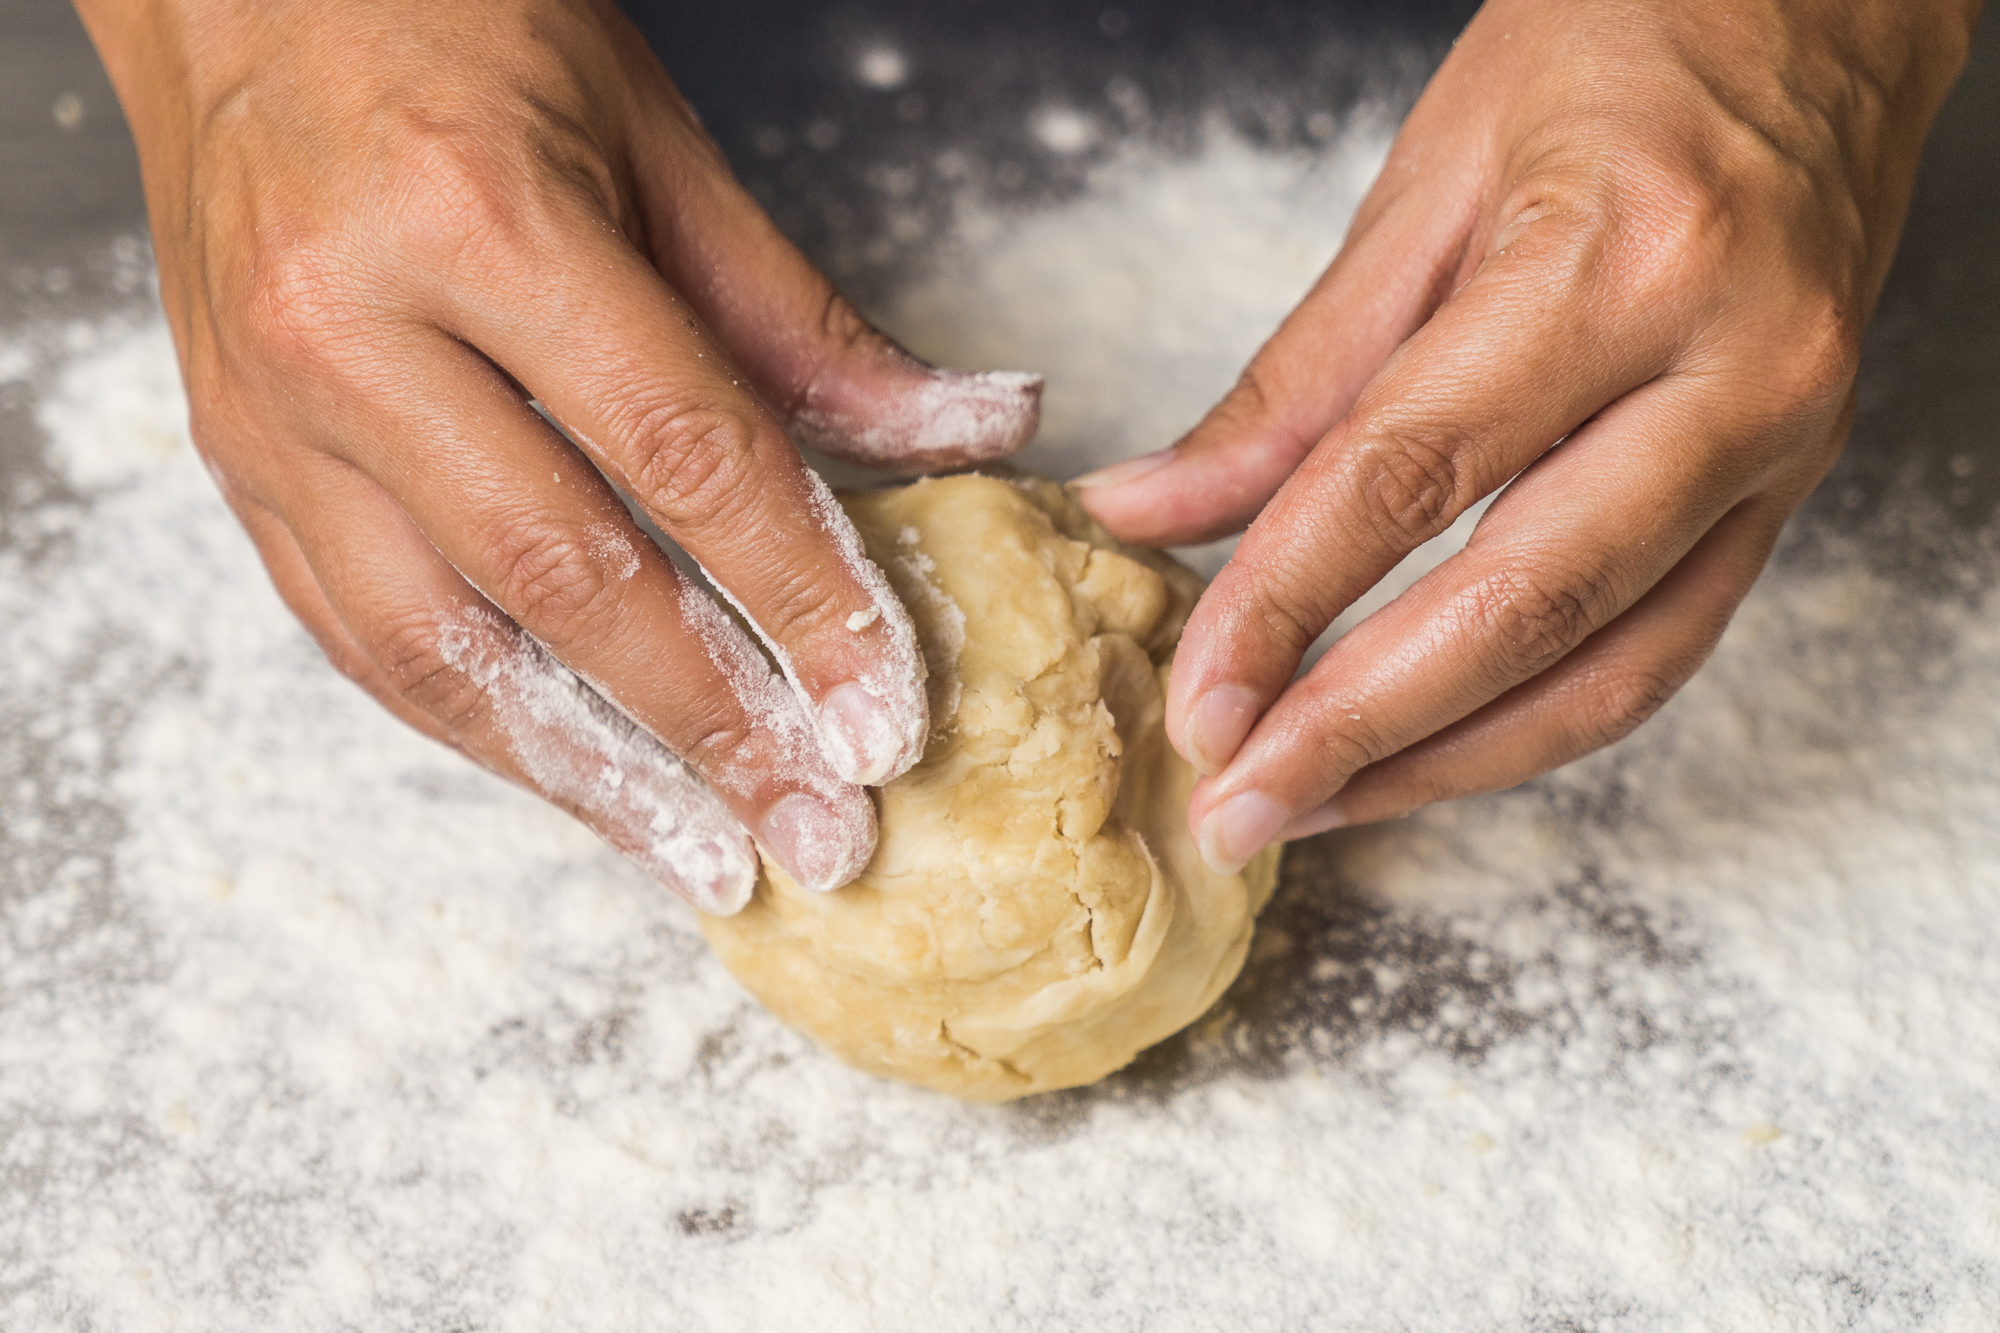
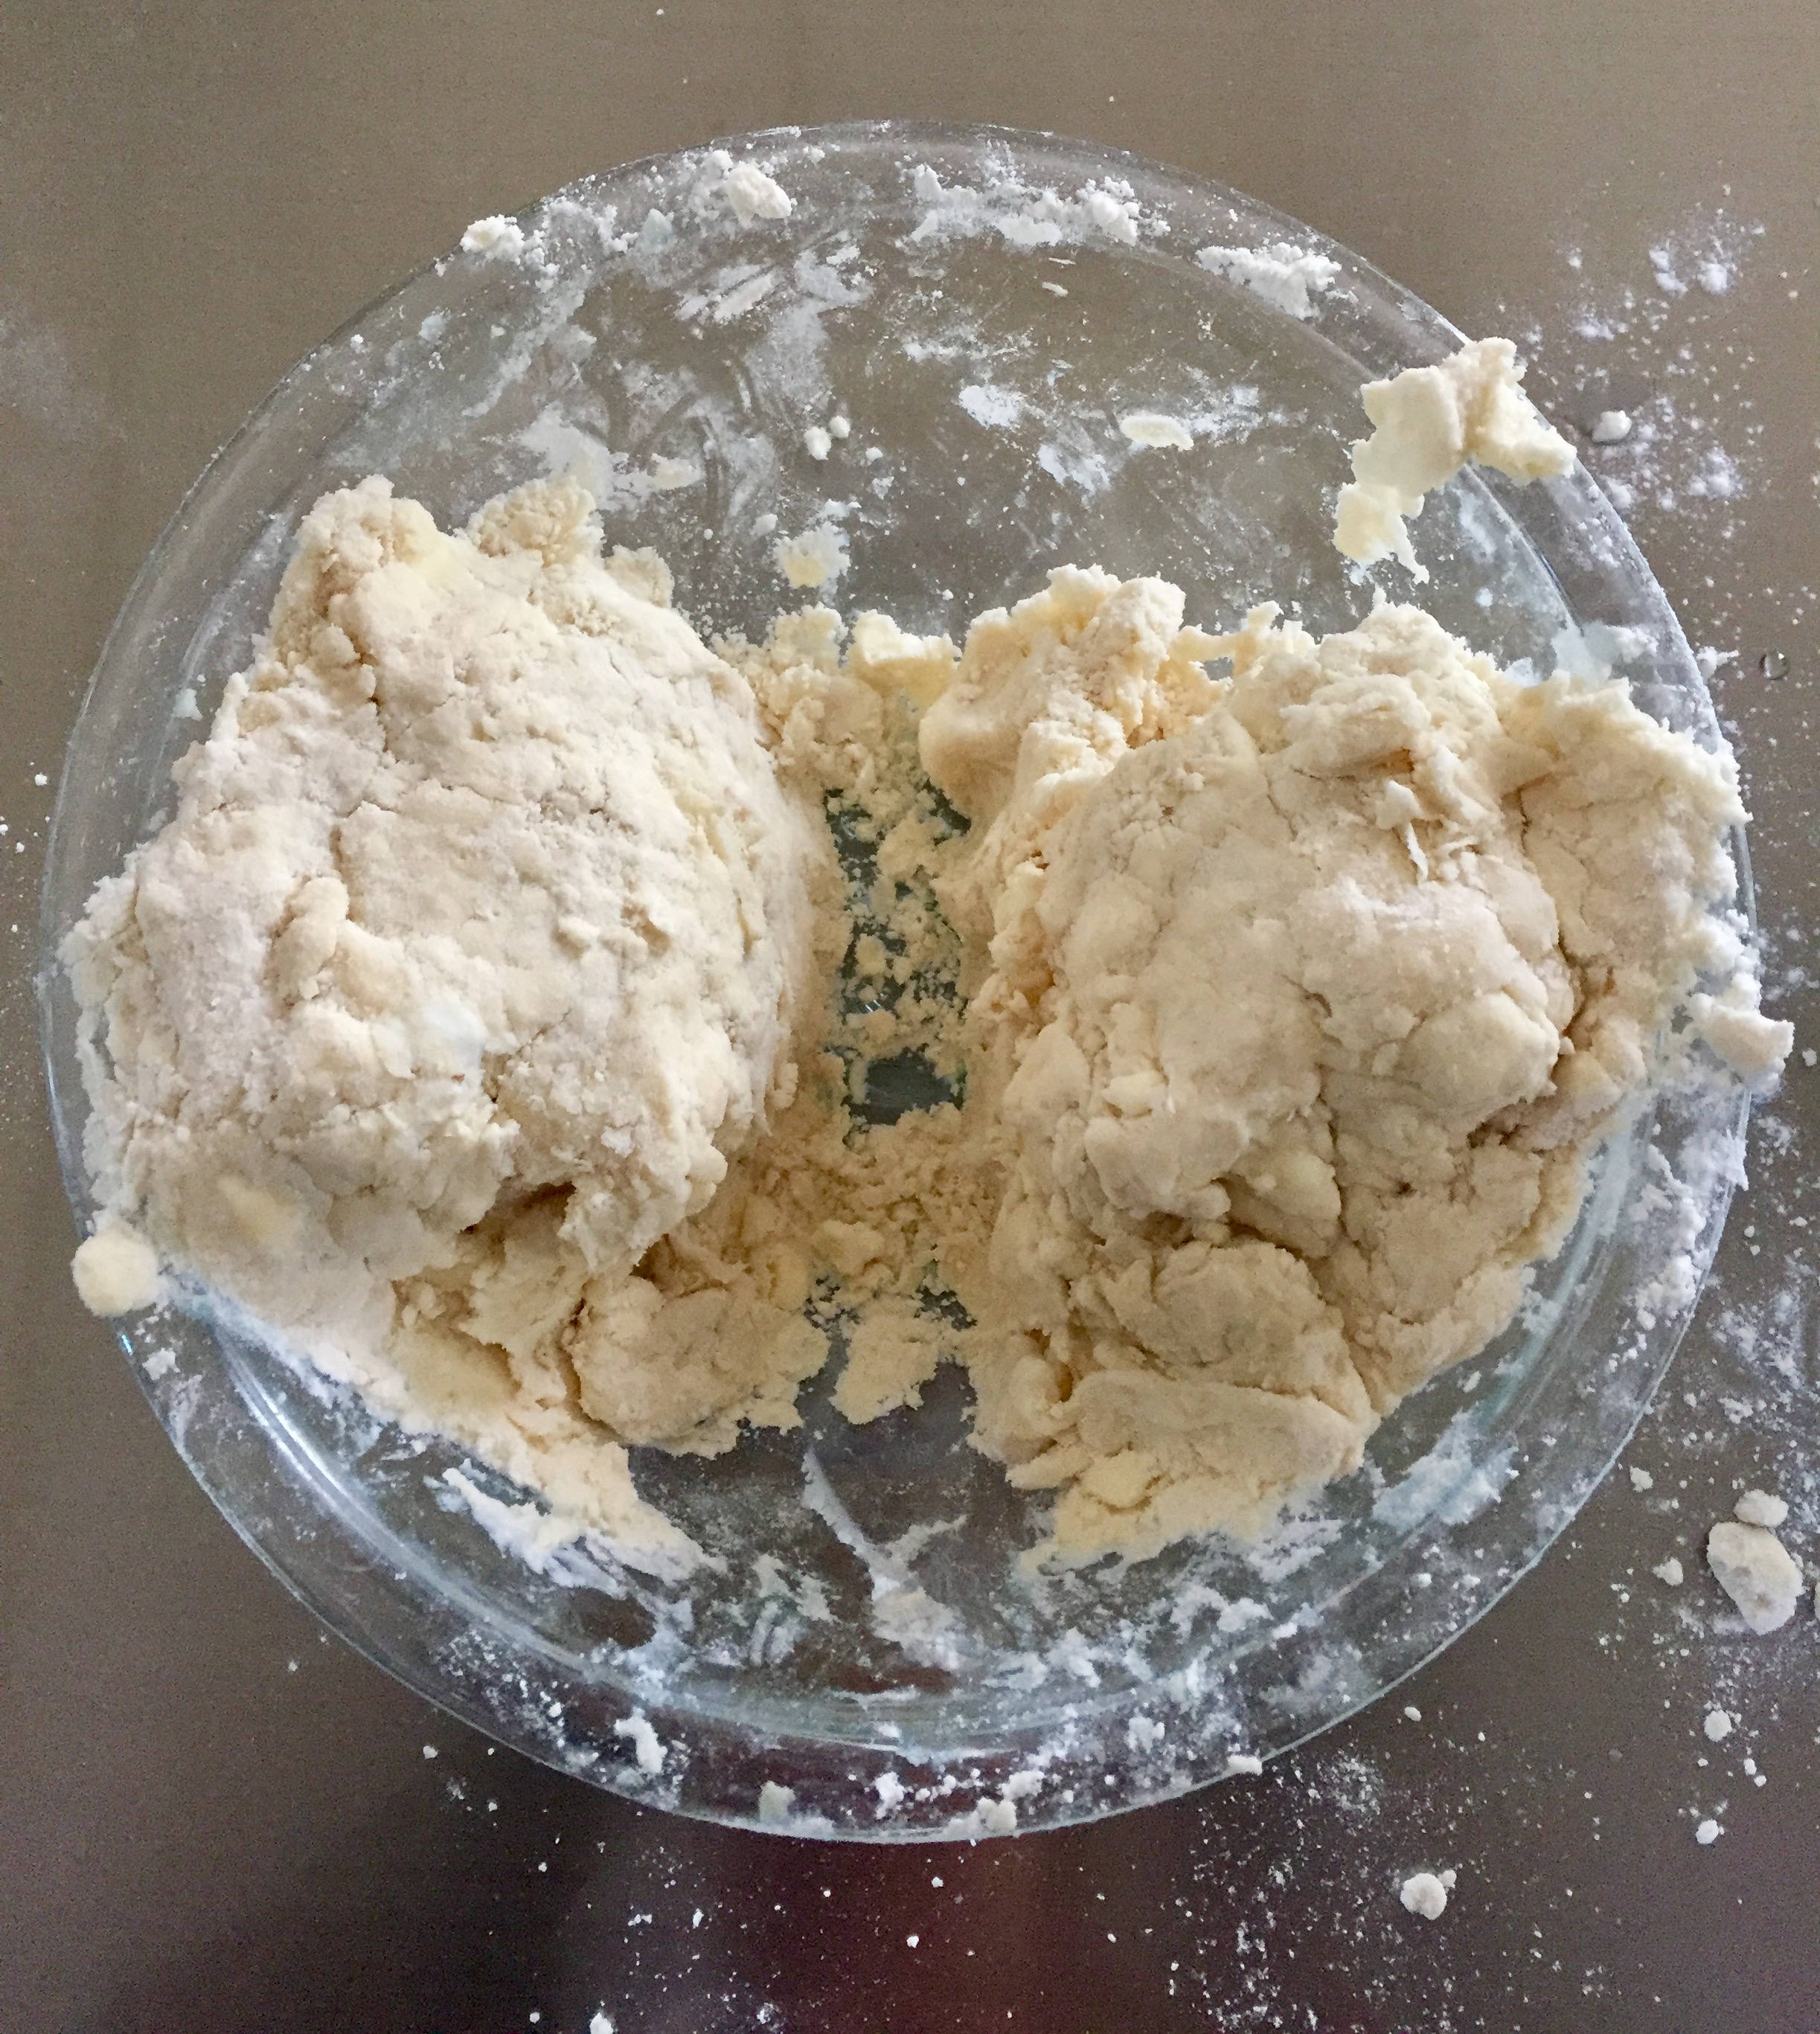
- Using your hands, divide the dough into two balls, press the balls together so all mixture is included and place each ball on one large piece of plastic
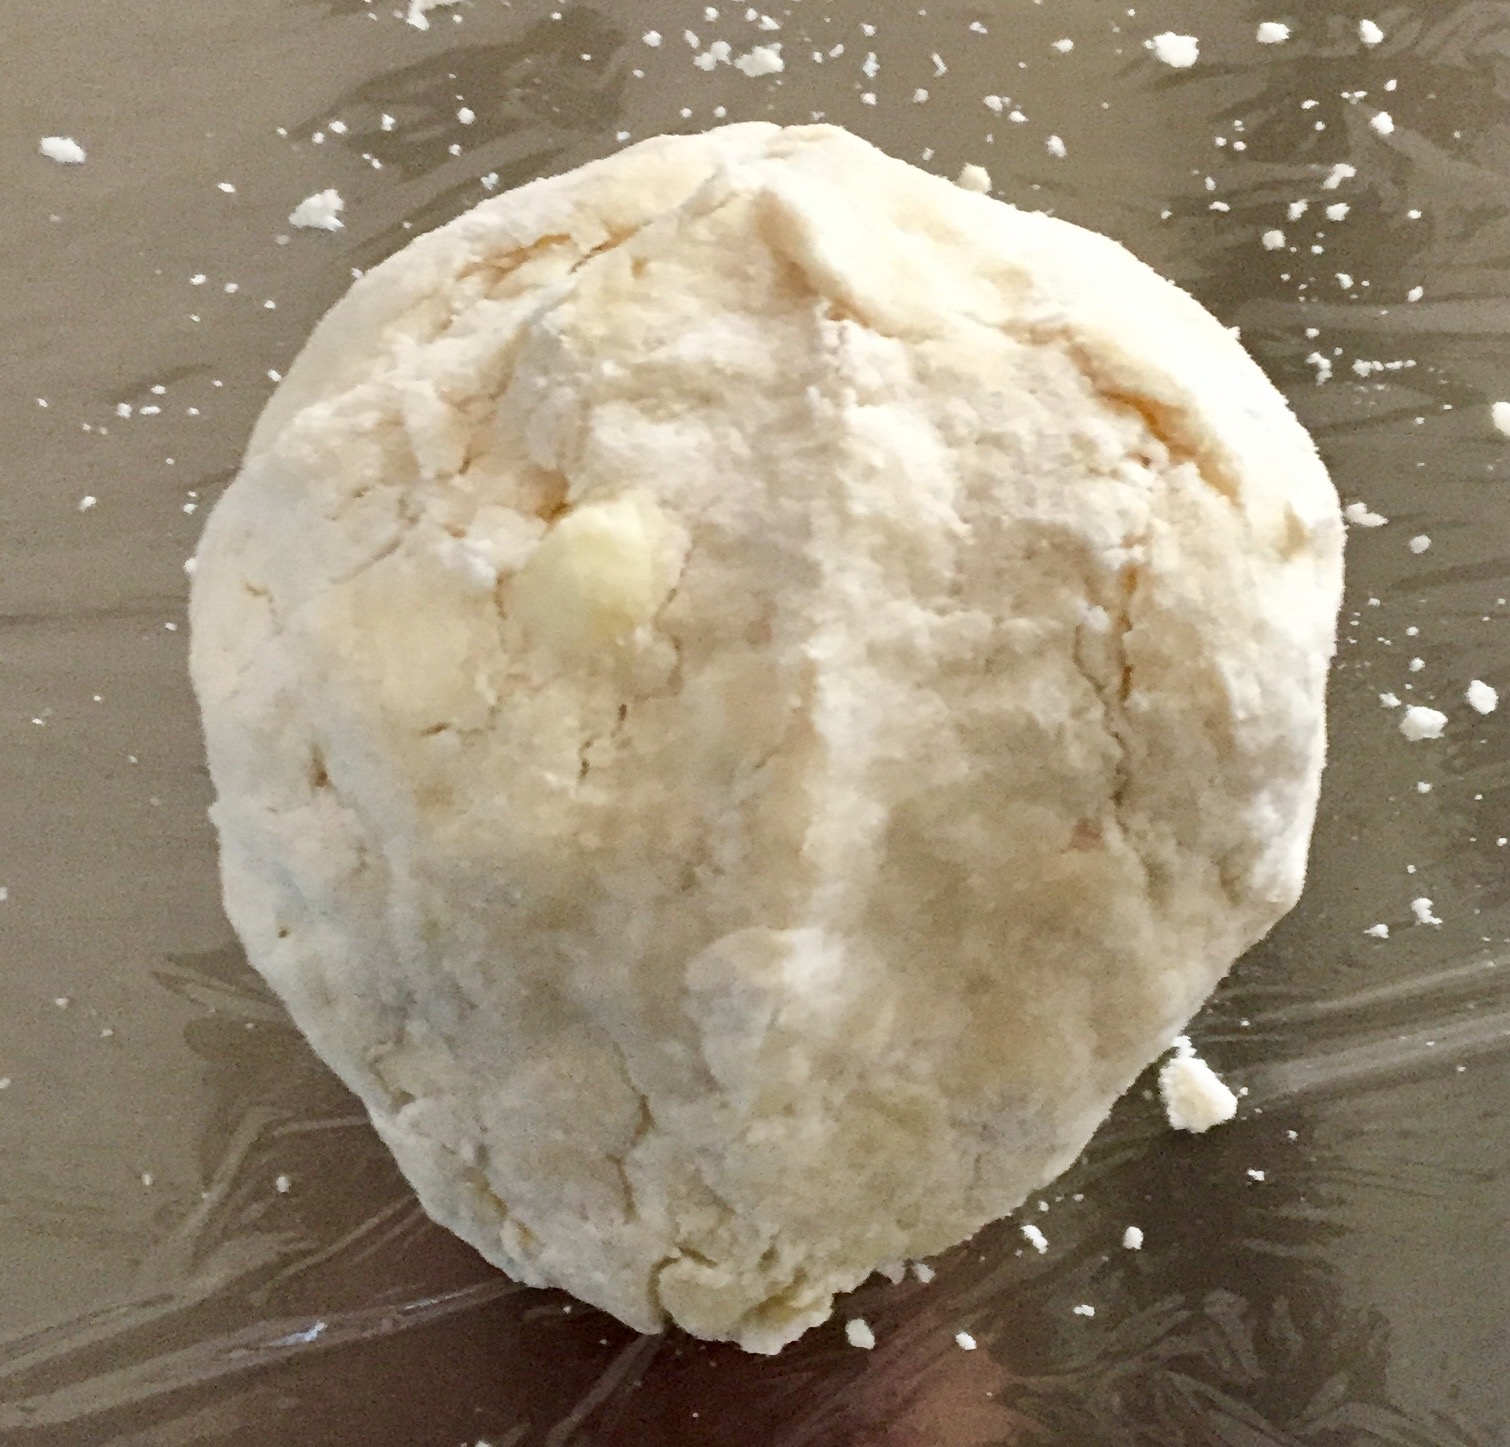
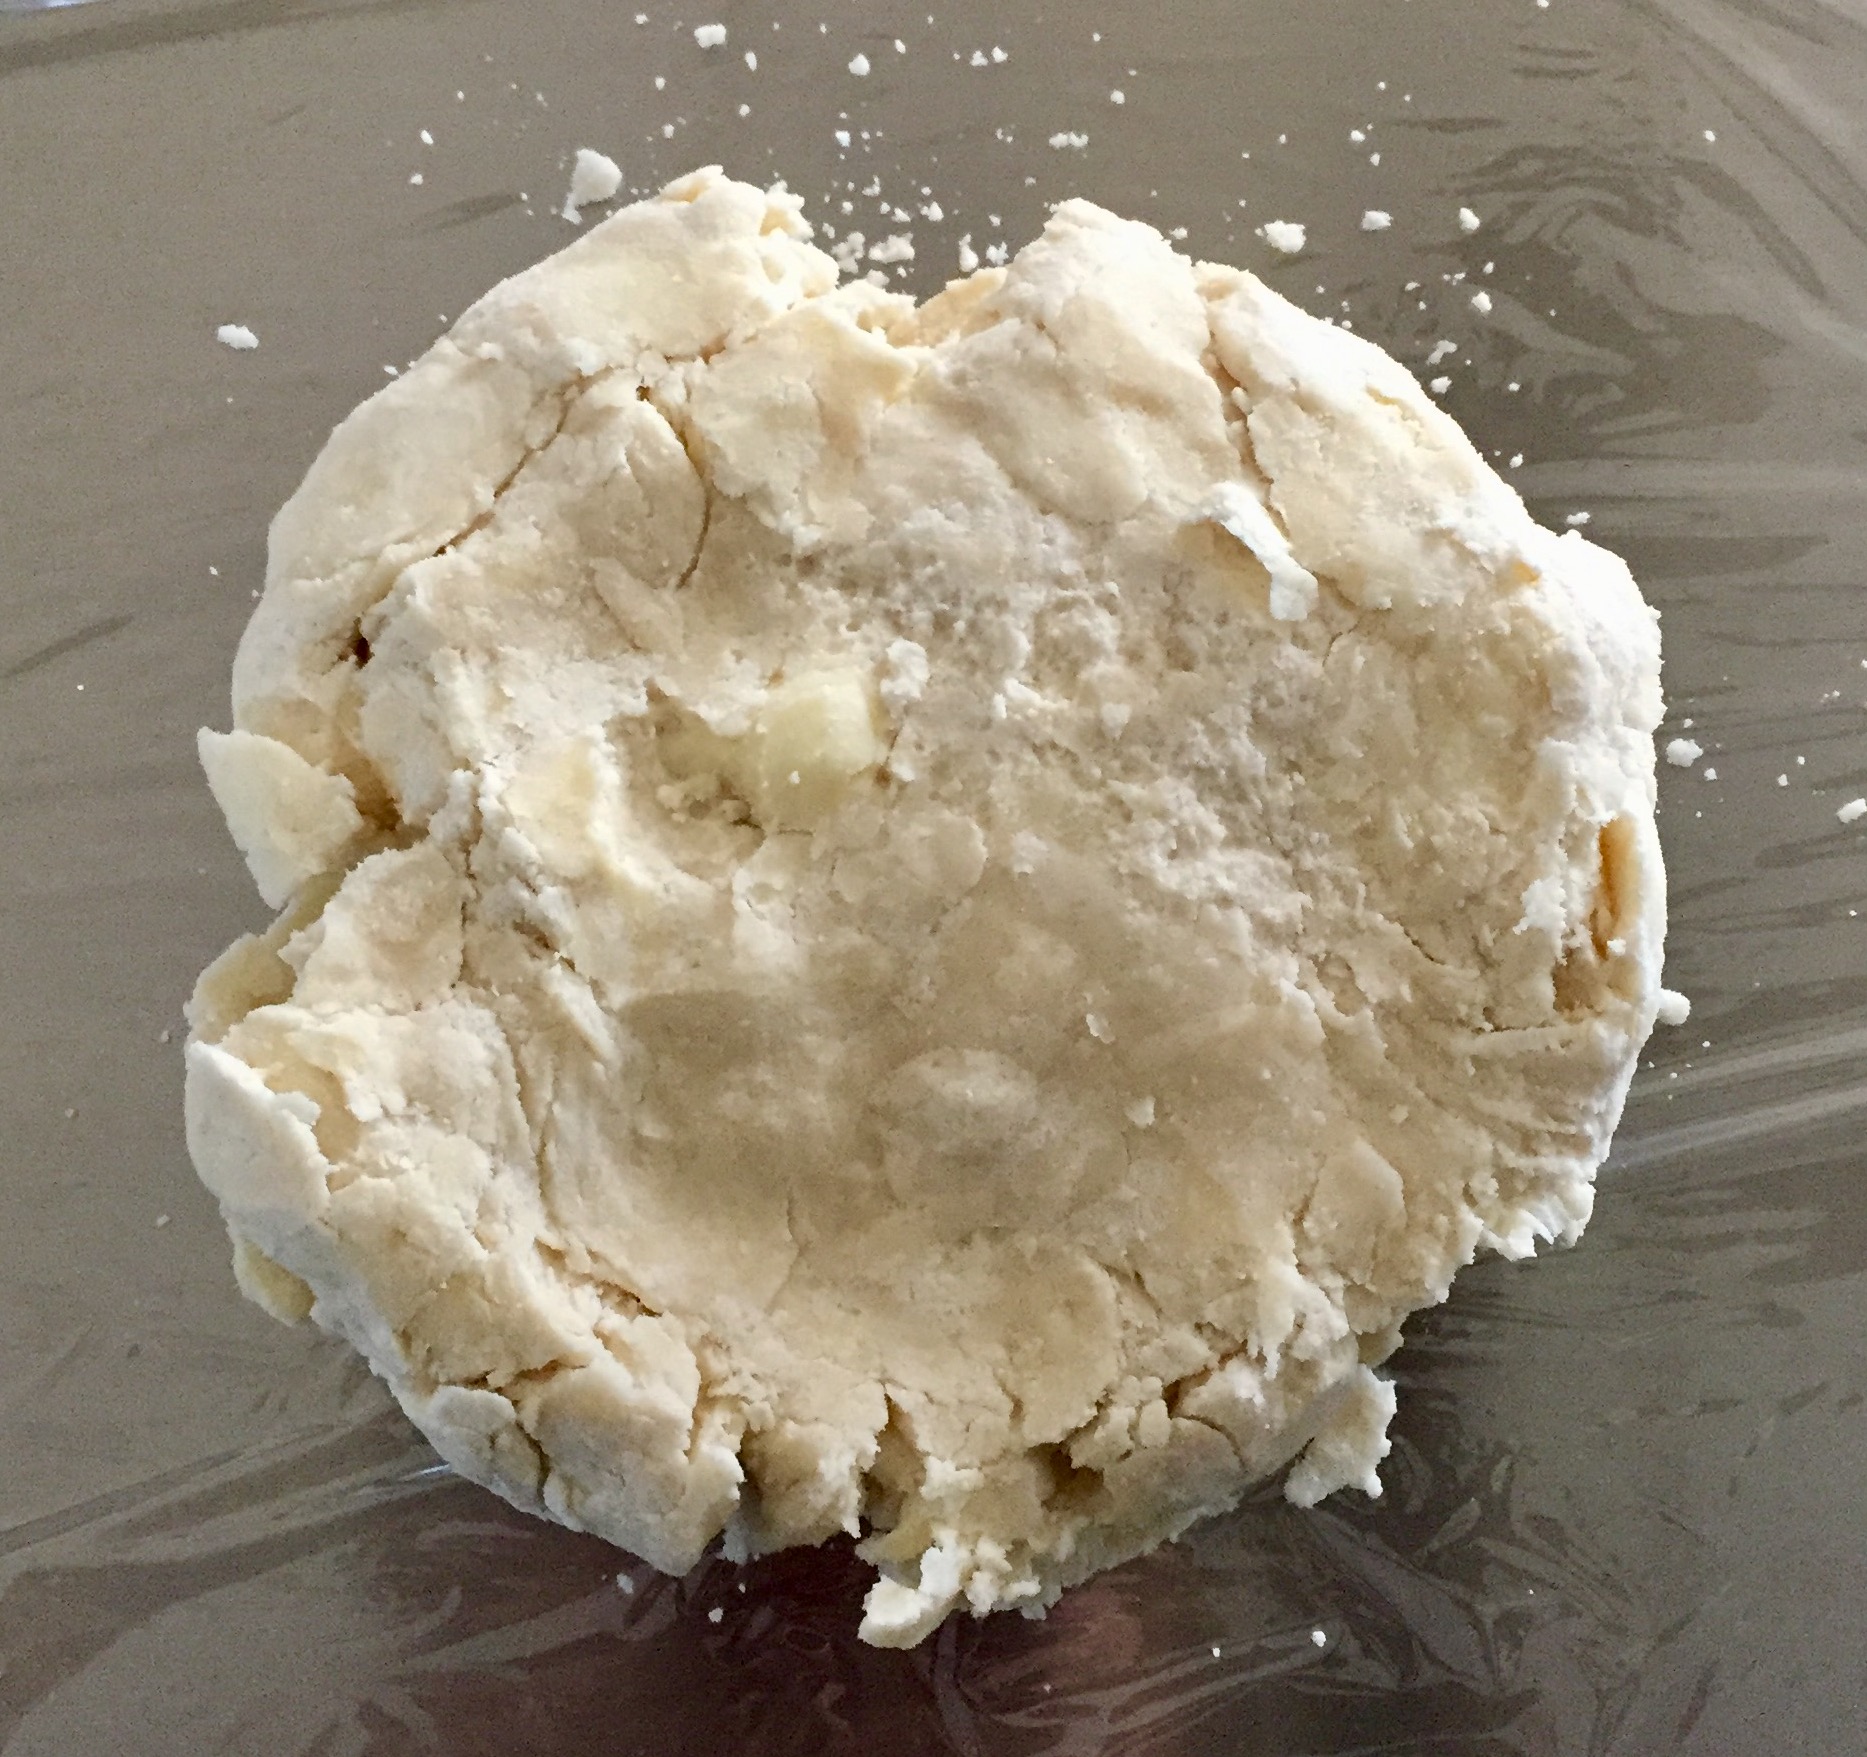
- Flatten each ball into a round, flat disc and cover each with plastic
- Refrigerate dough for at least 30 minutes. At this point, dough can be allowed to rest in refrigerator for up to two days or placed in freezer bags and frozen for up to 6 months
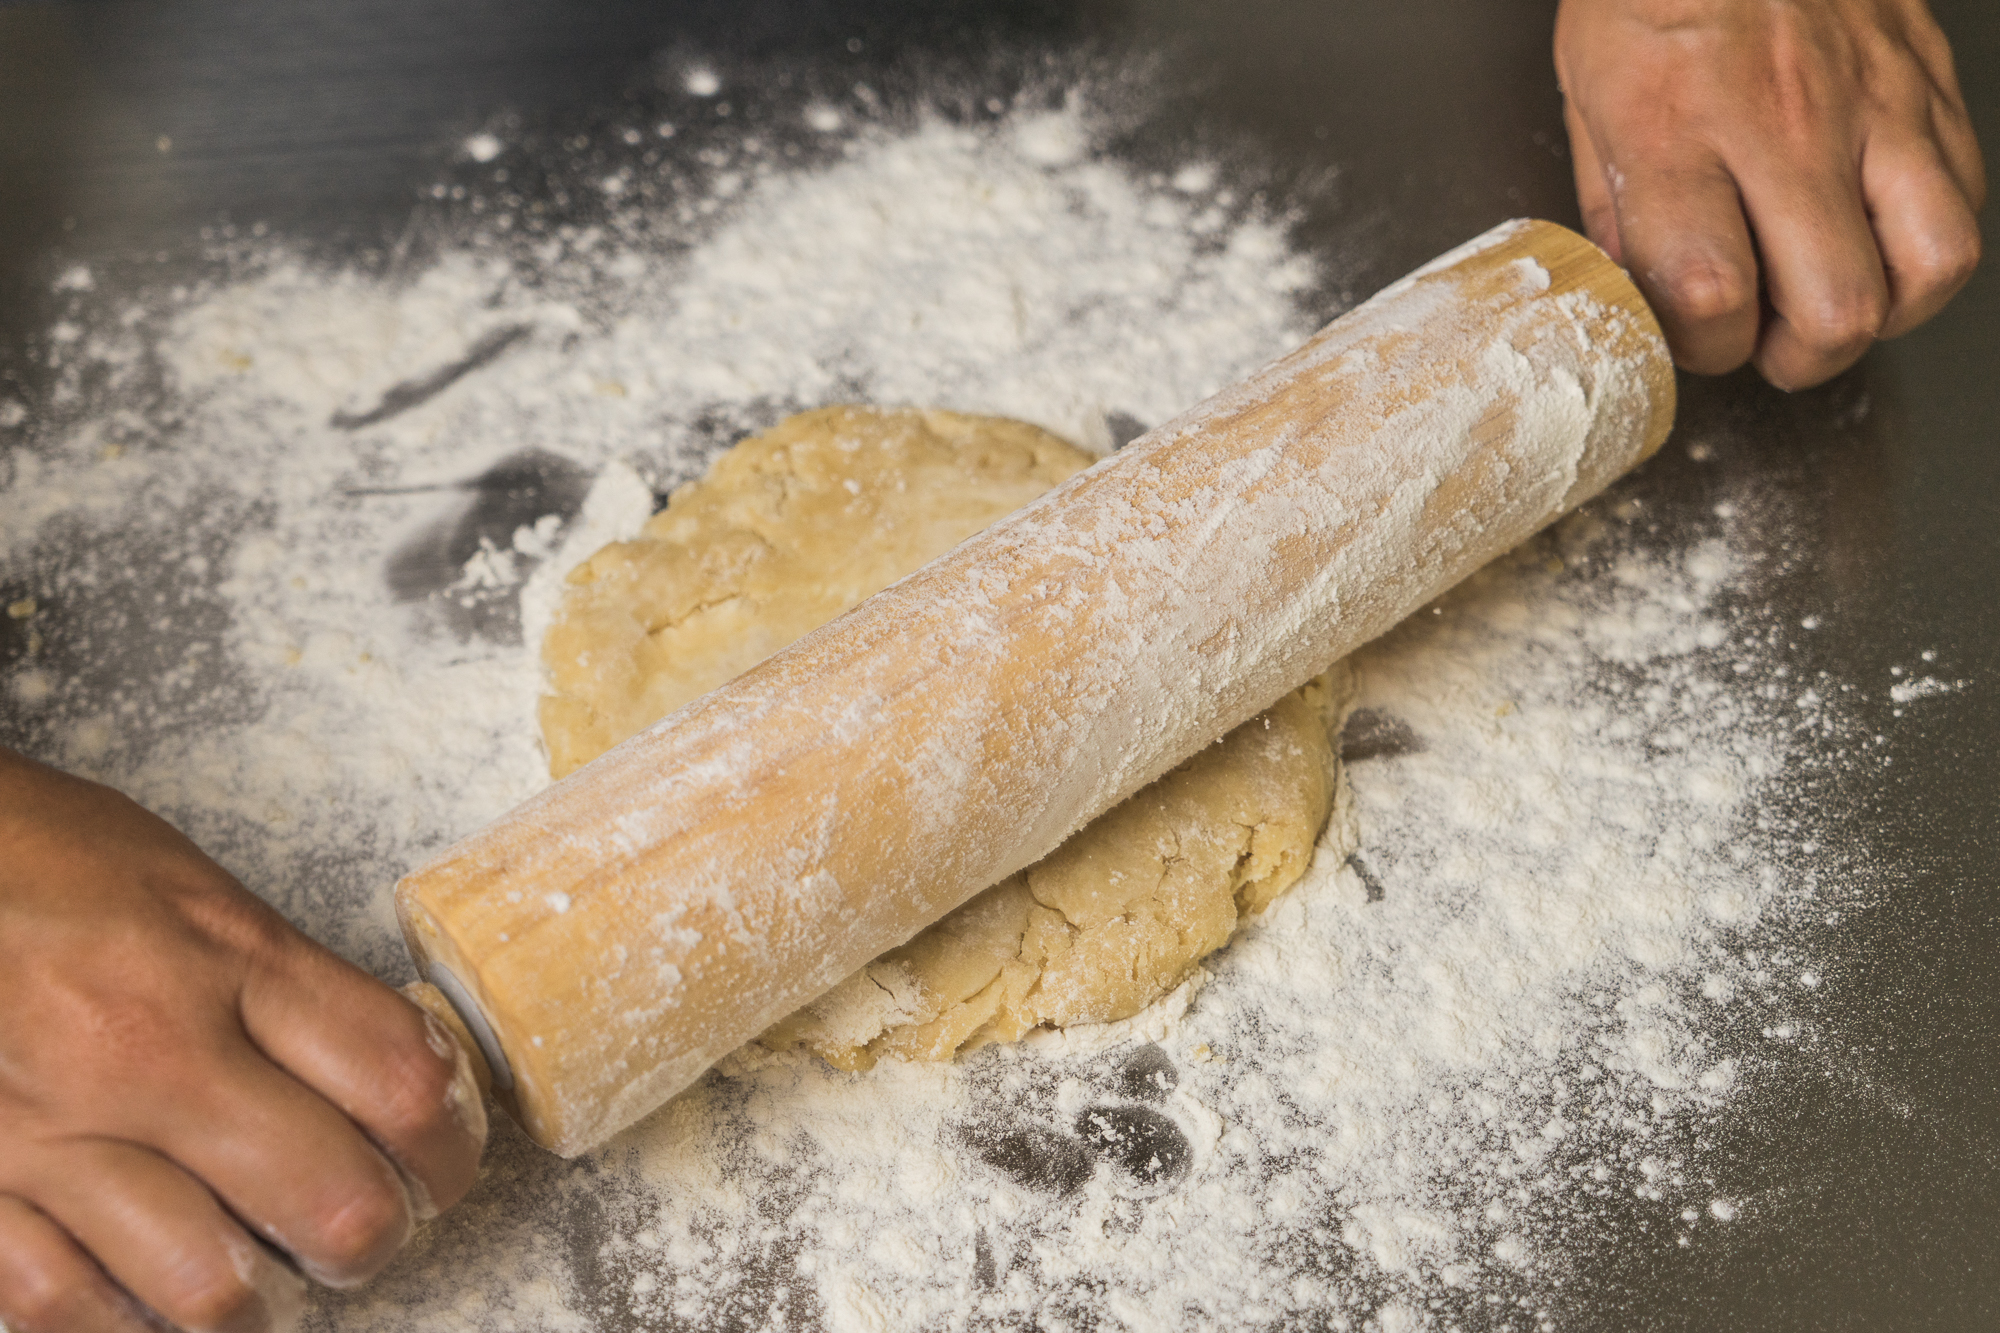
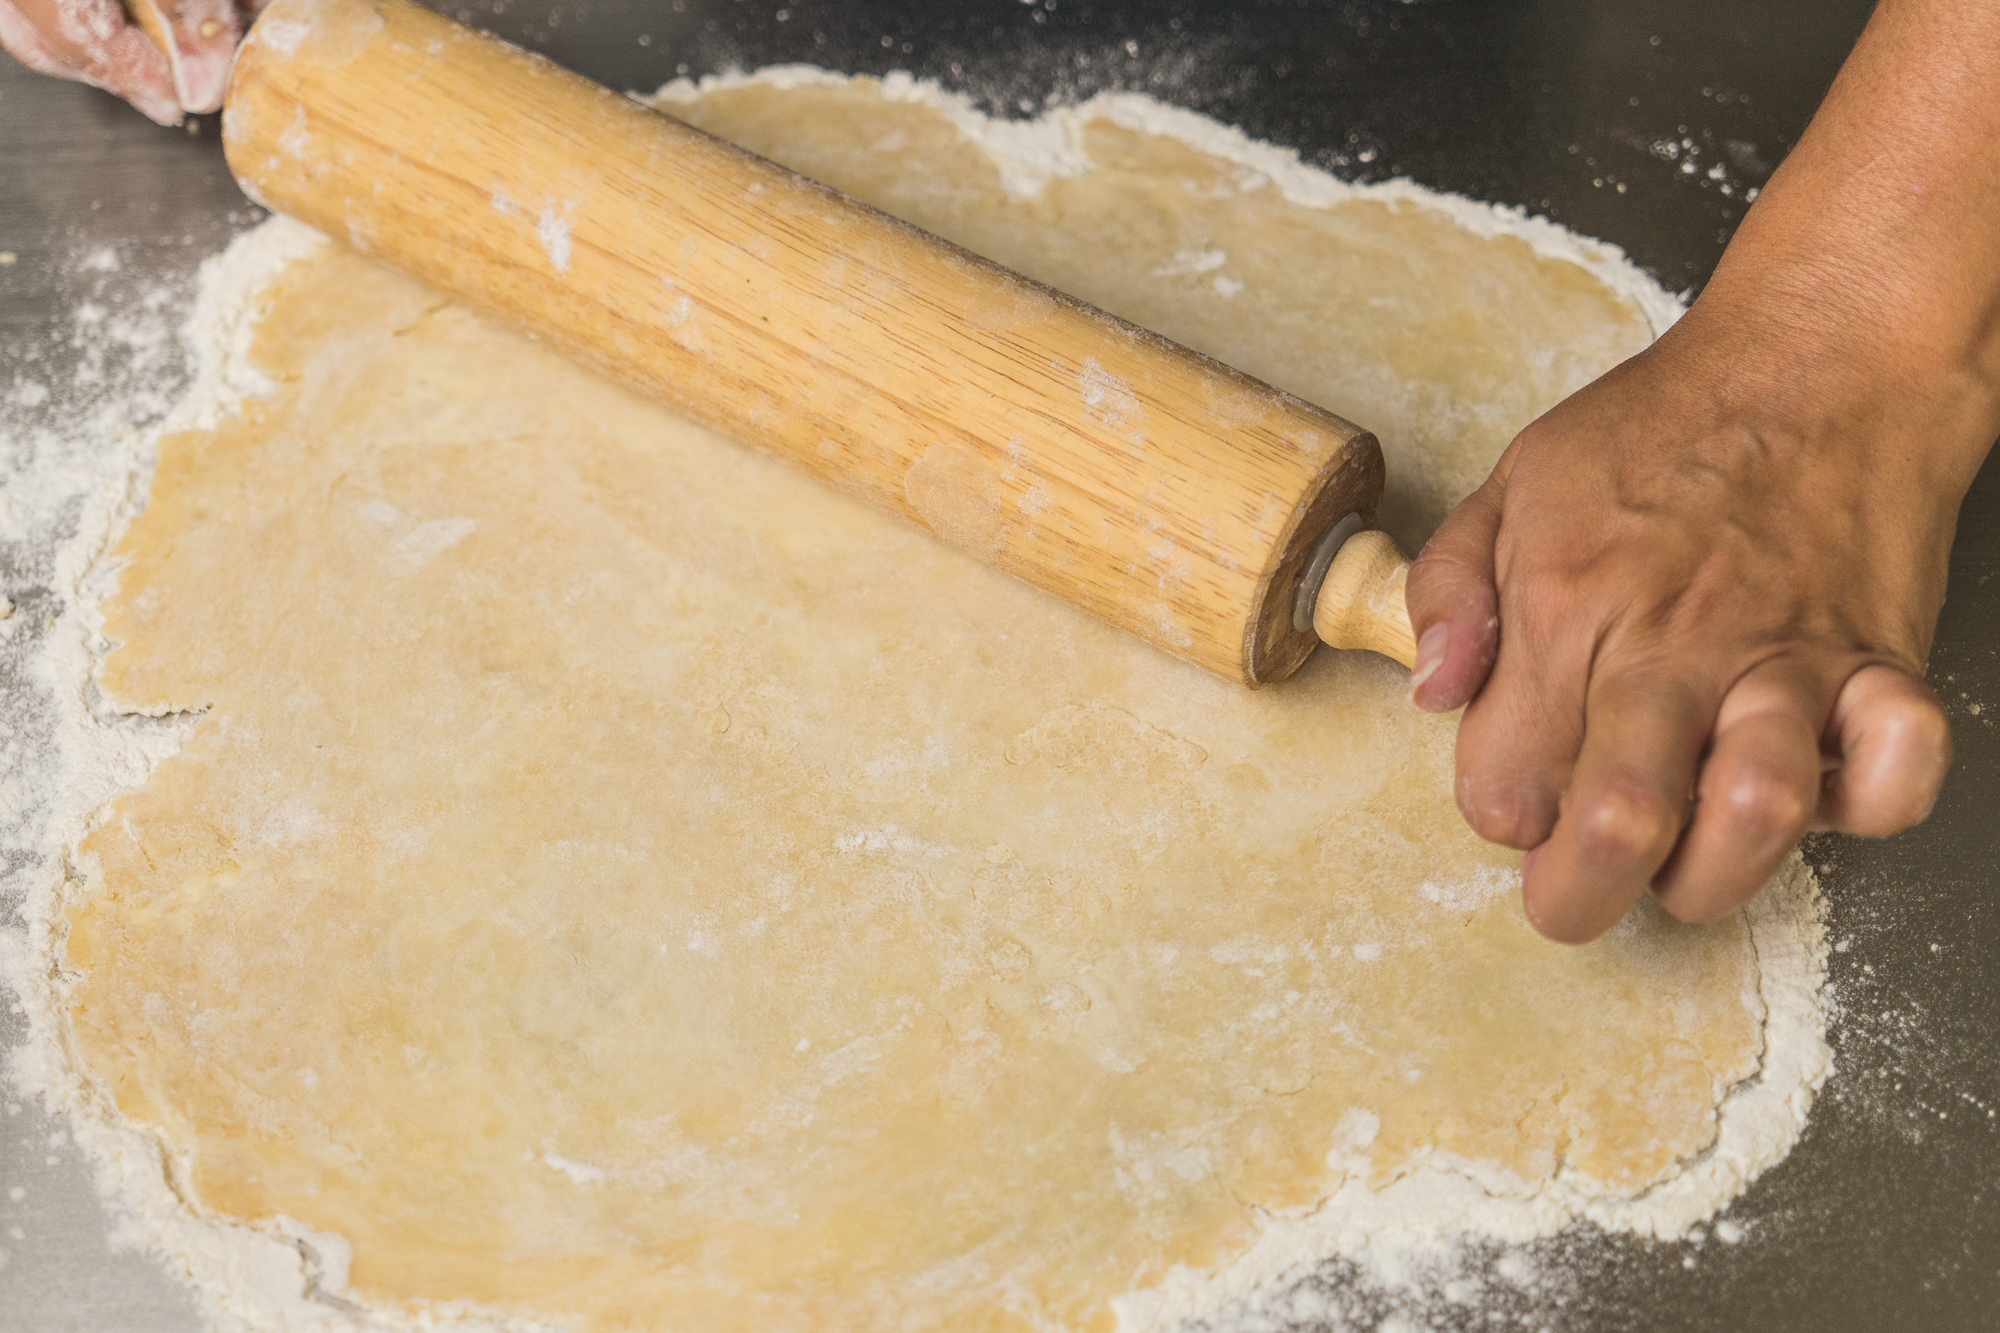
- When ready to roll out dough, remove from refrigerator at least 10 minutes prior or thaw fully if frozen and flour a good sized work area to roll out the dough
- Using a floured rolling pin, roll each dough disk out to desired size (up to 9 inch round) and use per recipe requirements
Tips
- Real butter is a must in this recipe. Using stick margarine will greatly alter the flavor and texture of the crust and not in a good way. Butter is on sale much of the holiday season so stock up when you can to avoid sticker shock.
- I prefer stick vegetable shortening which is shaped just like stick butter and is much easier to measure out than the tub but if tub is all you have it works the same and can be used. Stick vegetable shortening can be found in the same areas as all other cooking fats and oils.
- If you are using the crust to make a two crust pie (apple, cherry, blueberry or a savory one!), I have found that pre-baking my bottom crust in a 375 degree oven for 5-7 minutes keeps the bottom crust from becoming super mushy when you add the filling in. Follow baking instructions for your recipe after you have done the pre-bake.
- Once you get the hang of crust and make a few for the freezer, you will not go back to store crusts unless it really a pie emergency! Crusts require simple ingredients and simple tools so all you really need is just a bit of patience and practice.