Pizza Dough (Food Foundations)

My family loves pizza. Wait, let me rephrase that. My family LOVES pizza! Lately we have taken a real shine to pizza made in our own oven with ingredients we combined ourselves. For me this is quite the accomplishment as not too long ago, the thought of making my own pizza right down the dough was pretty intimidating.
But then like so many things, I gave it a try. Then I tried again and again. And then I found the sweet spot of topping, sauce and dough that made pizza magic happen! I believe that the first major step in mastering from scratch pizza is finding a pizza dough recipe that you love, can easily make and always comes through for you. Once you have that, it’s just chop, top and go! But getting to that sweet spot can be tough. Just check out my past Friday Fails to see how close I came to never finding a recipe for dough I could do. Nothing is more frustrating that pizza dough that tears, sticks and just doesn't have a good flavor.

So today I'm going to spare you all of the frustration and let you in my secrets to pizza dough that (mostly) cooperates! This recipe was inspired by the Betty Crocker method for making pizza dough with some tips and tweaks I found worked best. Pizza purists turn away but one of the things that really made my life easier for pizza making is to use a rolling pin to shape the dough. I know this is a cheater method but if I have a choice between making amazing pizza my family loves in under two hours or driving myself crazy trying to make it the "right" way, I'm going with the cheater method. So go ahead, get the rolling pin out, grab some of your favorite toppings and give this a whirl. Before you know it, you will be a pizza machine and can join my family in doing Pizza Friday or whatever night a pizza craving strikes.
Pizza Dough (Food Foundations)
Prep Time: 15 minutes | Total Time: 50 minutes | Makes: 2 crusts
Ingredients
- 2 1/2 to 3 cups all purpose flour
- 1 tablespoon sugar
- 1 teaspoon salt
- 1 packet yeast (2 1/4 teaspoon if you buy jars)
- 3 tablespoons vegetable oil
- 1 cup water at 115-125 degrees F
- Cornmeal
- Vegetable shortening
Directions
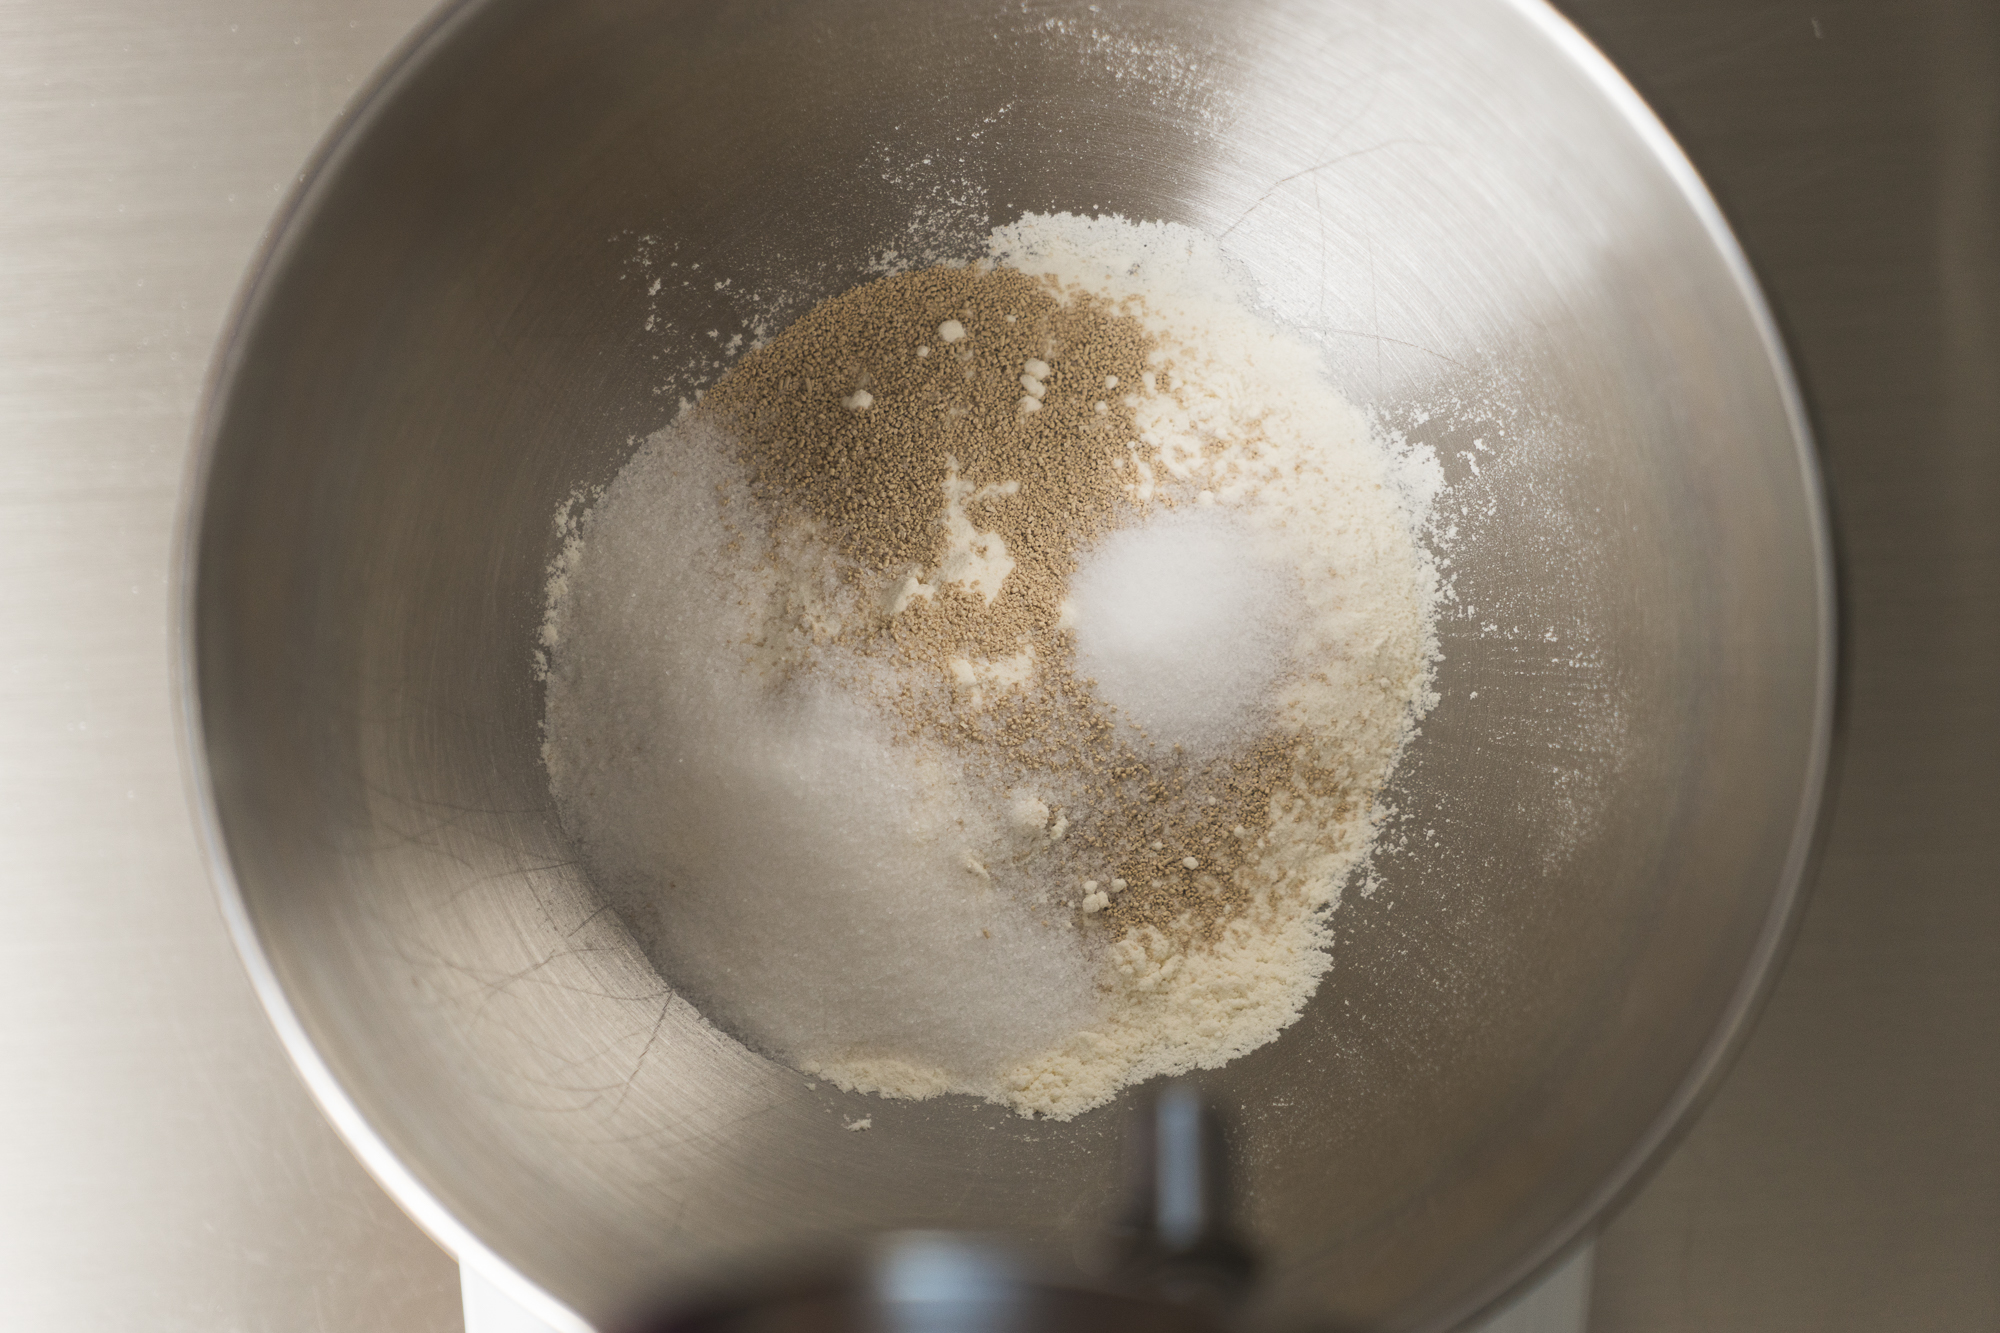
- In a medium sized bowl (or in your mixer bowl) add 1 cup flour, yeast, salt and sugar and mix well to combine.
- Add water and vegetable oil and mix for 2 minutes or until fully combined, scraping the bowl frequently.
- In 1/4 cup increments, add additional flour and mix for 1 minute before adding additional flour, making sure to scrape the bowl to get all flour from the sides.
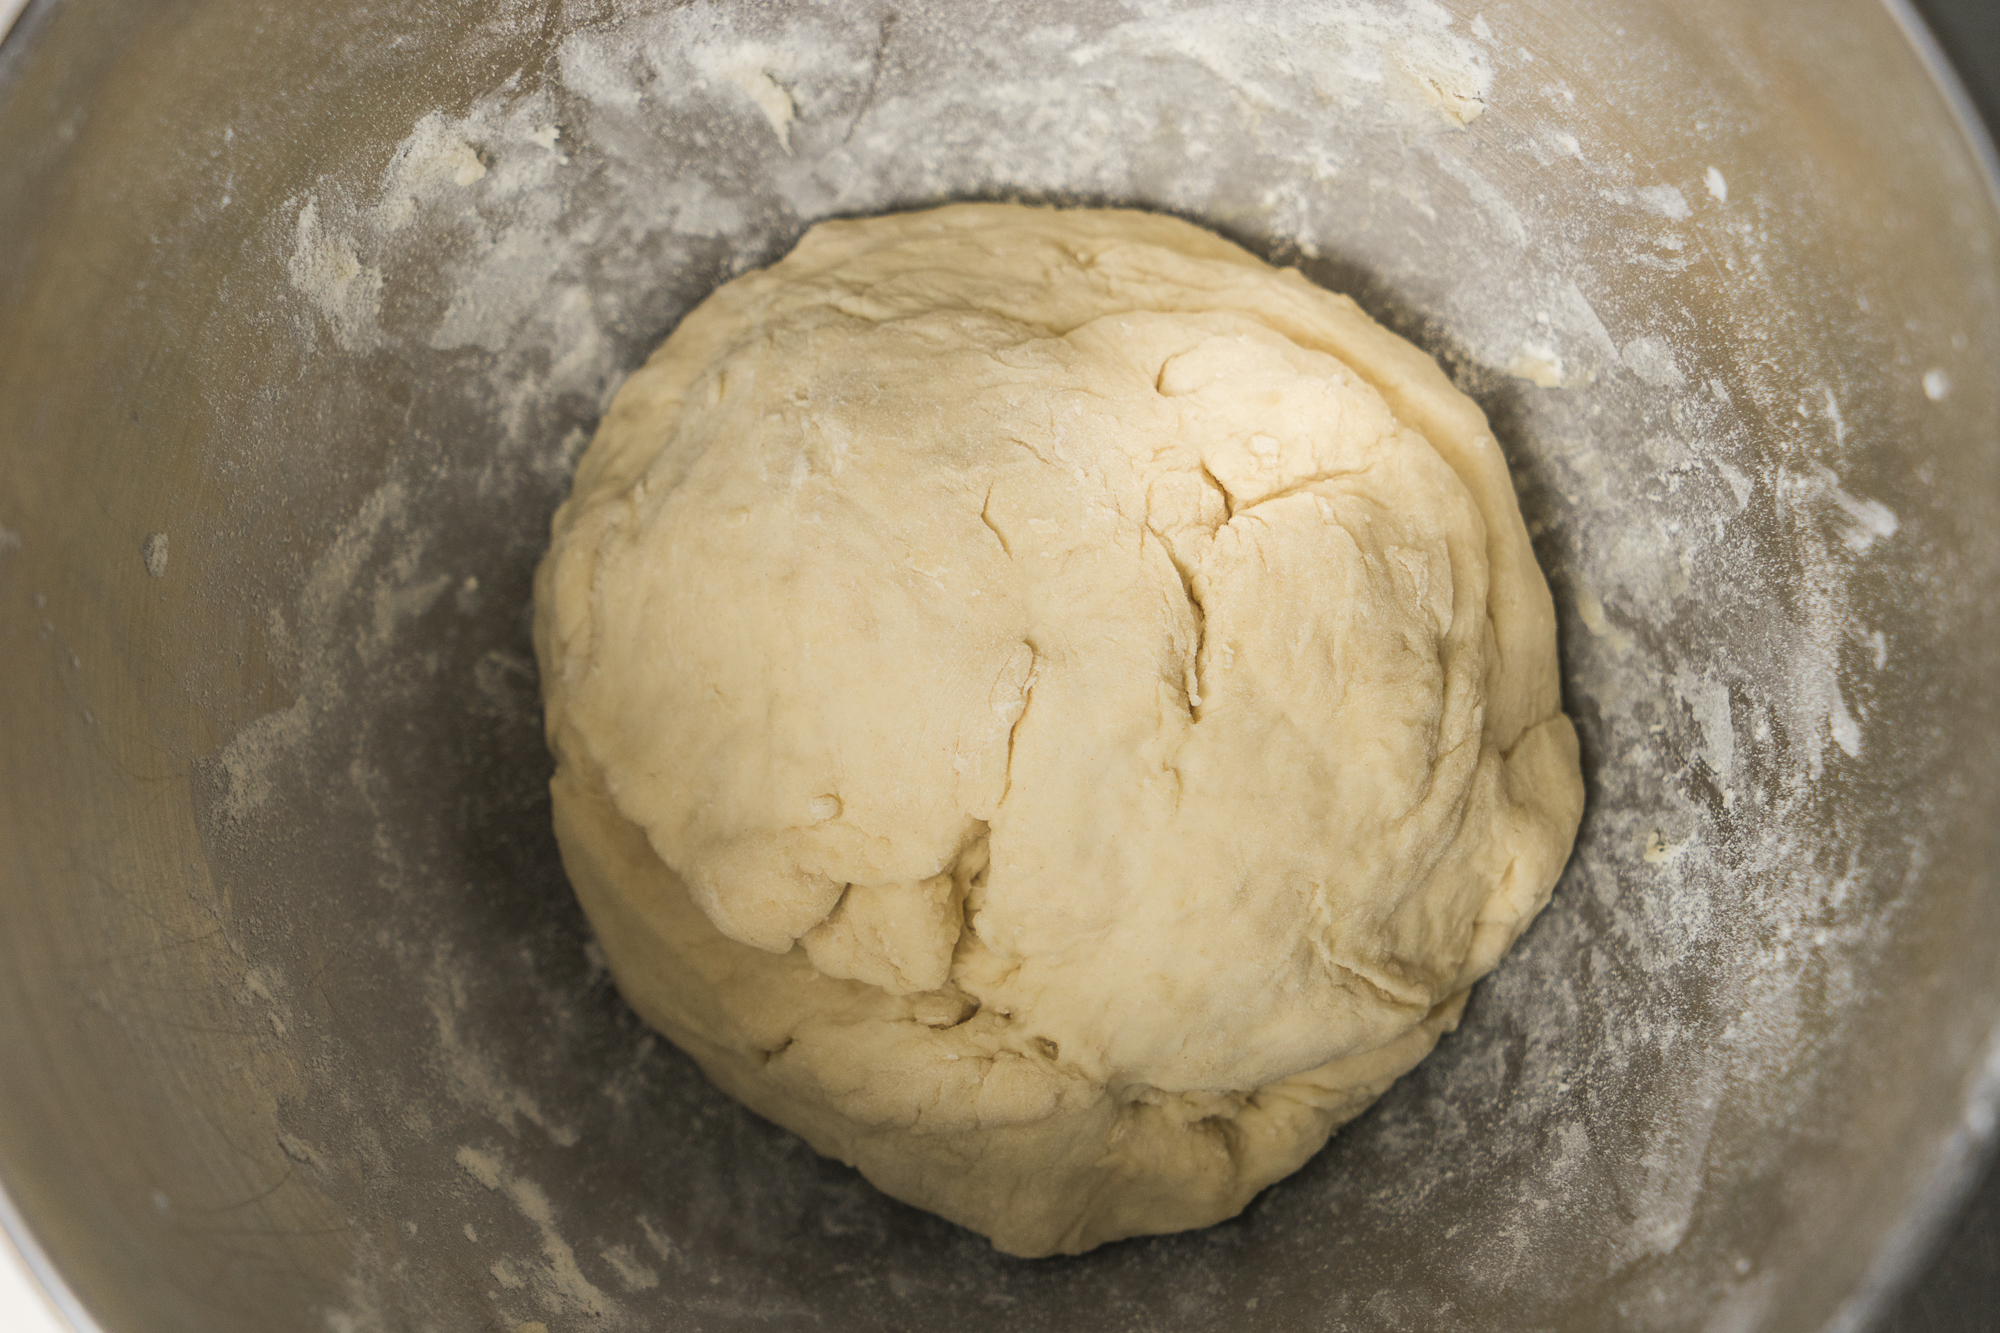
- Once you have added 2 1/2 cups flour in total, gently lift the dough from the bowl. If the dough feels sticky to the touch and does not come away from the bowl easily, add 1/4 more flour and mix for 1-2 minutes.
- Once the dough can be lifted from the bowl mostly without sticking, lightly flour your hands and knead the dough for 5 minutes (I knead in the bowl to avoid mkaing more mess, but if you want the space, knead in a more tradtional manner. Just make sure to add a light dusting of flour on your work surface.)
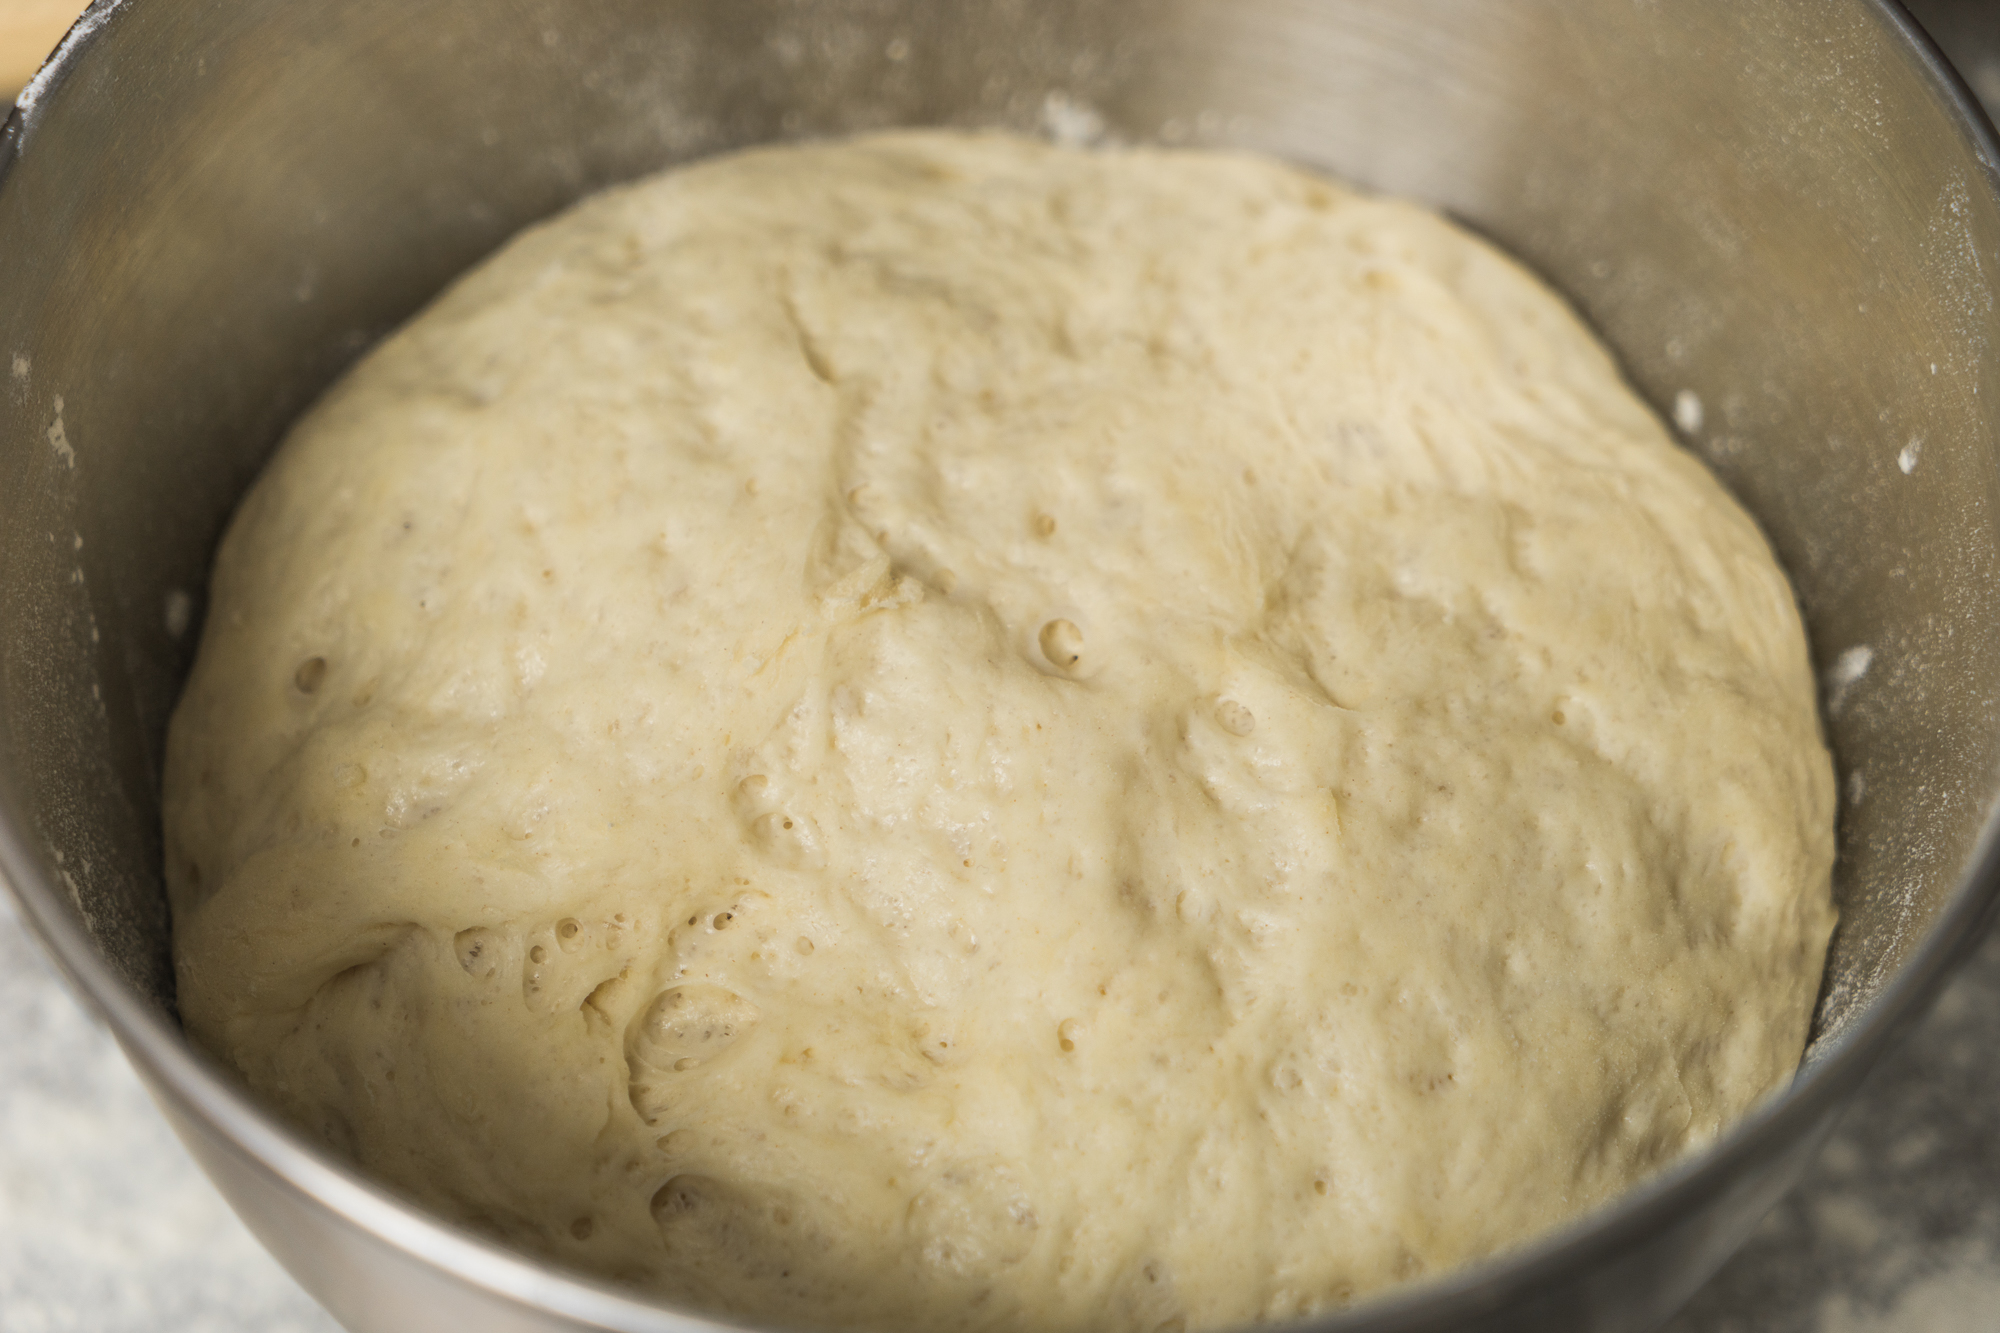
- Once the dough is no longer sticky and feels soft and springs back when you press on it, place back in the bowl, cover with a towel or plastic wrap and let rise for 30 minutes.
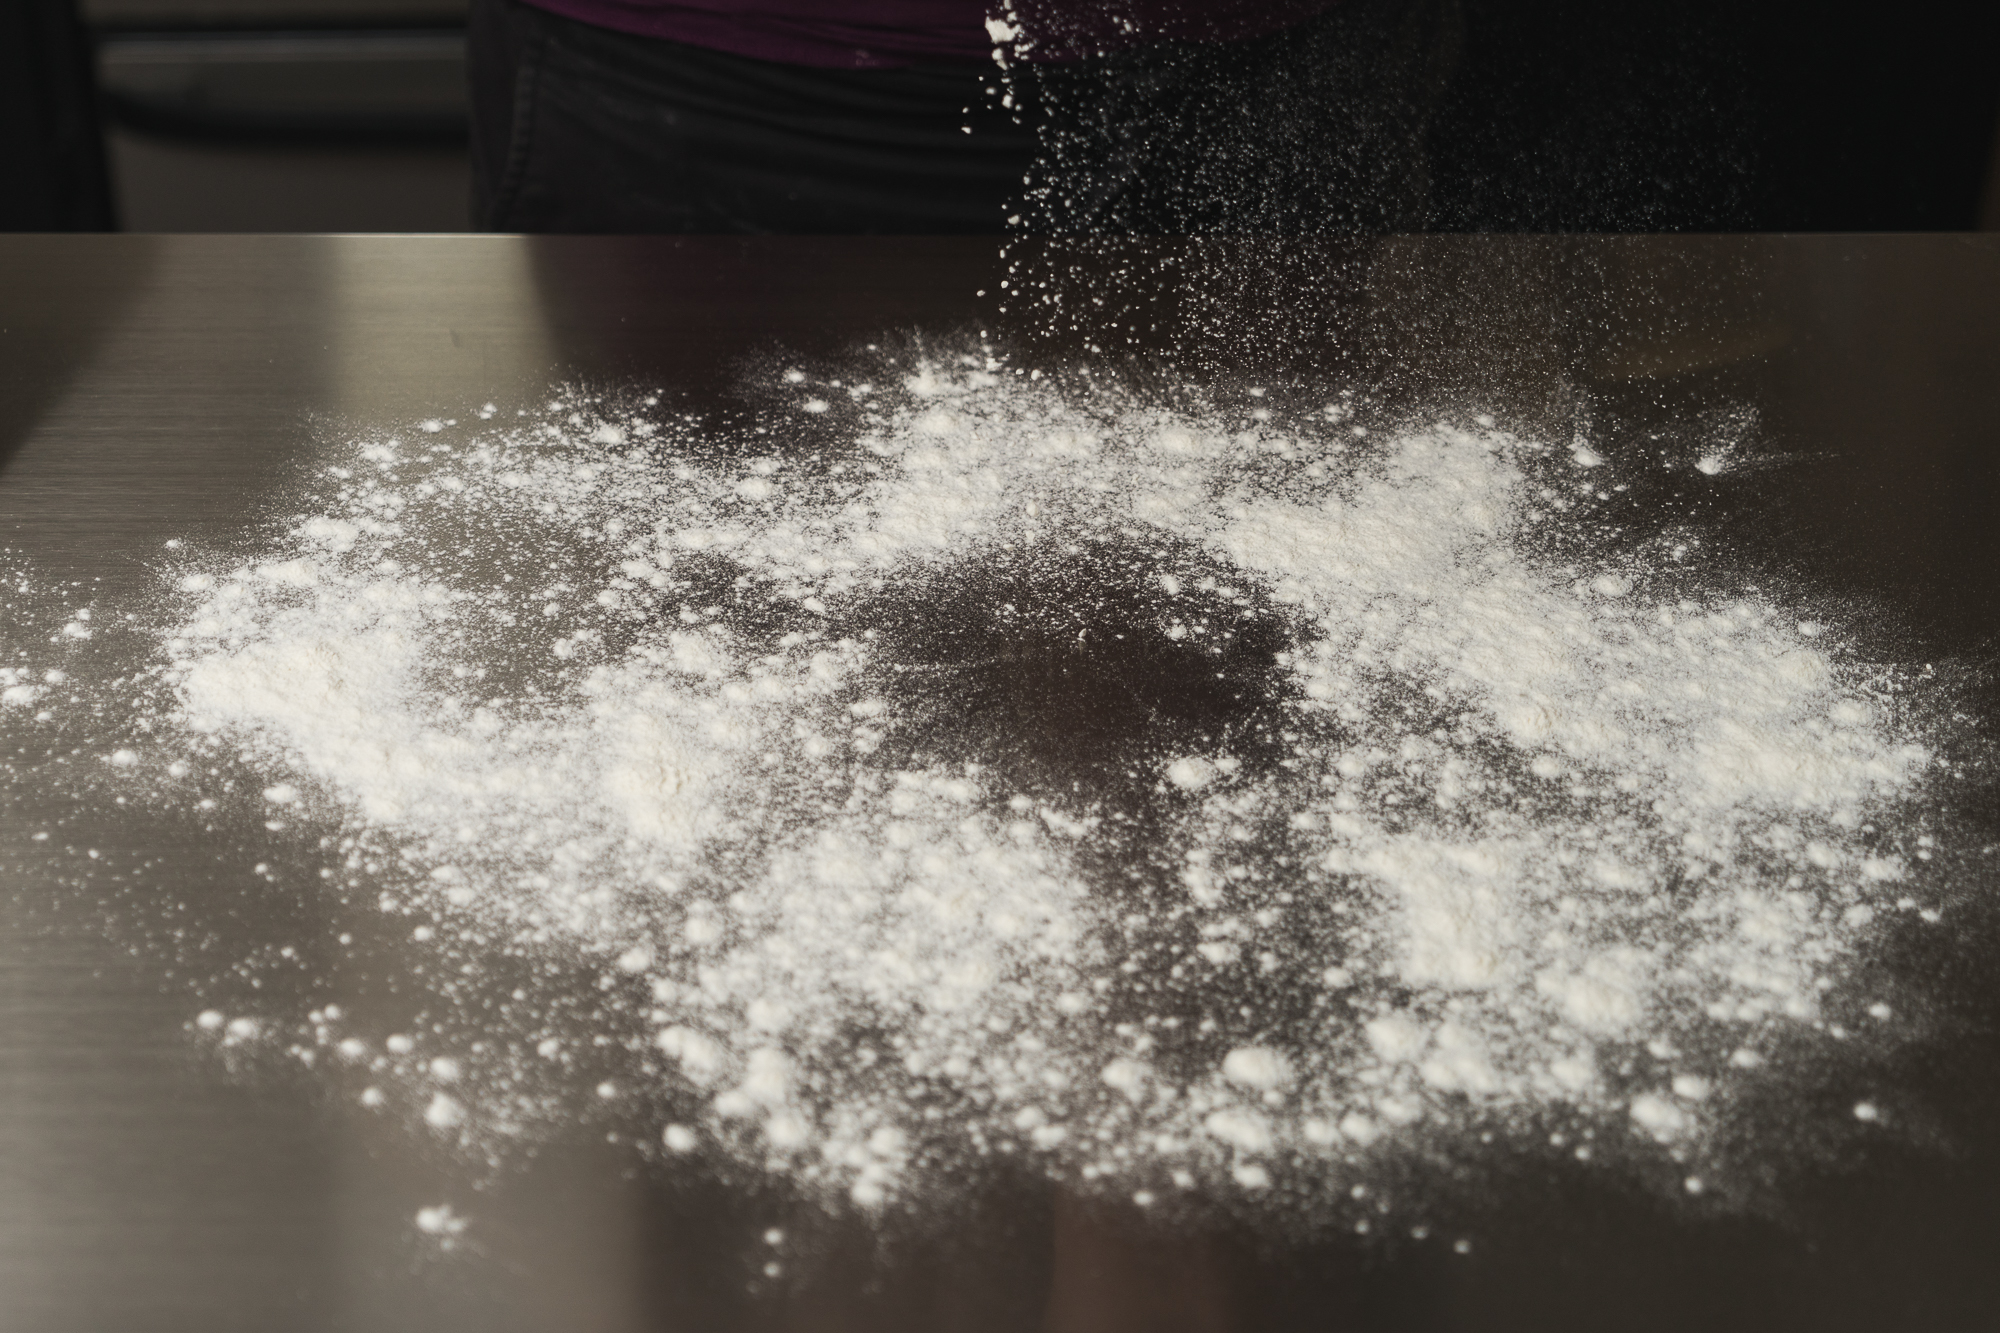
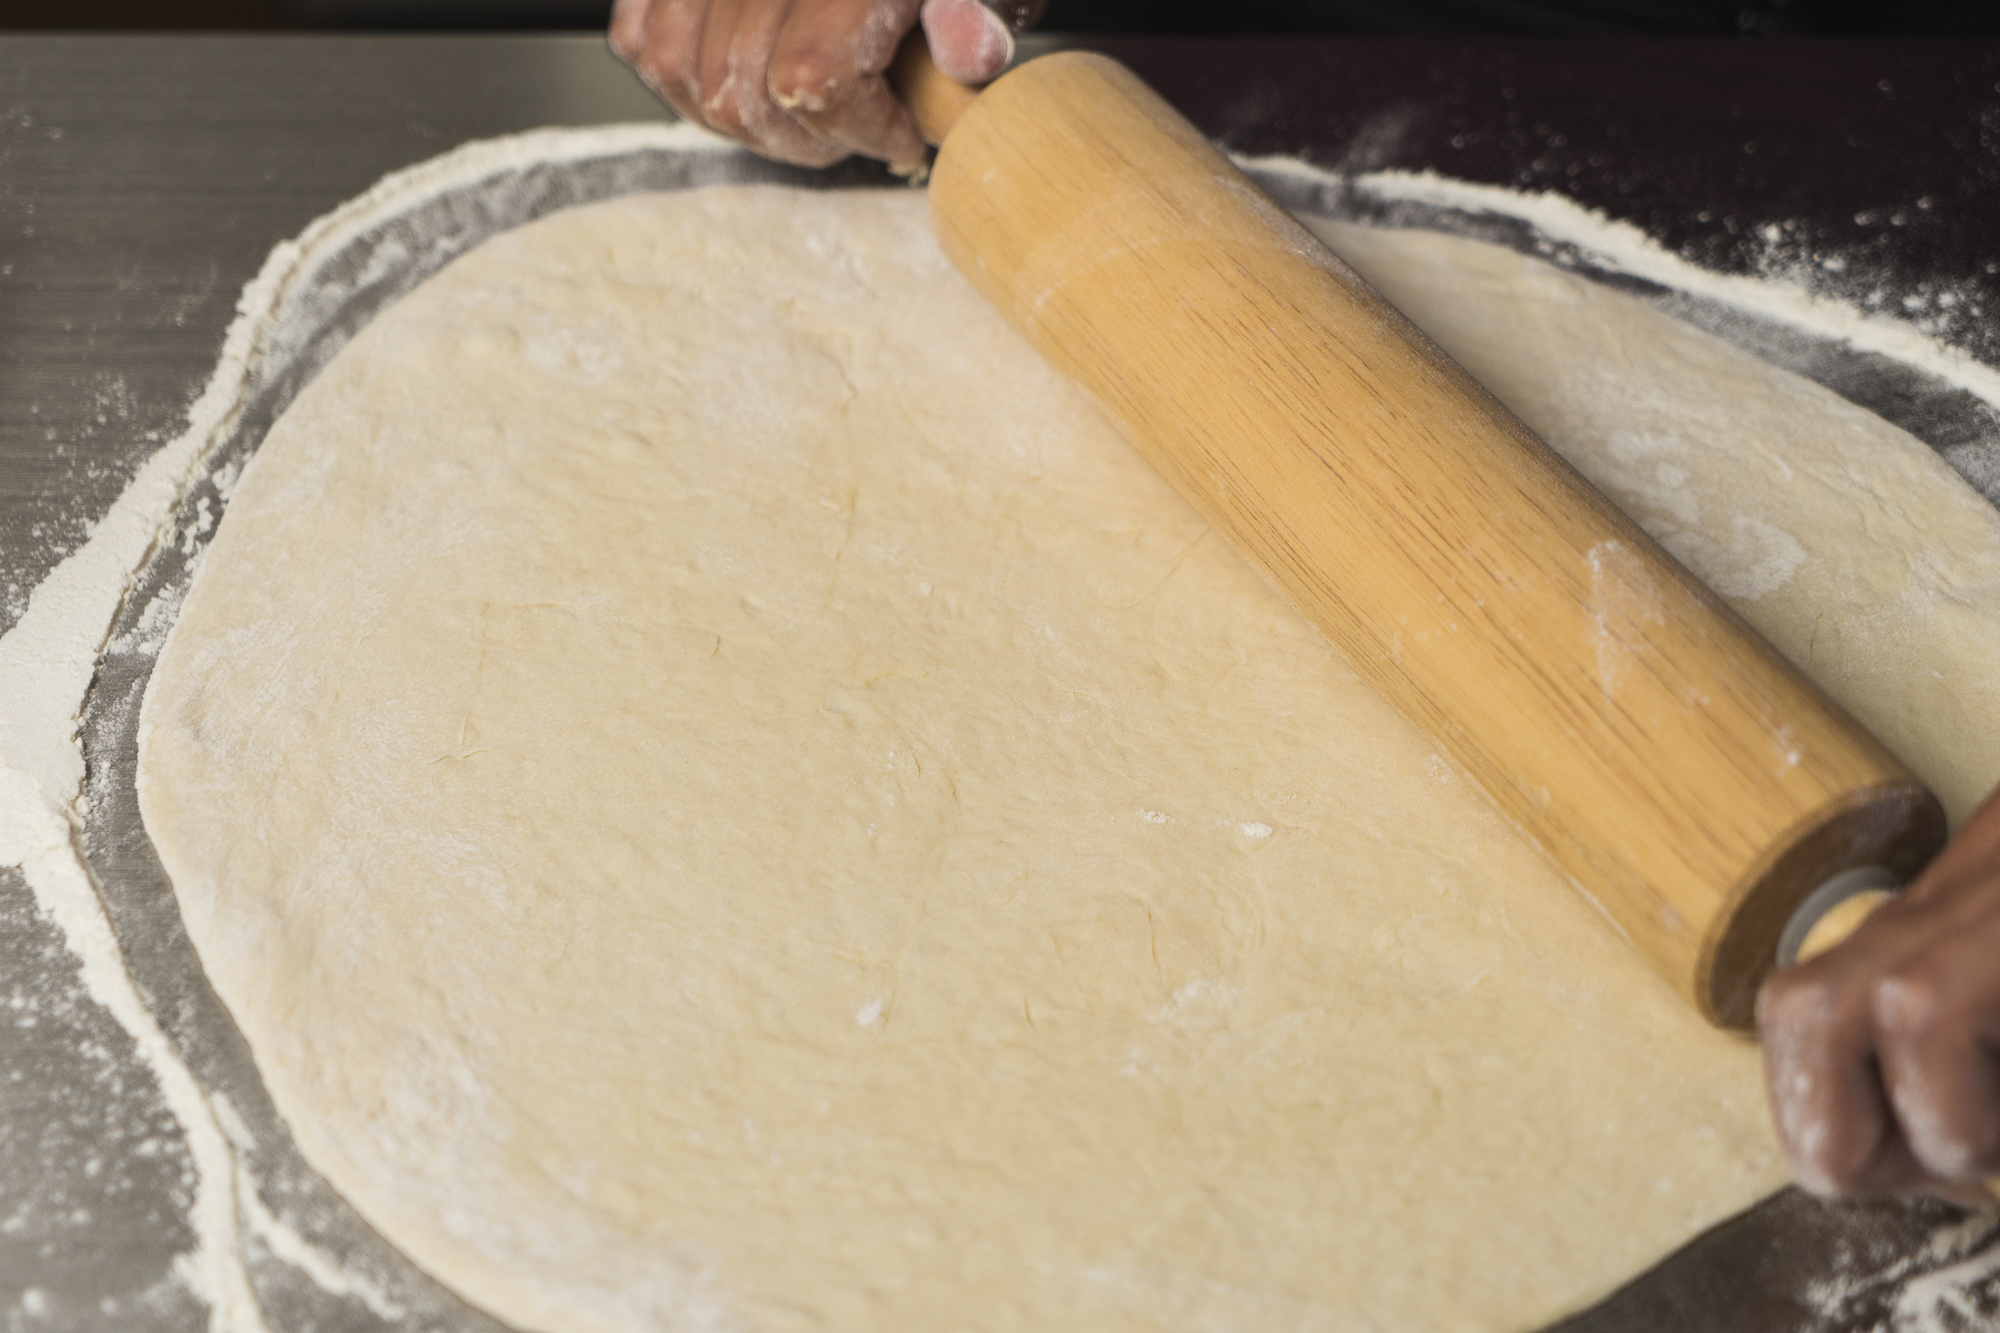
- Lightly dust a flat surface with flour and take out a rolling pin.
- Preheat oven to 450 degrees.
- Remove towel from dough and deflat by gently punching a hole in center, then divide dough into 2 round balls.
- Take the first ball and gently flatten it out into a circular shape on the floured surface.
- Gently dust the rolling pin with flour and roll out dough to desired thickness and size, working your best to keep it in the circular shape. If you can, it helps to flip the dough over when rolling to even out the rolls and make sure both sides are adequatly floured to keep it from sticking. Once the dough gets to be a large pizza sized, you can stop doing that.
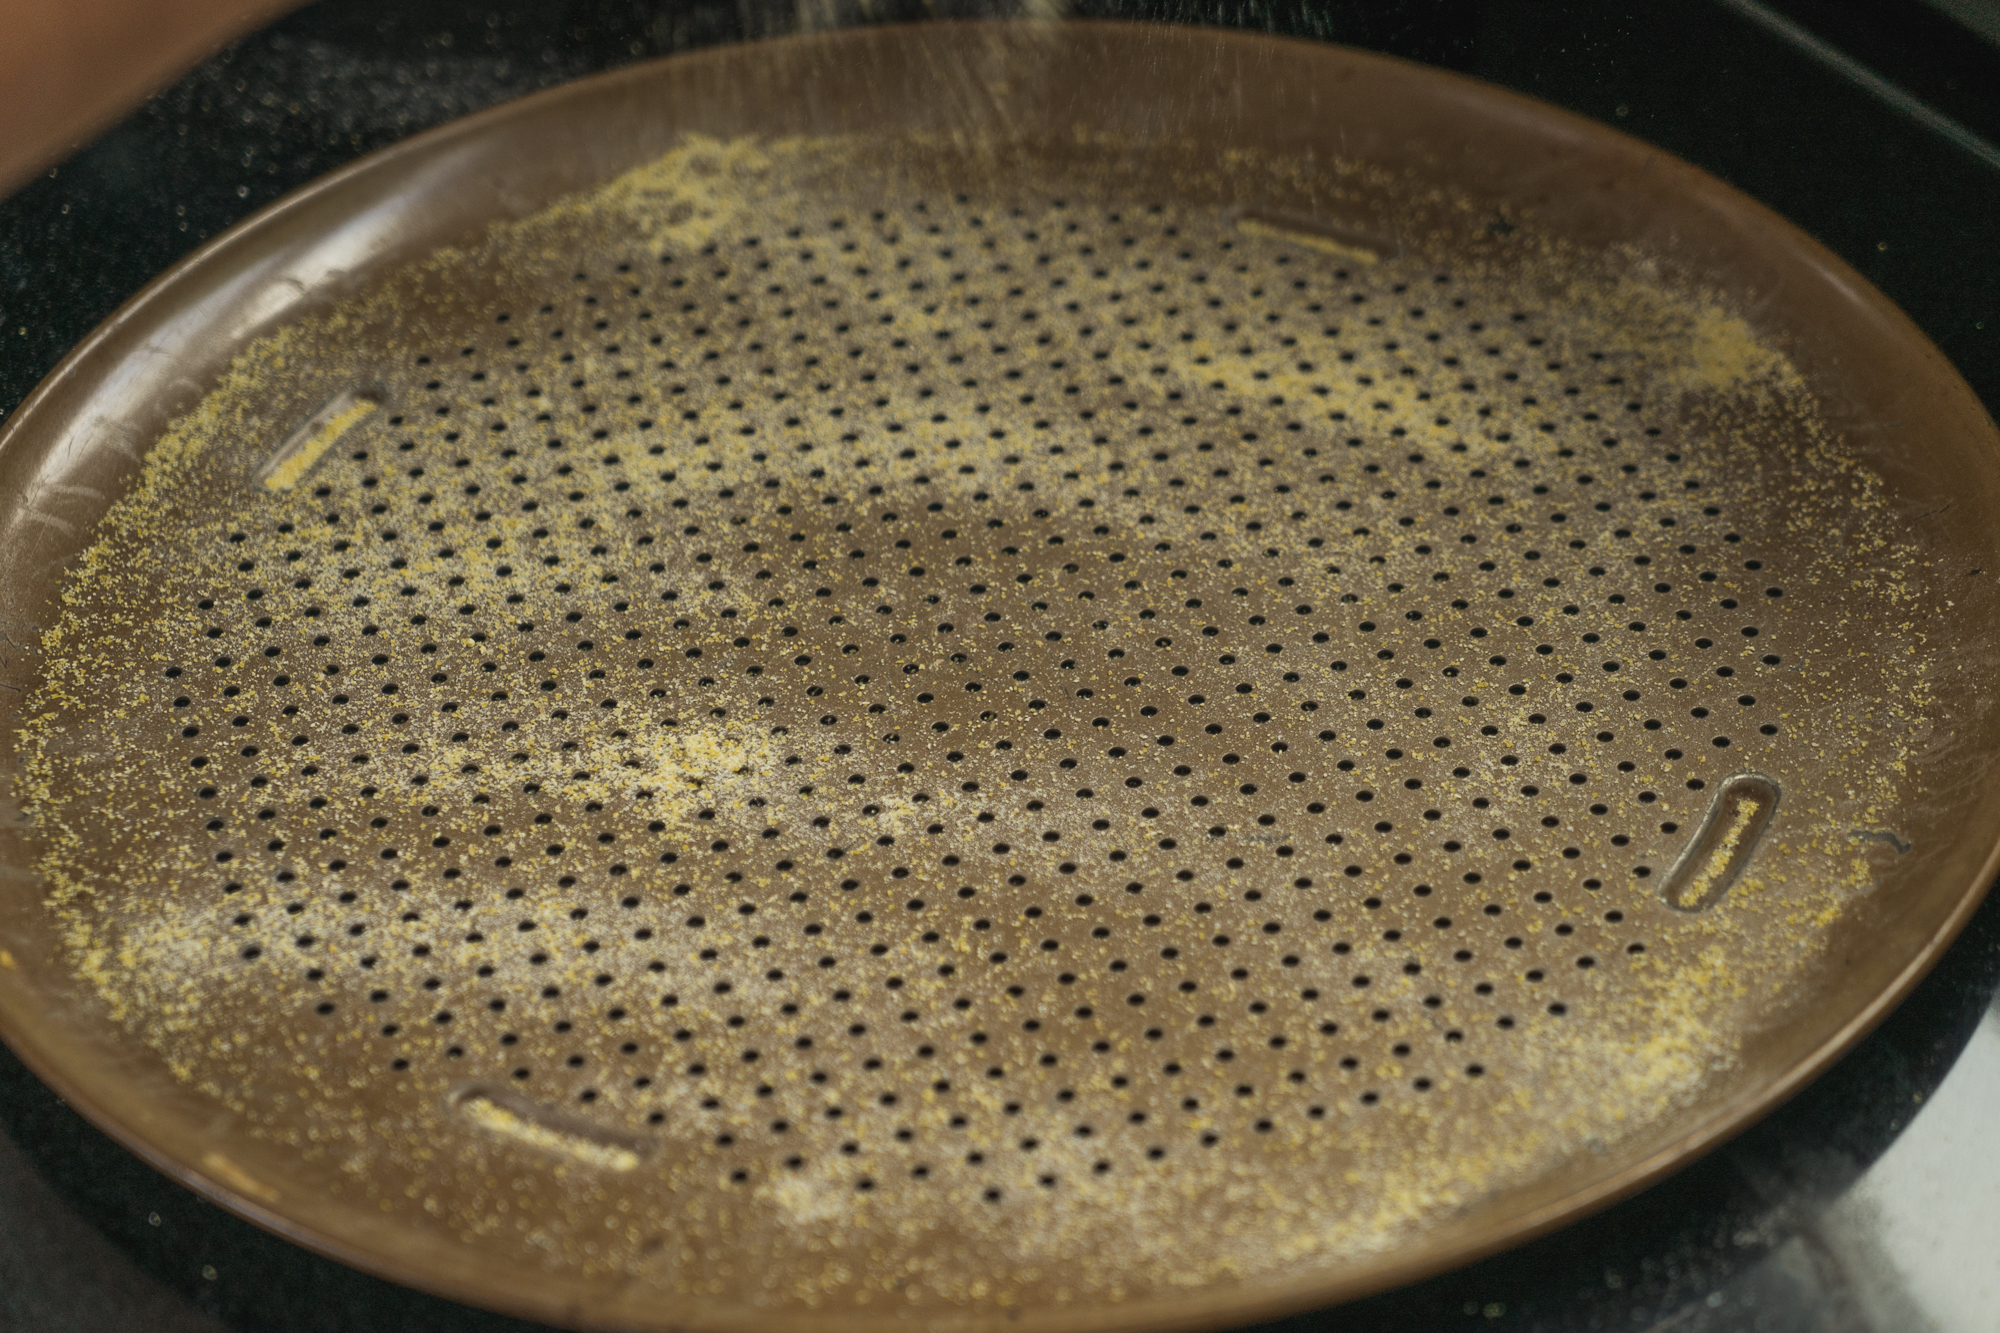
- Gently coat the pizza pan with vegetable shortening then gently sprinkle ground cornmeal over the pan, ensuring all areas have an even and light amount of cornmeal.
- Lift dough from your work surface and place on the cornmeal covered pizza pan.
- Repeat steps with second ball of dough or refrigerate for future use.
- Top with desired ingredients and cook for 12-15 minutes, checking after 12 minutes for doneness.
- Pizza's up!
Tips
- Many dough recipes state that the dough can be frozen before the rising process has began which will “stop” it and can be reactivated at a later time by slowly thawing out and letting it rise. In my experience, the dough just does not get that same rise and you really have to labor to get a decent sized crust to roll out. If you do not need 2 crusts you can bake the second crust topping free for 5-7 minutes, let it fully cool, then freeze it for later use. You may also just put the second crust in the refridgerator where you can use it for up to a day after made. Allow it to warm to room temperature before attempting to roll it out.
- If you use a frozen crust, let it thaw fully before cooking and bake with toppings in a 425 degree oven for 7-9 minutes, or until all toppings are fully melted.
- I use vegetable shortening to double ensure the crust does not stick as high heat and dough can equal stick city! If you are not a fan of vegetable oil, you can skip this and just use the cornmeal. The chances of sticking are slightly higer, so just be sure to keep a very close eye on your pizza.
- You cannot skip the cornmeal! Cornmeal creates a wonderful barrier between the pan and your dough, ensuring crispy, cooked dough and greatly reduces the likelyhood of the crust sticking and ruining your pizza!

There you have it! Lots of steps yes, but once that wonderful dough hits your mouth all hot and oozing with the toppings of your choice, you will know it was well worth it. You may even throw out all those pizza menus lurking about your hours (well maybe…!)