DIY Yogurt

I have been really tucking into cookbooks as novels lately. Almost every night I go to bed with an armload of new cookbooks that I’ve bought, been given, or borrowed from my local library (an AMAZING resource BTW!) Some of these books have been straightforward recipes to spice up my dinnertime and give me some inspiration, while others have been more DIY on foods we tend to purchase from the store.
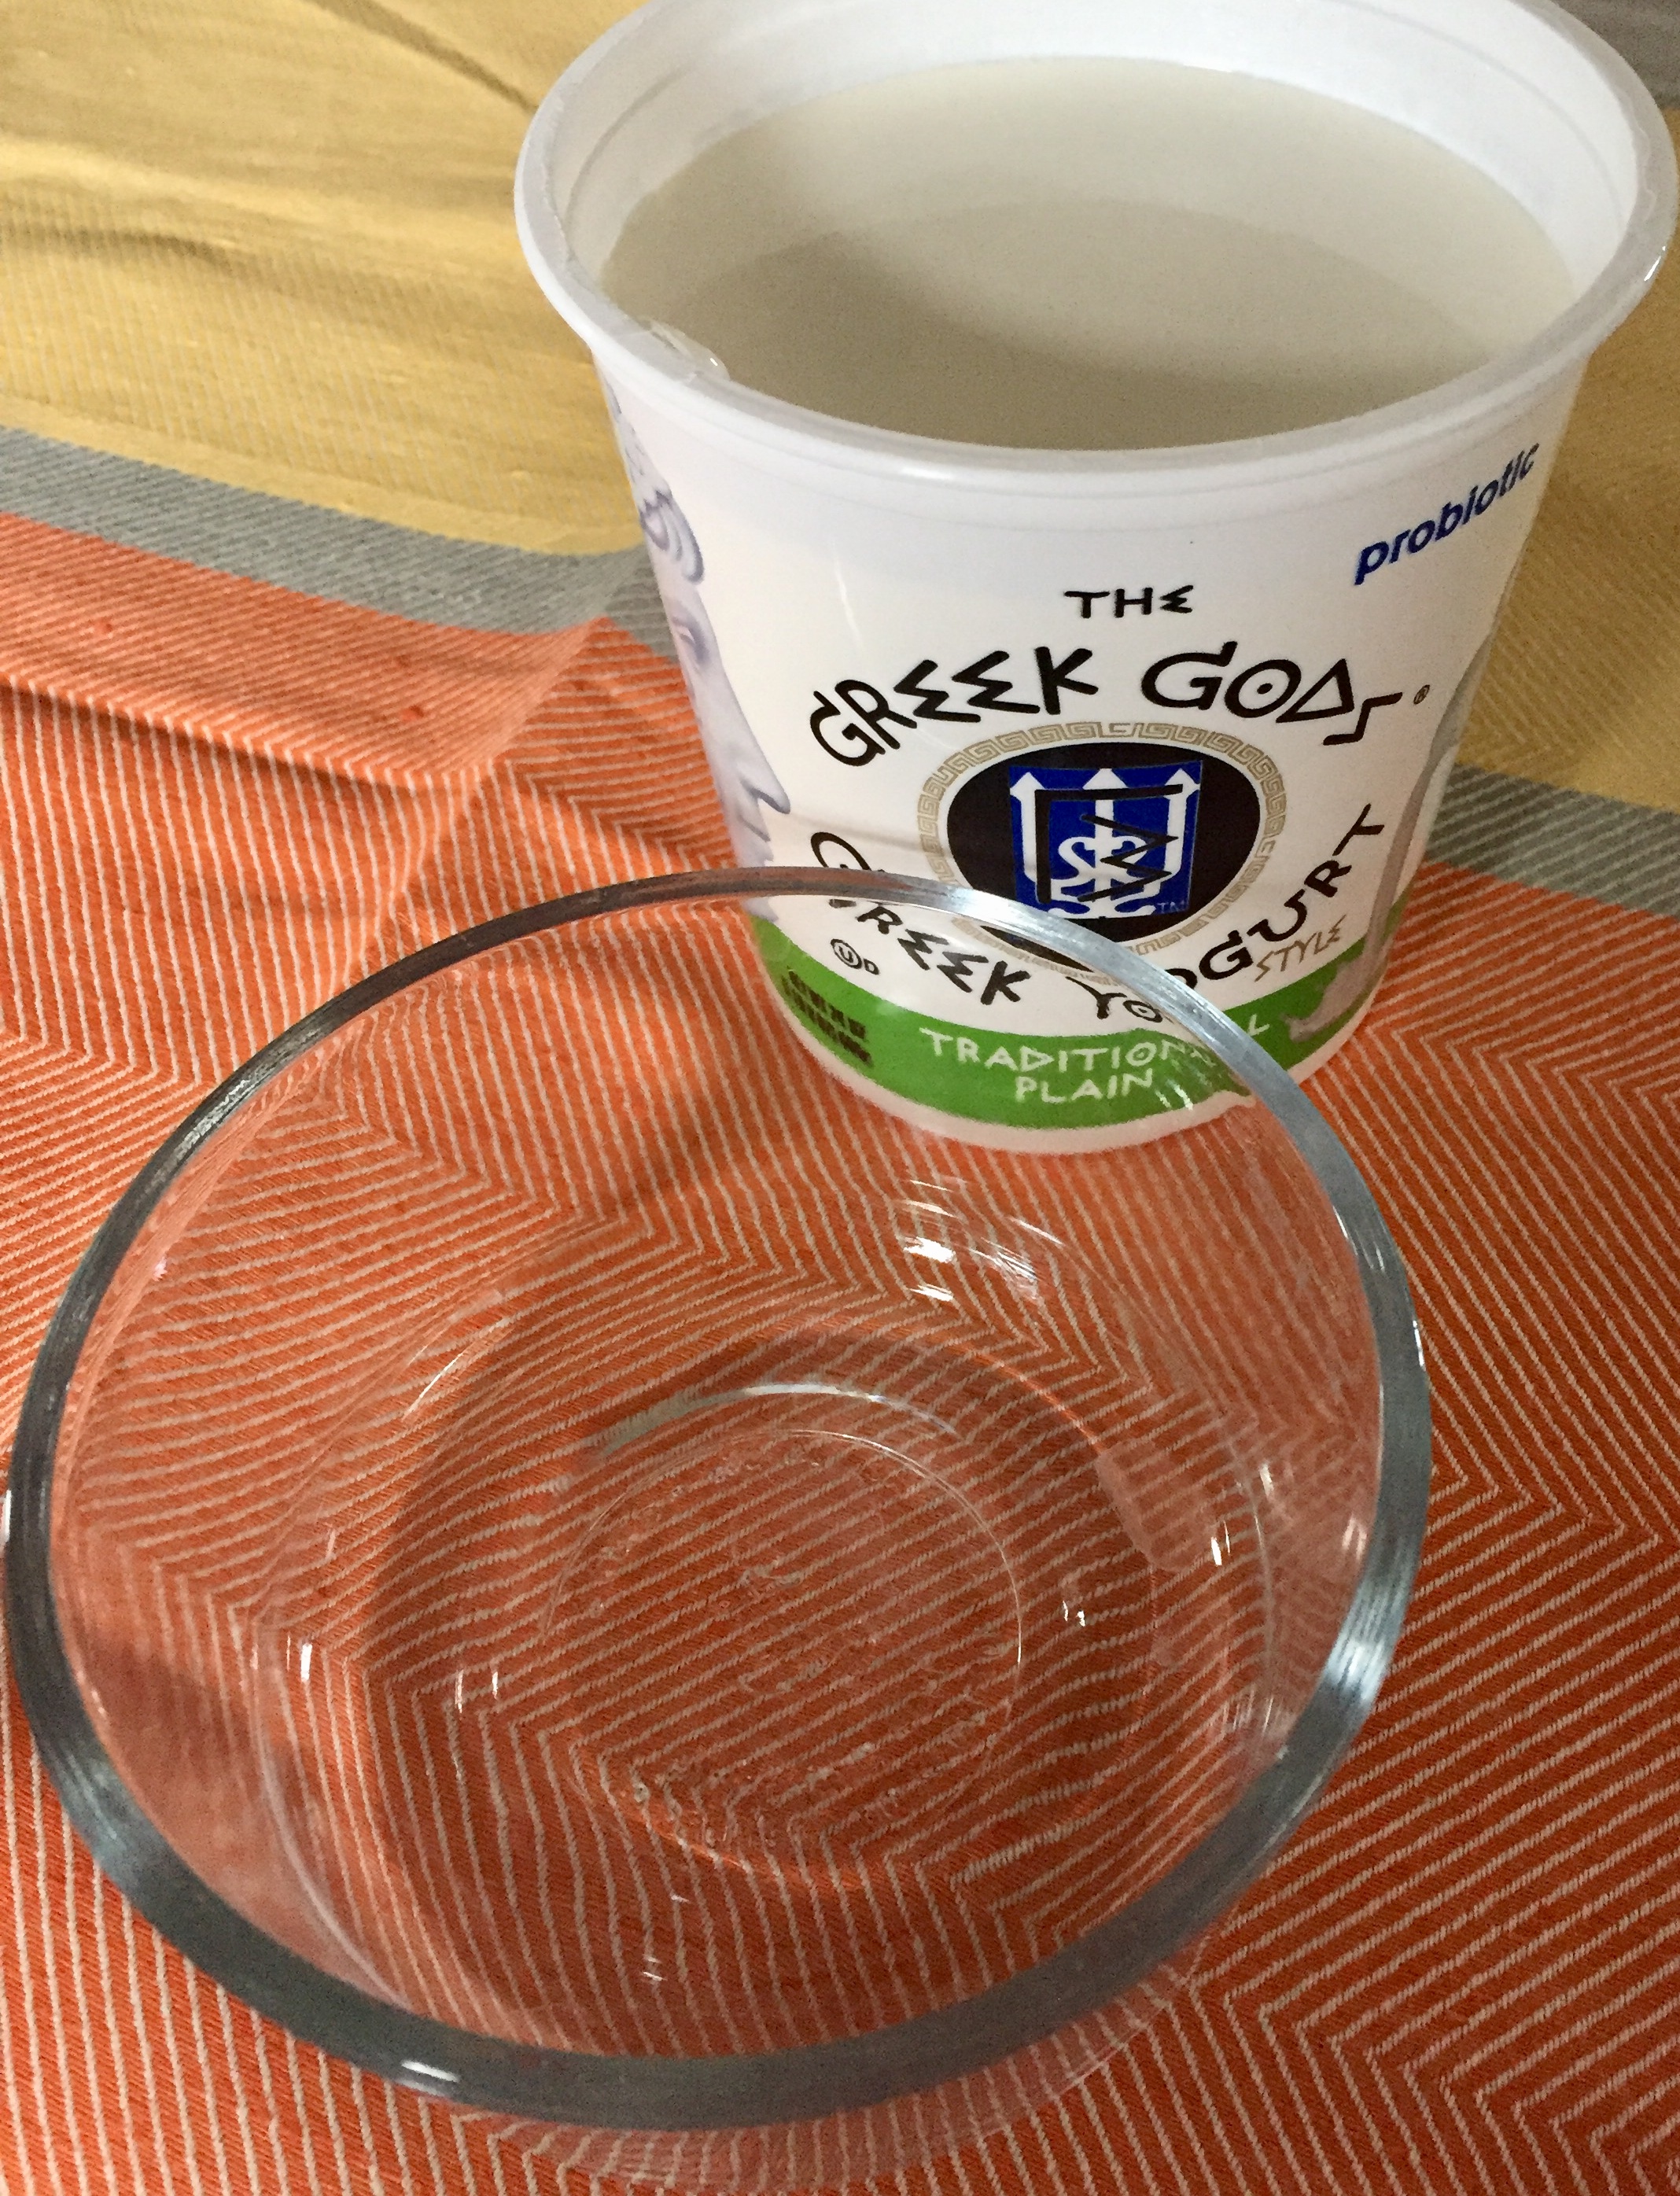
One of the DIY recipes that caught my eye was yogurt. We have been attempting to make 2018 the year we make small steps to better health, and one of the ways Jim has been doing this is by eating good for your gut yogurt almost every day. In theory this is good, but if you check out the ingredient list, there’s a lot of sugar and other not so good for your gut things mixed in there too. With this in mind, I decided to give making my own yogurt a try. Since I was not sure if this would become a regular thing with my family, I did not invest in a yogurt maker. I got a quart of whole milk, a container of plain, no sugar, no nothing added Greek yogurt, a cooler and a bunch of towels and dug in.
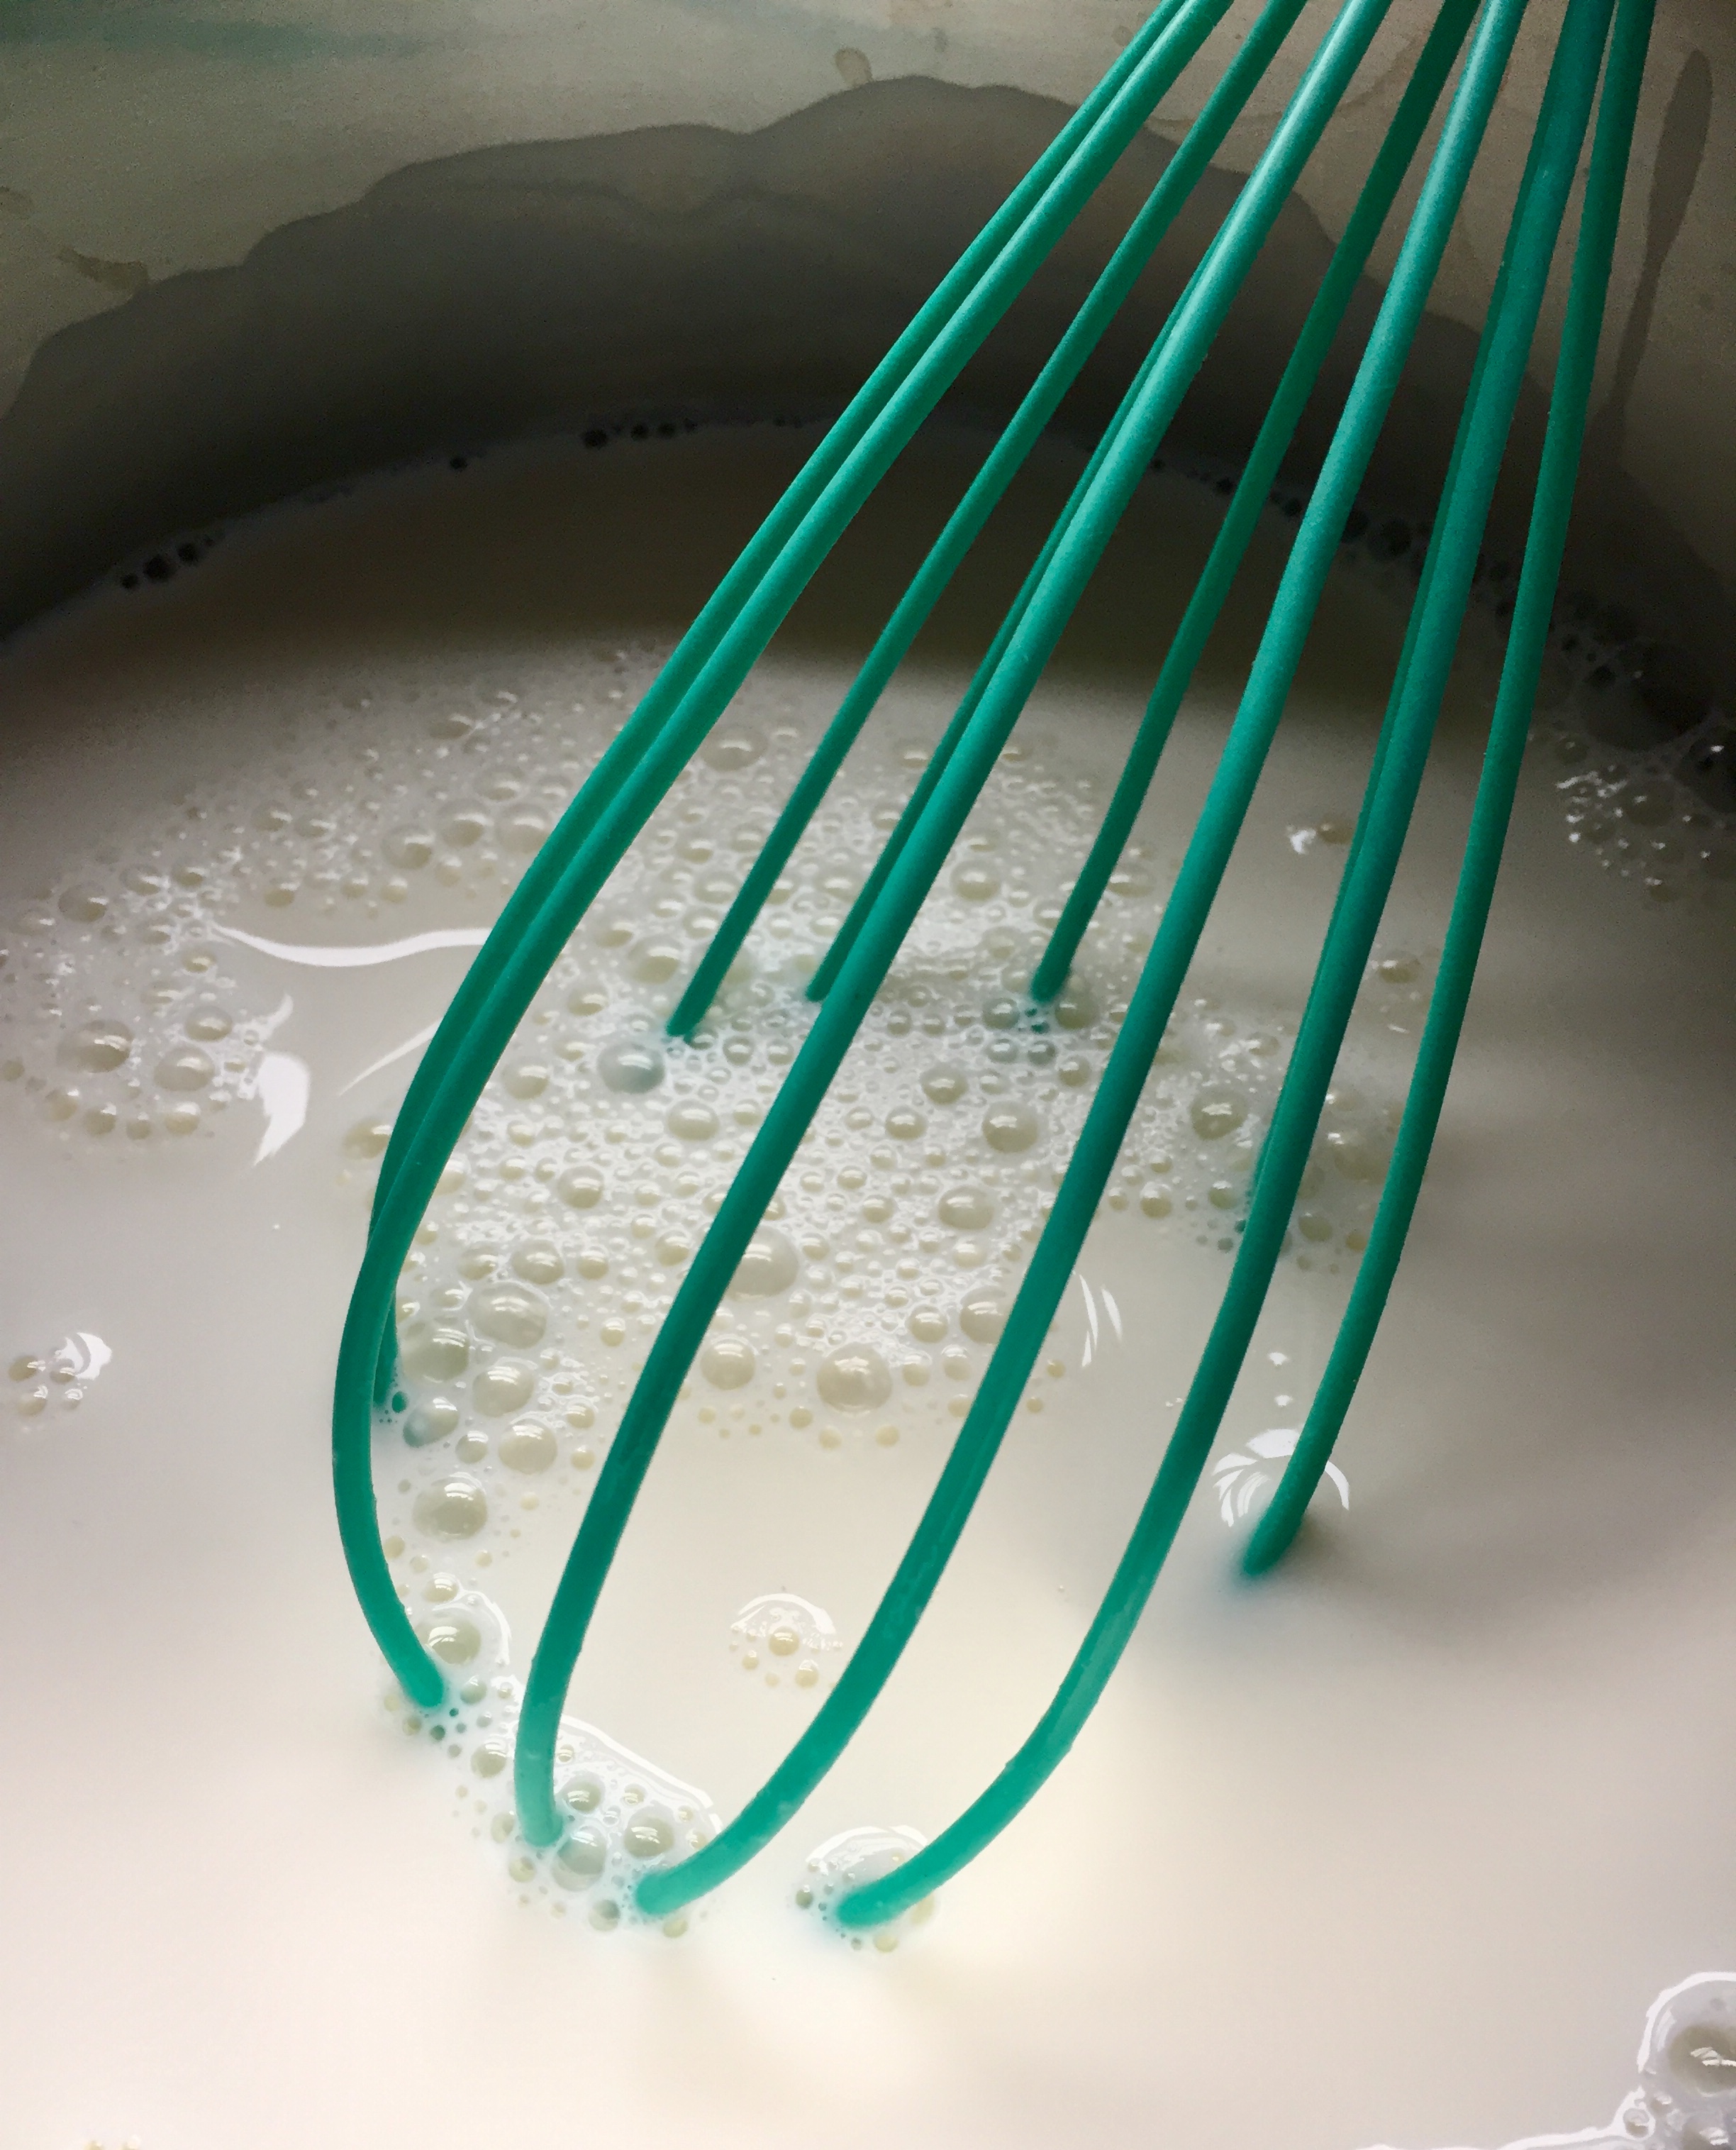
The process for making yogurt is simple. You heat milk, you add a bit of yogurt to a bit of heated milk and whisk, then add that mixture back to the rest of the heated milk. You then put this into containers and keep it warmish for at least 8 hours. Then you have yogurt. While the process is quite simple, there are a few rules you need to follow and you have to be a bit precise.
First of all, the heated milk must heat to 180 degrees. It should not boil, scald or stick, so you will need to keep a good eye and have a cooking thermometer handy to get it there. Next, after you get it all good and warm, you need to cool it to 110 degrees before mixing in the yogurt. There are living good bacteria at work and they need it to be not too hot, but not too cold. Lastly, if you do not have a yogurt maker, you will need a way to keep the yogurt warm while it is resting. I used a cooler, lots of towels I pre-warmed in the dryer and a small hair dryer to blast warmth into the cooler every now and then.
So is getting pure, plain yogurt with minimal process worth all this effort? Yes and no. Yes because I found the flavor of this yogurt to be superior to that of plain Greek yogurt. It was Greek light as the flavor was much more mellow than tangy original Greek yogurt. No because it takes up a lot of time and unless you commit to eating a LOT of yogurt, does not save you a great deal of money. With all that said, I still recommend making at least one batch of DIY yogurt. There is truly something to be said for presenting yourself, family, or friends with a batch of purely made by you goodness and knowing exactly what is in each bite of your food. Ready for some yogurt? I know I am!
DIY Yogurt
Prep Time: 30 minutes | Inactive Time: 8 hours | Total Time: 8 hours, 30 minutes

Ingredients
- 4 1/2 cups whole milk (pasteurized is ok, but avoid ultra pasteurized)
- 1/2 cup plain, unflavored Greek yogurt
Directions
- In a large pot, warm the milk over medium heat for about 20 minutes or until the temperature reads at 180 degrees. Do not allow the milk to boil and give it a stir every now and then to ensure it does not stick
- Remove the pot from the heat and allow to cool until the temperature reads 110 degrees. You can place the milk in a different pot or a cool location, but be sure to keep a good eye on it so it does not get too cold
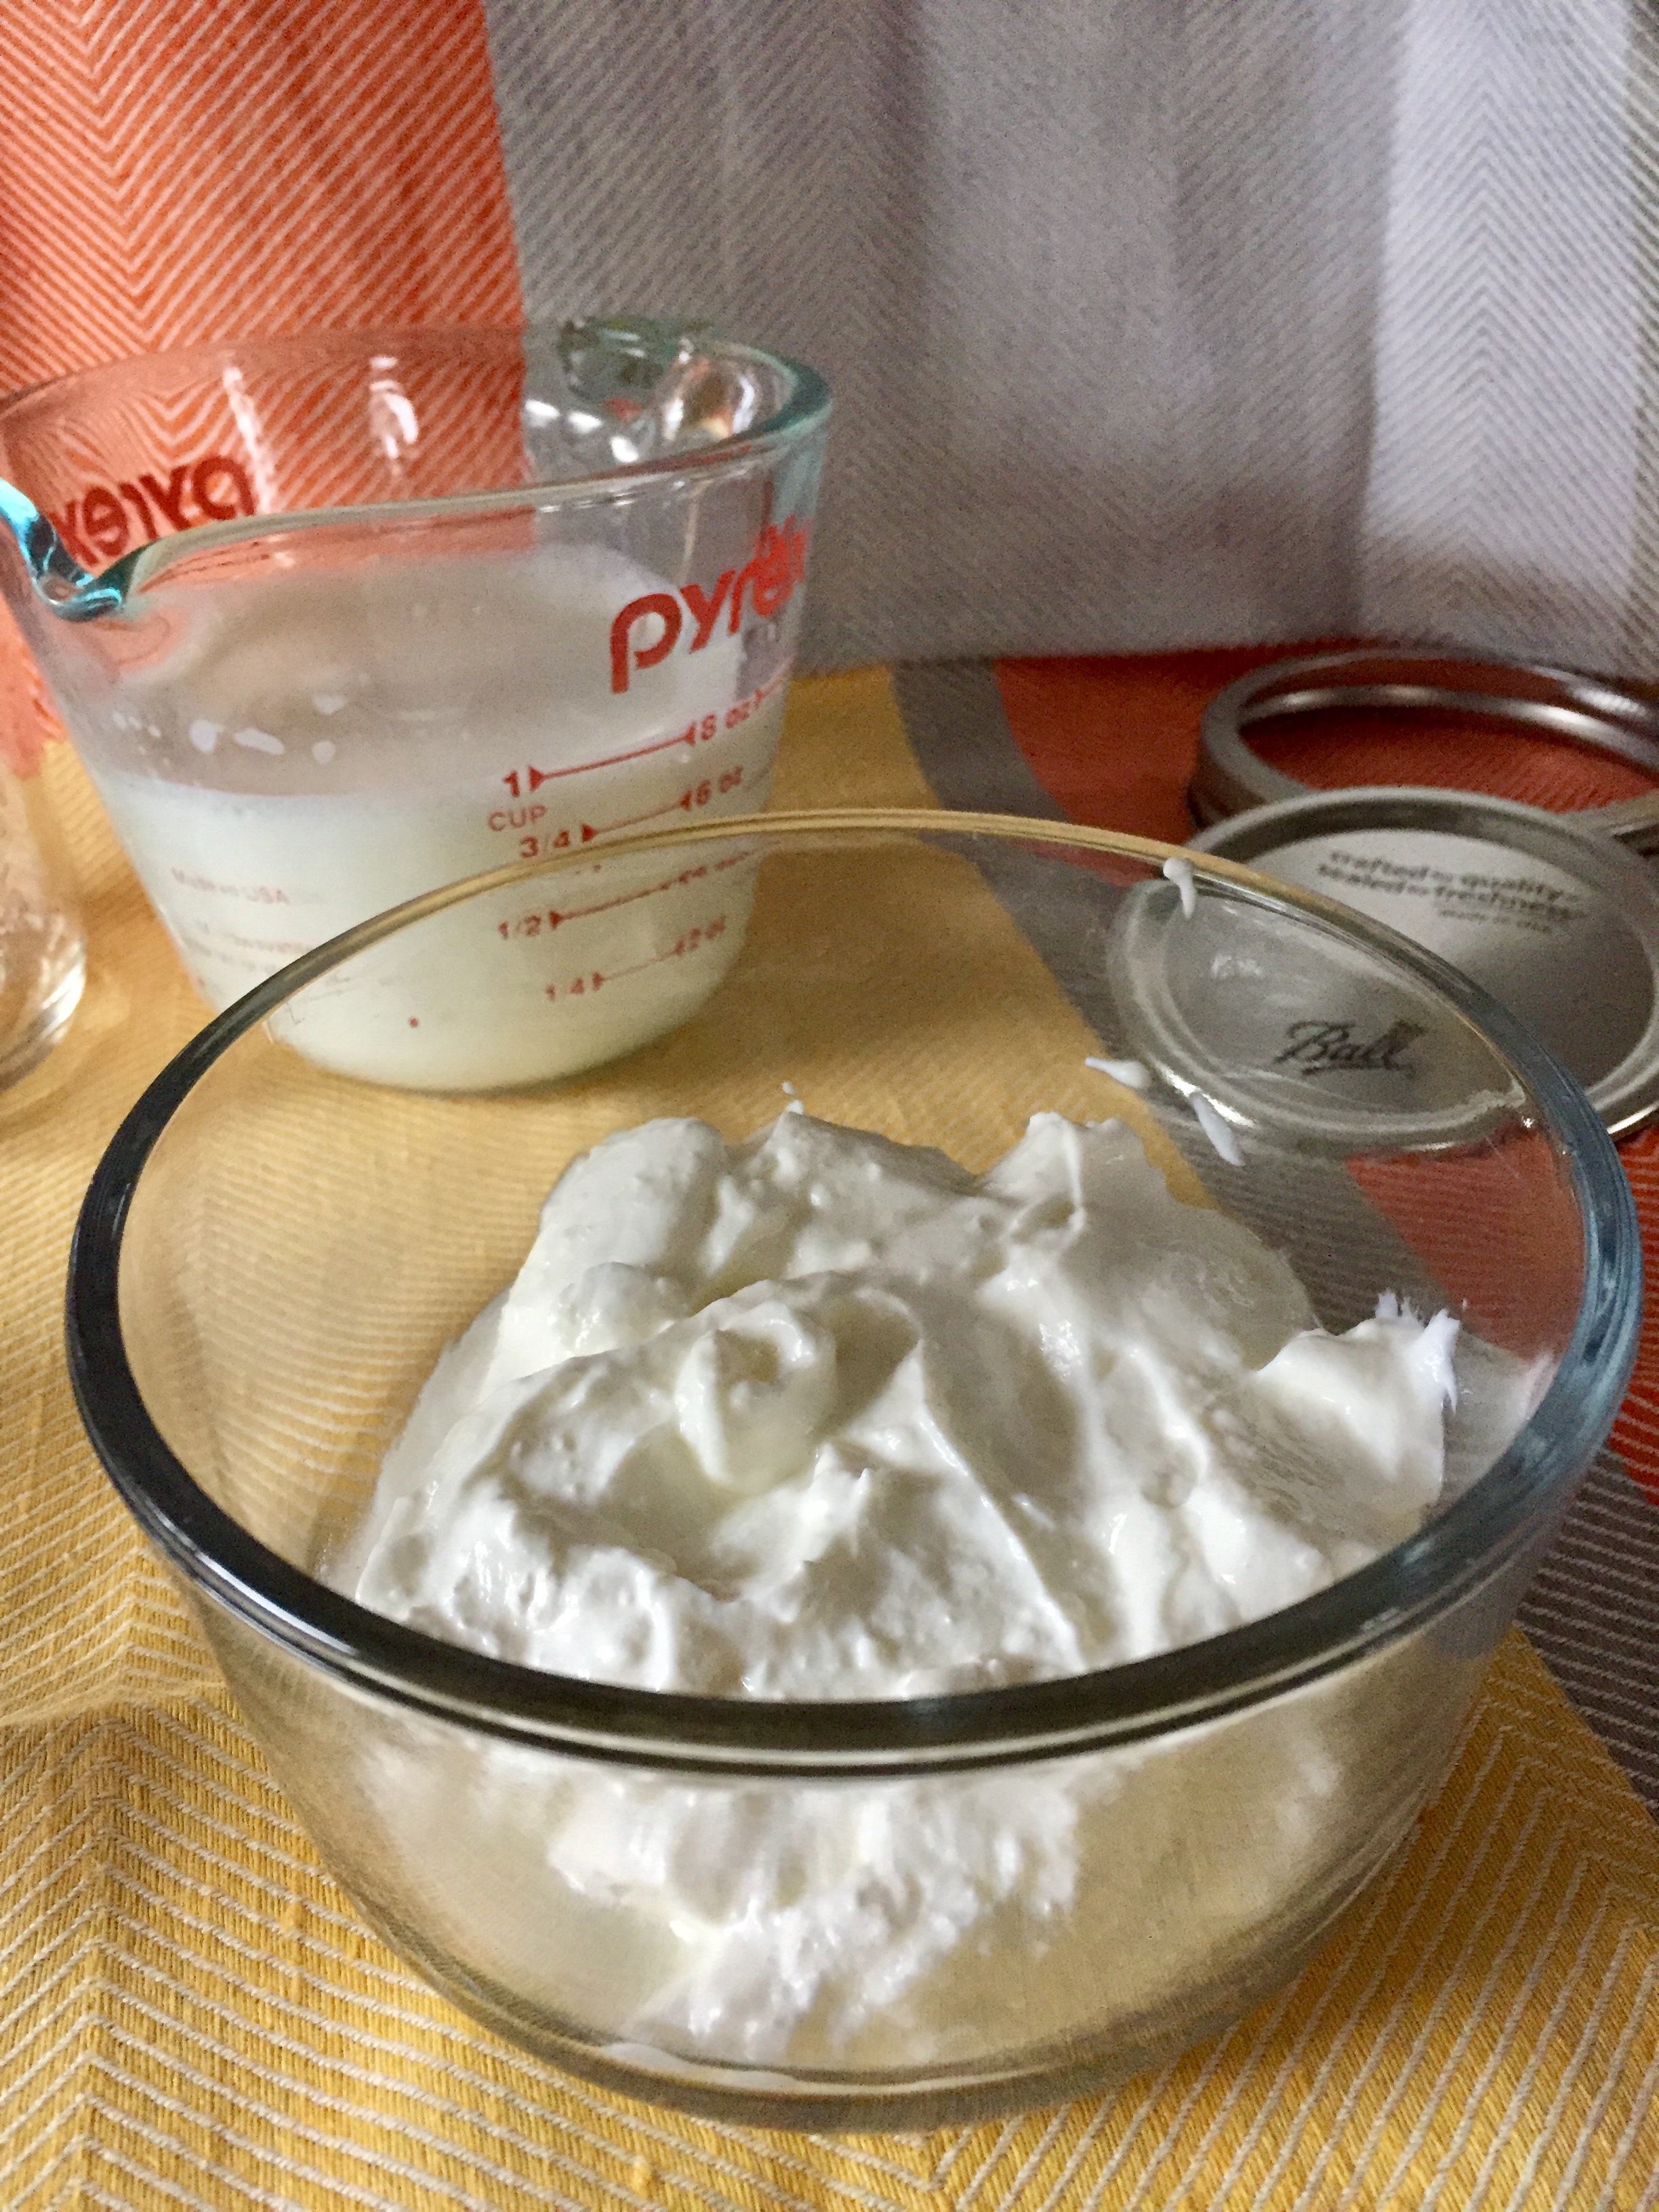
- In a small bowl, combine 1 cup of the warmed milk with 1/2 cup Greek yogurt. Mix until well combined and then slowly pour this mixture into the remaining warmed milk Place yogurt in sturdy containers (I used quart sized Mason jars) and either place in a yogurt maker or in an insulated cooler, wrapped in warmed towels. Allow the mixture to sit for at least 8 hours, checking periodically to ensure the cooler has a bit of warmth (see Tips for some help with this!)
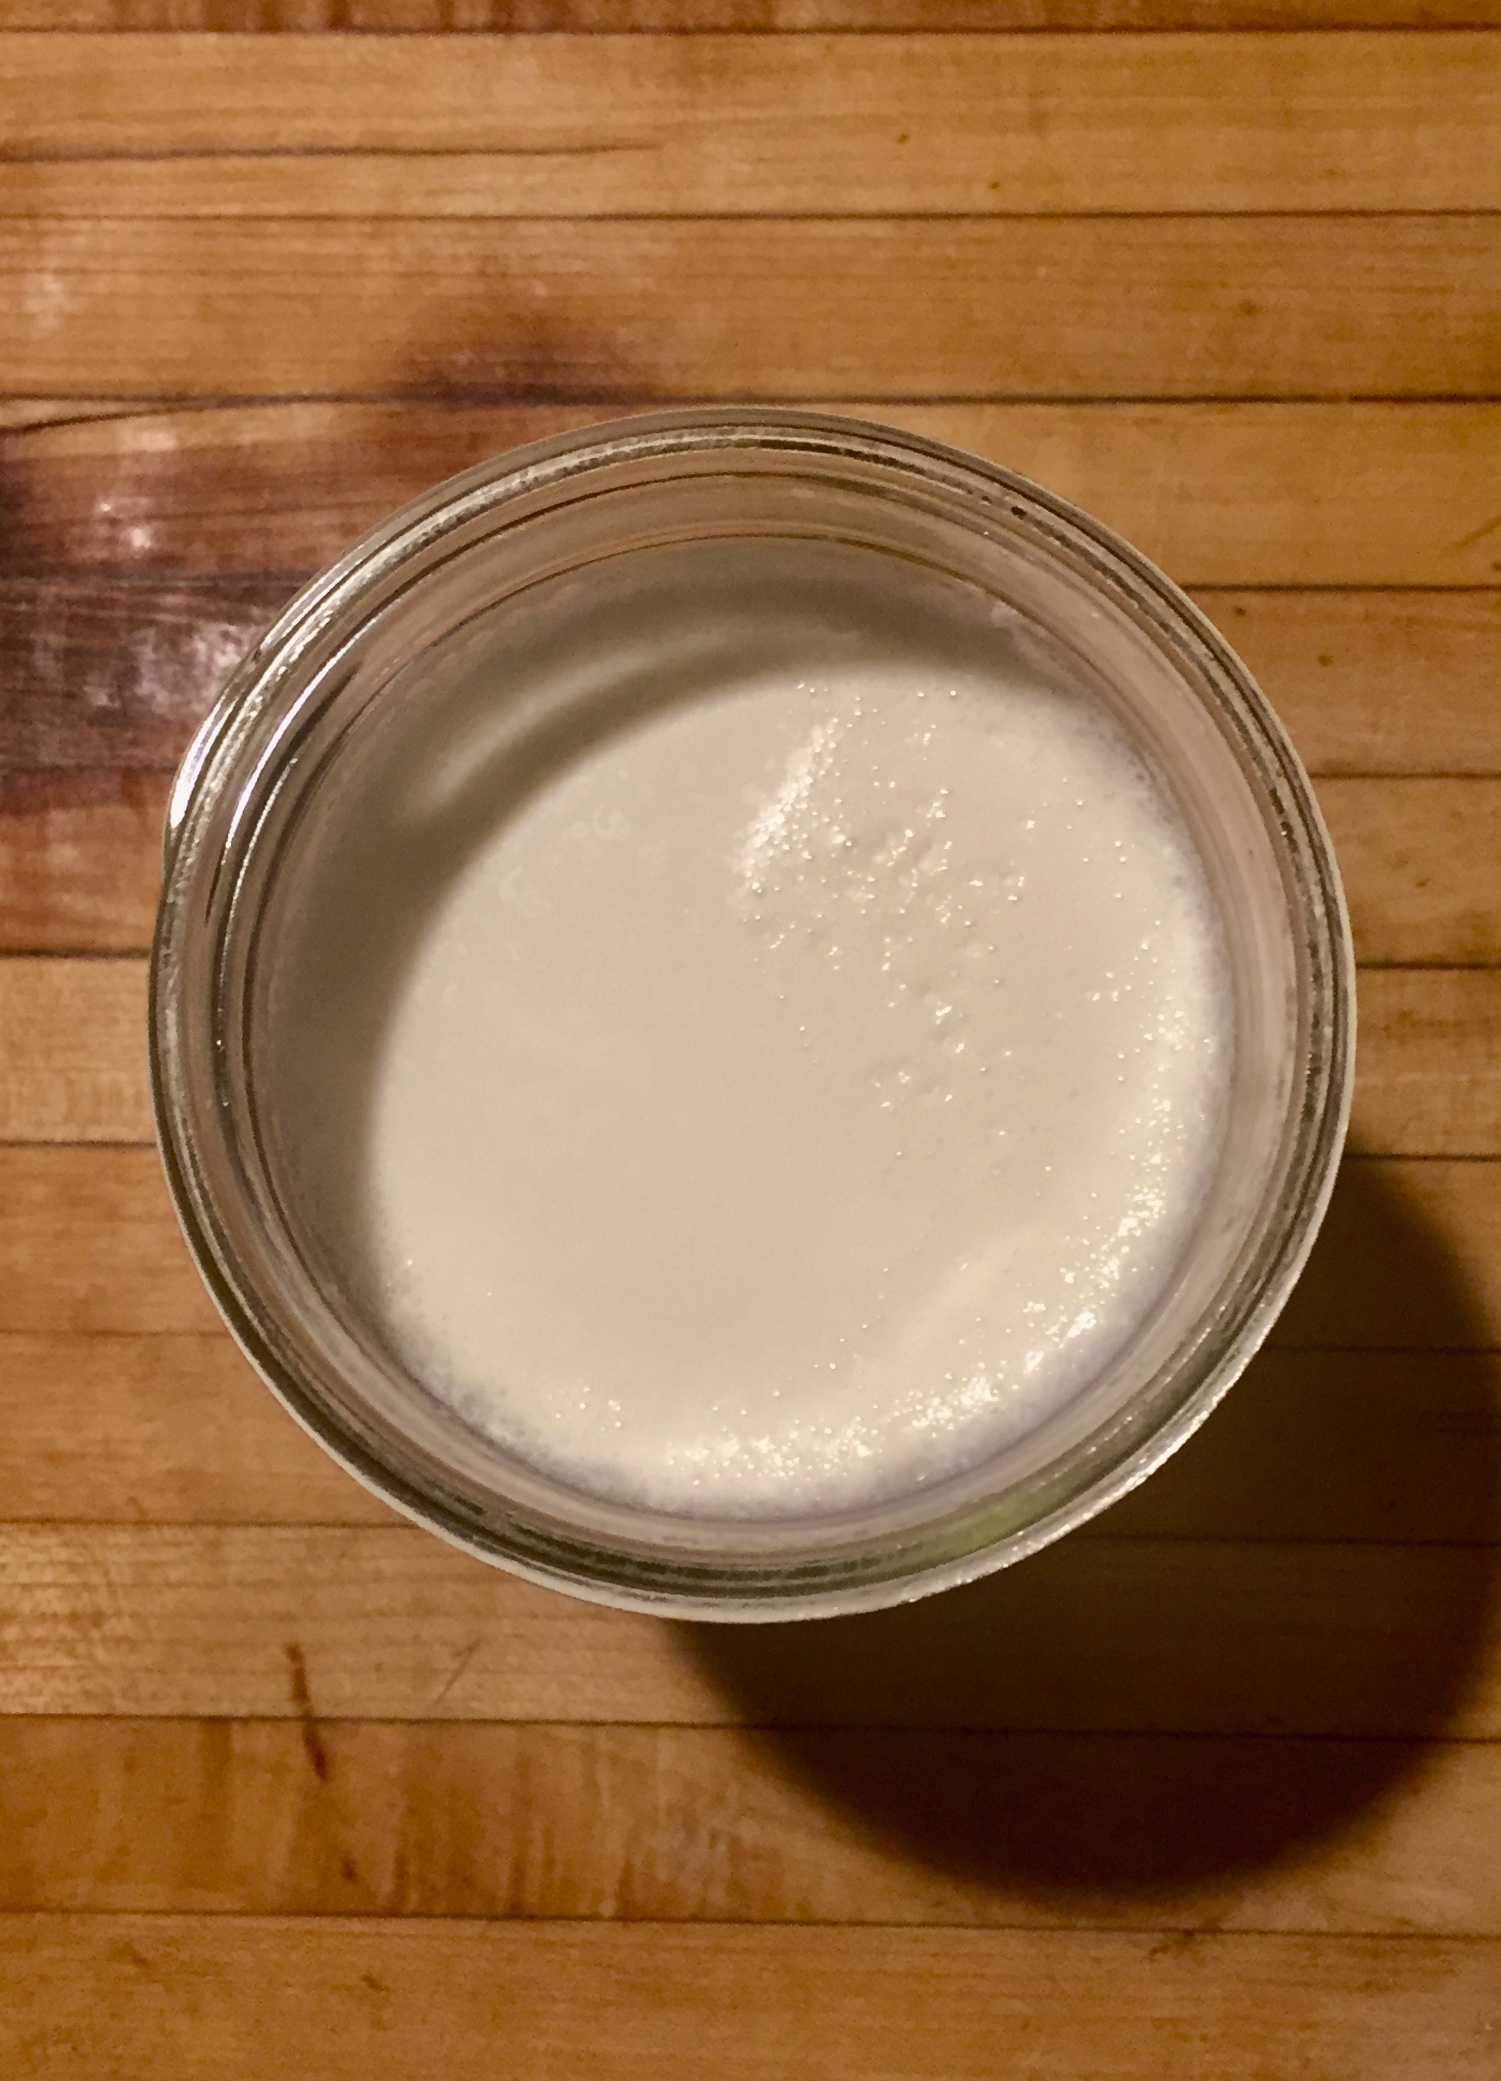
- At 8 hours, gently check the yogurt to see if it is has set by gently tipping the container. If the yogurt is solid and does not slide, remove and place in the refrigerator. If the yogurt appears runny, give it another hour and check on it again
- Once the yogurt has set, refrigerate for at least 2 hours before serving. Remember this is yogurt in it’s purest form, so if you like a little sweetness you will need to add that in. See Tips for some recommendations Now pat yourself on the back and have a big bowl of homemade healthy!
Tips
- Safety tip! After the yogurt has had it’s final set in the refrigerator, make sure upon opening you check for any mold or an off smell. This is very rare but, a little common sense goes a long way with true DIY food. Just like any food, if it looks or smells off, don’t risk it.
- Since my family falls into the “sometimes” category of yogurt eaters, I will not be running out and buying a yogurt maker but if you feel like this is something you will do often, it might not be a bad idea. To keep my yogurts warm, I took a bunch of kitchen towels and put them in the dryer right after my milk got to 180 degrees and let them tumble around in the dryer until the milk had cooled down. I then grabbed a medium sized cooler (too big and it will just have lots of space for cold to settle in) and lined the bottom with the warm towels, wrapped a warm towel around each of my jars, covered the jars with a few more warmed towels and put the lid on the cooler. Every 2 hours or so, I opened the lid a bit and gave the cooler a 1-2 minute blast from my hair dryer just to make sure the warmth kept. This may not be necessary when the temperature is warmer so if your house is about 70 degrees at all times, you can probably leave the dryer out of it.
- I find this yogurt to be super yummy with a nice drizzle of maple syrup, but feel free to get creative with your mix-ins. Honey, granola, fruit (both plain and some you’ve macerated with sugar) are nice additions. As mentioned, this yogurt is pure milk yogurt plain so it will have almost no flavor.
- As this yogurt lacks all of the interesting additives that make the store bought versions last weeks in your refrigerator, you are going to want to eat this up within 5 days of making. You may also have to give it a stir before scooping it out after a day or two, but don’t worry it will still be tasty!
- Lastly, if you try this and it does not jell with your family or you, don’t worry! There are a large variety of plain Greek style yogurts out there that you can swirl with maple or add your own fruit to. Food is supposed to make us feel good and if it makes you feel bad, then it’s not the food for you. If you want to DIY something in the food world, check out my Pumpkiney Granola, Pasta Sauce, or Basic French Bread. I guarantee there is a from scratch winner for you out there.