I Can't Believe It IS Butter!

Easter happened a little bit ago and for that holiday, I went all out food wise. There was ham, rolls, veggies, dessert and cheesy hash brown potatoes. Those potatoes are one of my top 10 love foods, but since I’m the only one who feels that way, I don’t make them too often. When I make this cheesy side, instead of the cream of soup, I add heavy cream and have not noticed a difference in flavor. It’s a personal choice but I recommend you give it a try. I also made a from scratch French Silk pie, which uses a bit of heavy cream for that fresh whipped topping and was AMAZING! Between those two dishes I STILL had leftover heavy cream that I really didn’t want to go to waste. That stuff is expensive and especially so here in SoCal. Which I find ironic since apparently California is known for dairy so you would think we’d get a break…anyway…

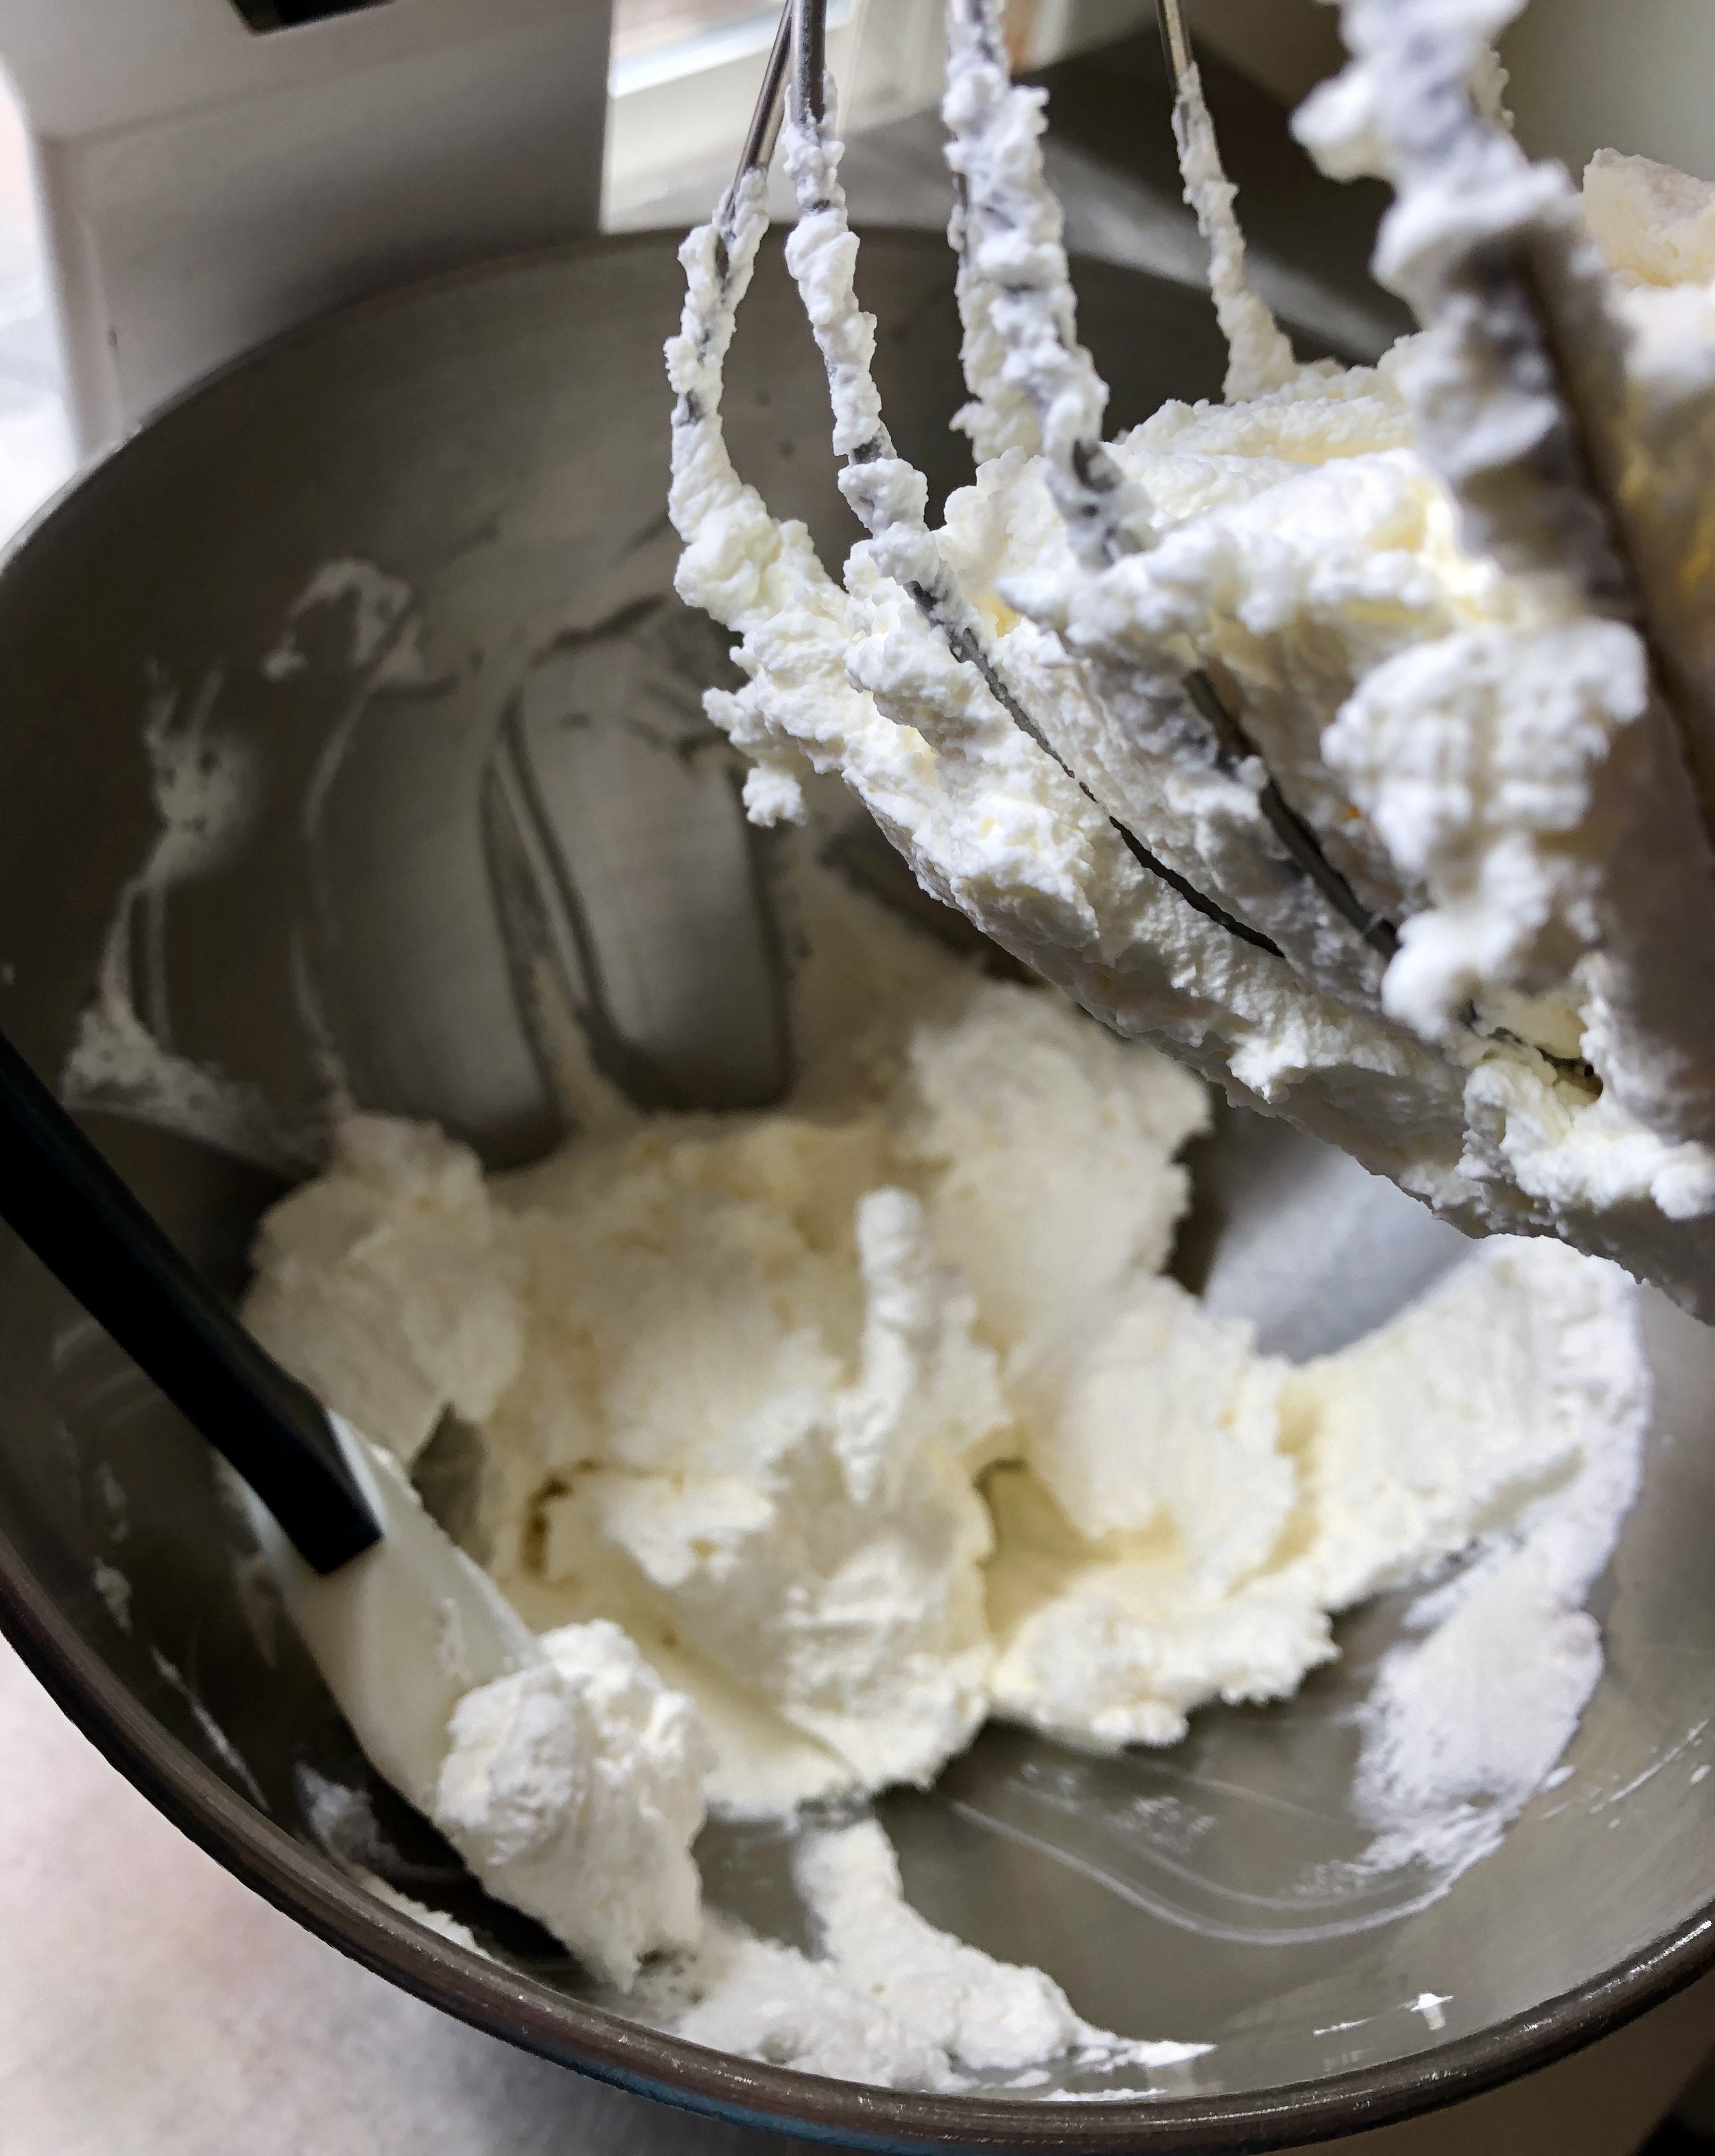
Well lookie here this kinda looks like butter…or glop but I promise it will get better!
I was recently reading a cookbook about how if you let whipped cream made with just heavy whipping cream keep whipping it would eventually separate and make butter and buttermilk. Now if I had been in a cartoon, at that exact moment, a lightbulb would have popped up over my head. Extra heavy cream? Make butter! My house is notorious for our massive consumption of my fresh baked French Bread and honestly any other bread product that can hold butter. So with my trusty Kitchen Aid at the ready, leftover heavy cream, some time to stare at the mixer I will soon have butter (and buttermilk, what?!!?!)
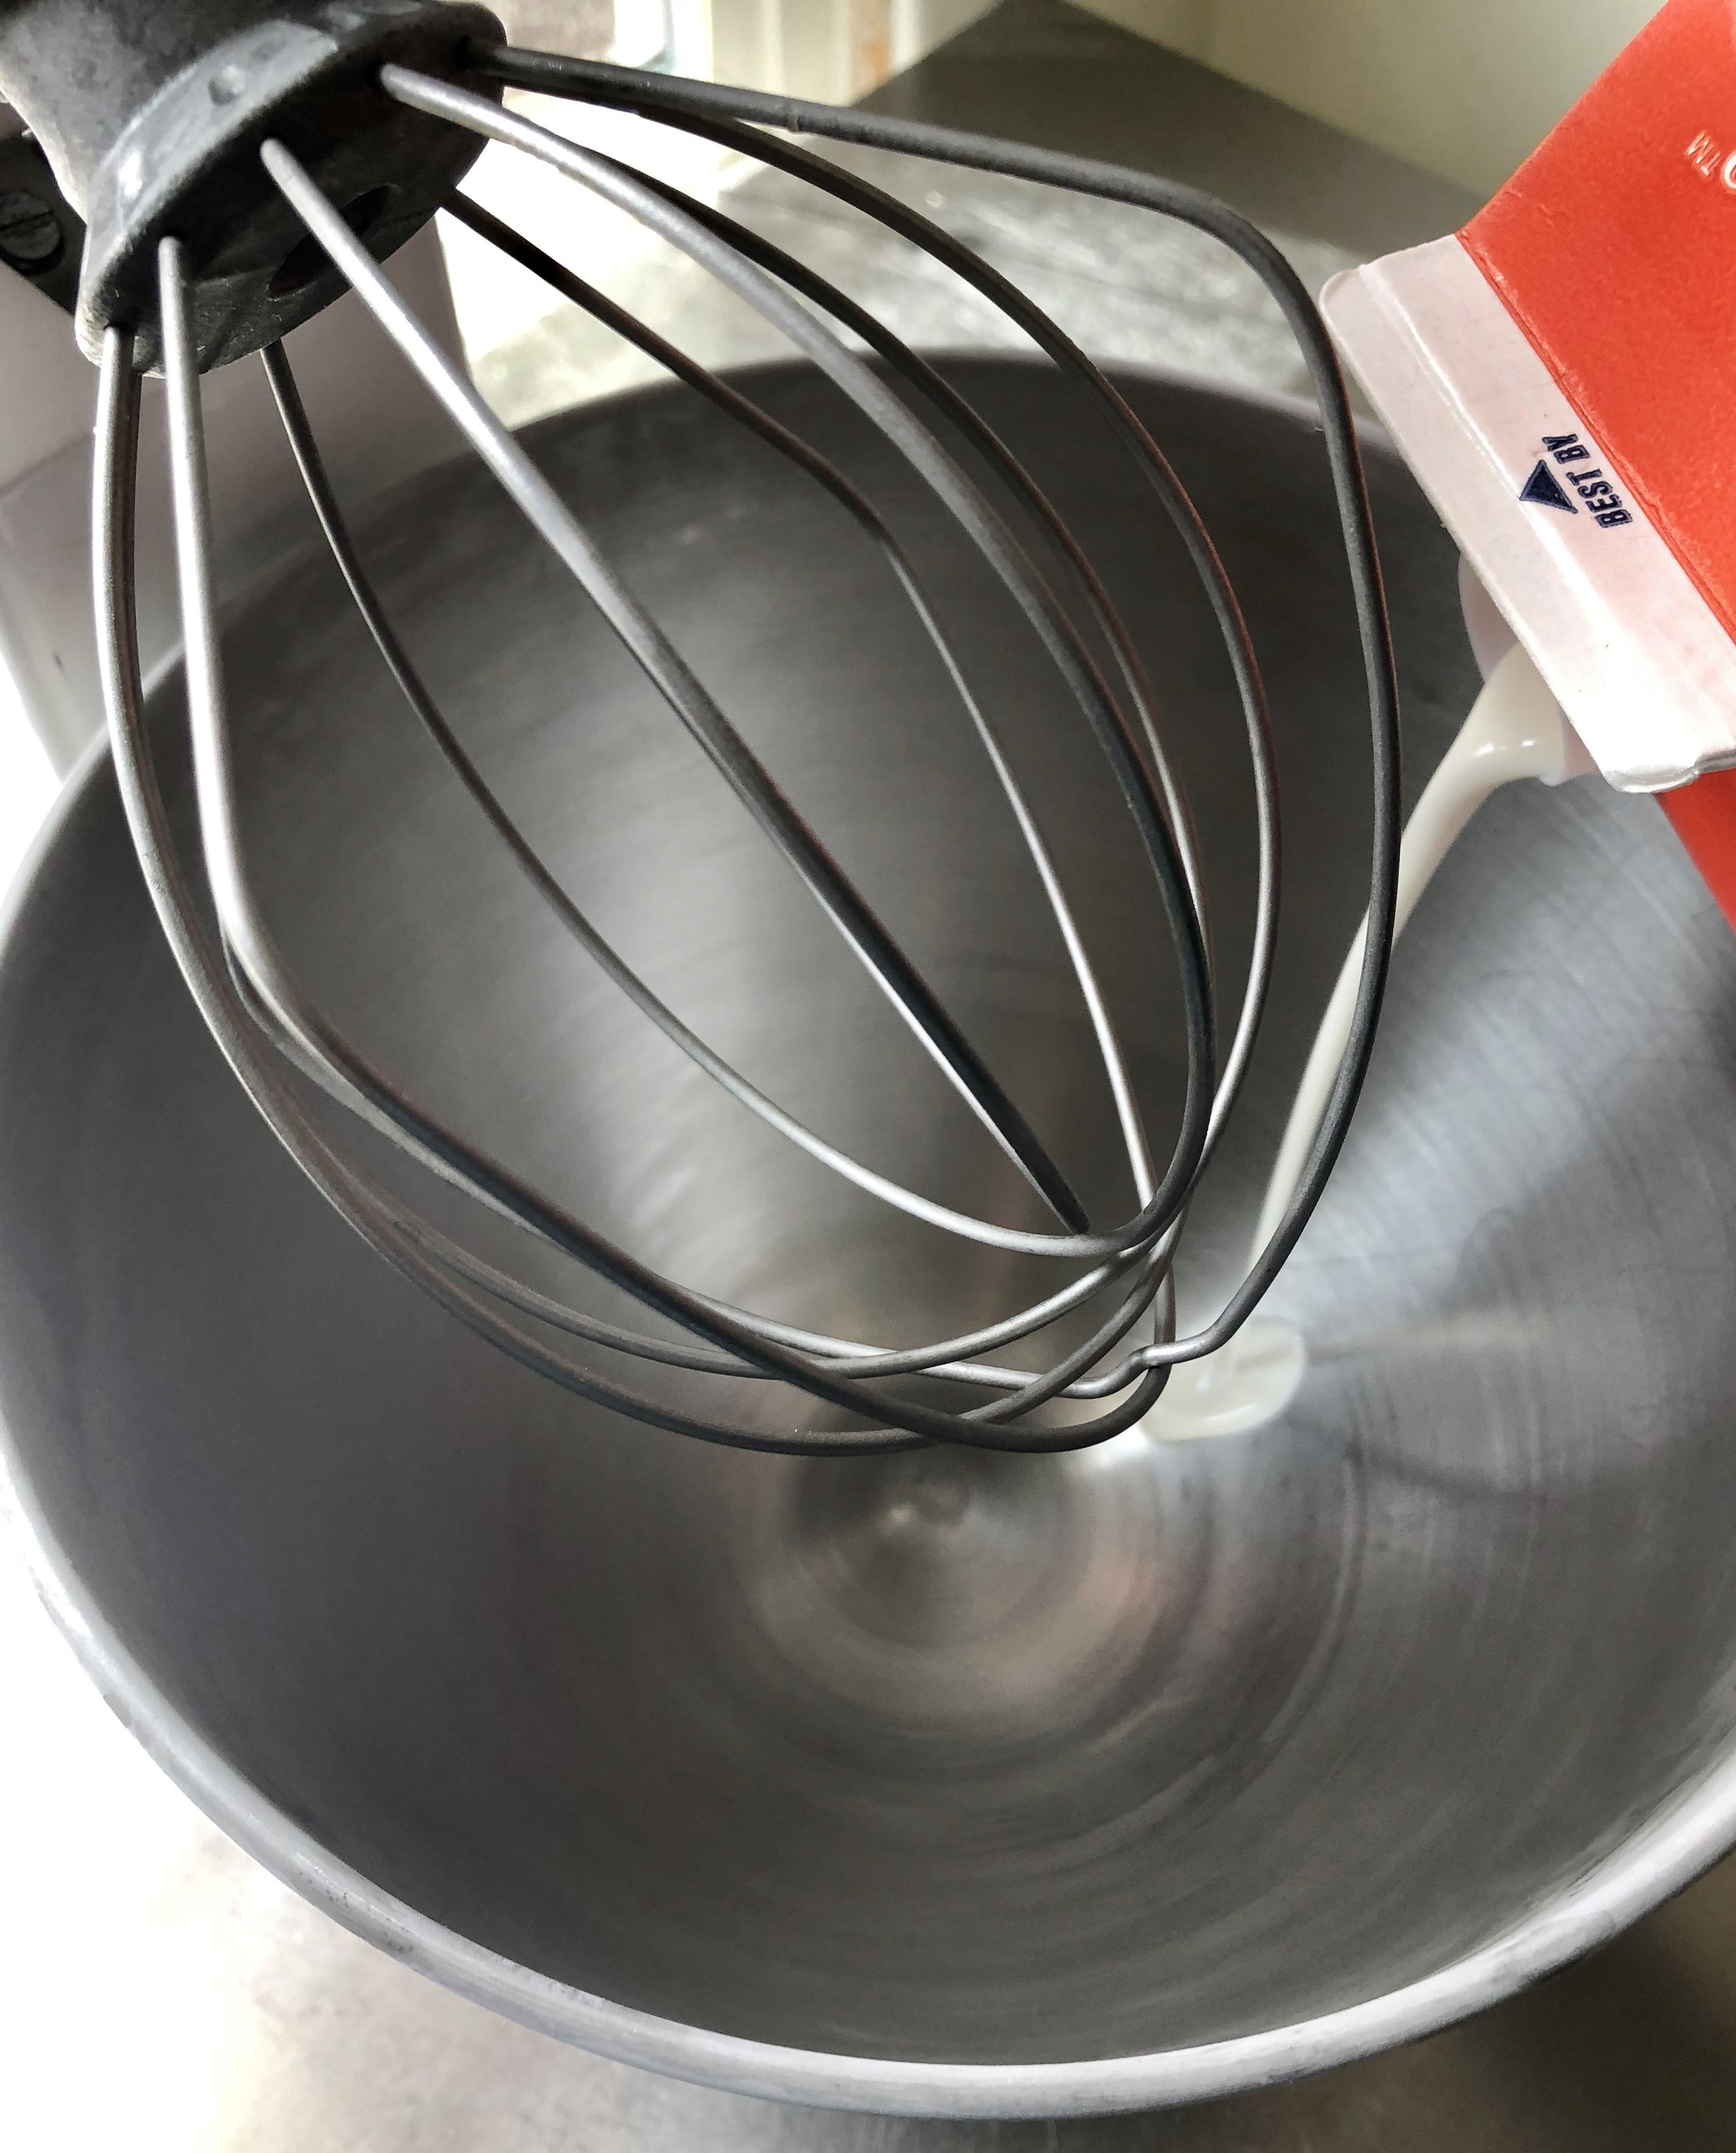
As a note, I usually do not say you need some high tech gadget to do this or that, but a stand mixer will make this so much easier and creamier. But have no fear I will include a quick way to make a bit o’ butter with just a glass jar and lid in the Notes.
I Can’t Believe It IS Butter!
Prep Time: 10 min | Total Time: Approx. 30 min | Makes: Varies
Ingredients
- Heavy whipping cream (fresh from a farm/farmers market if possible, but the store cream will work)
- Salt
Directions
- Freeze bowl and whisk attachment of your stand mixer for 15 minutes
- Pour cream into bowl and mix at med-high speed for 5-10 minutes, checking on it occasionally. When you begin to see the whipped cream break up and start to separate into chunks and water, keep a close eye on it as the butter will soon be ready to rinse. If necessary, stop the mixer and scrape down the sides. Don’t be alarmed if the cream begins to take on a yellowish hue. This is normal and what you want to see
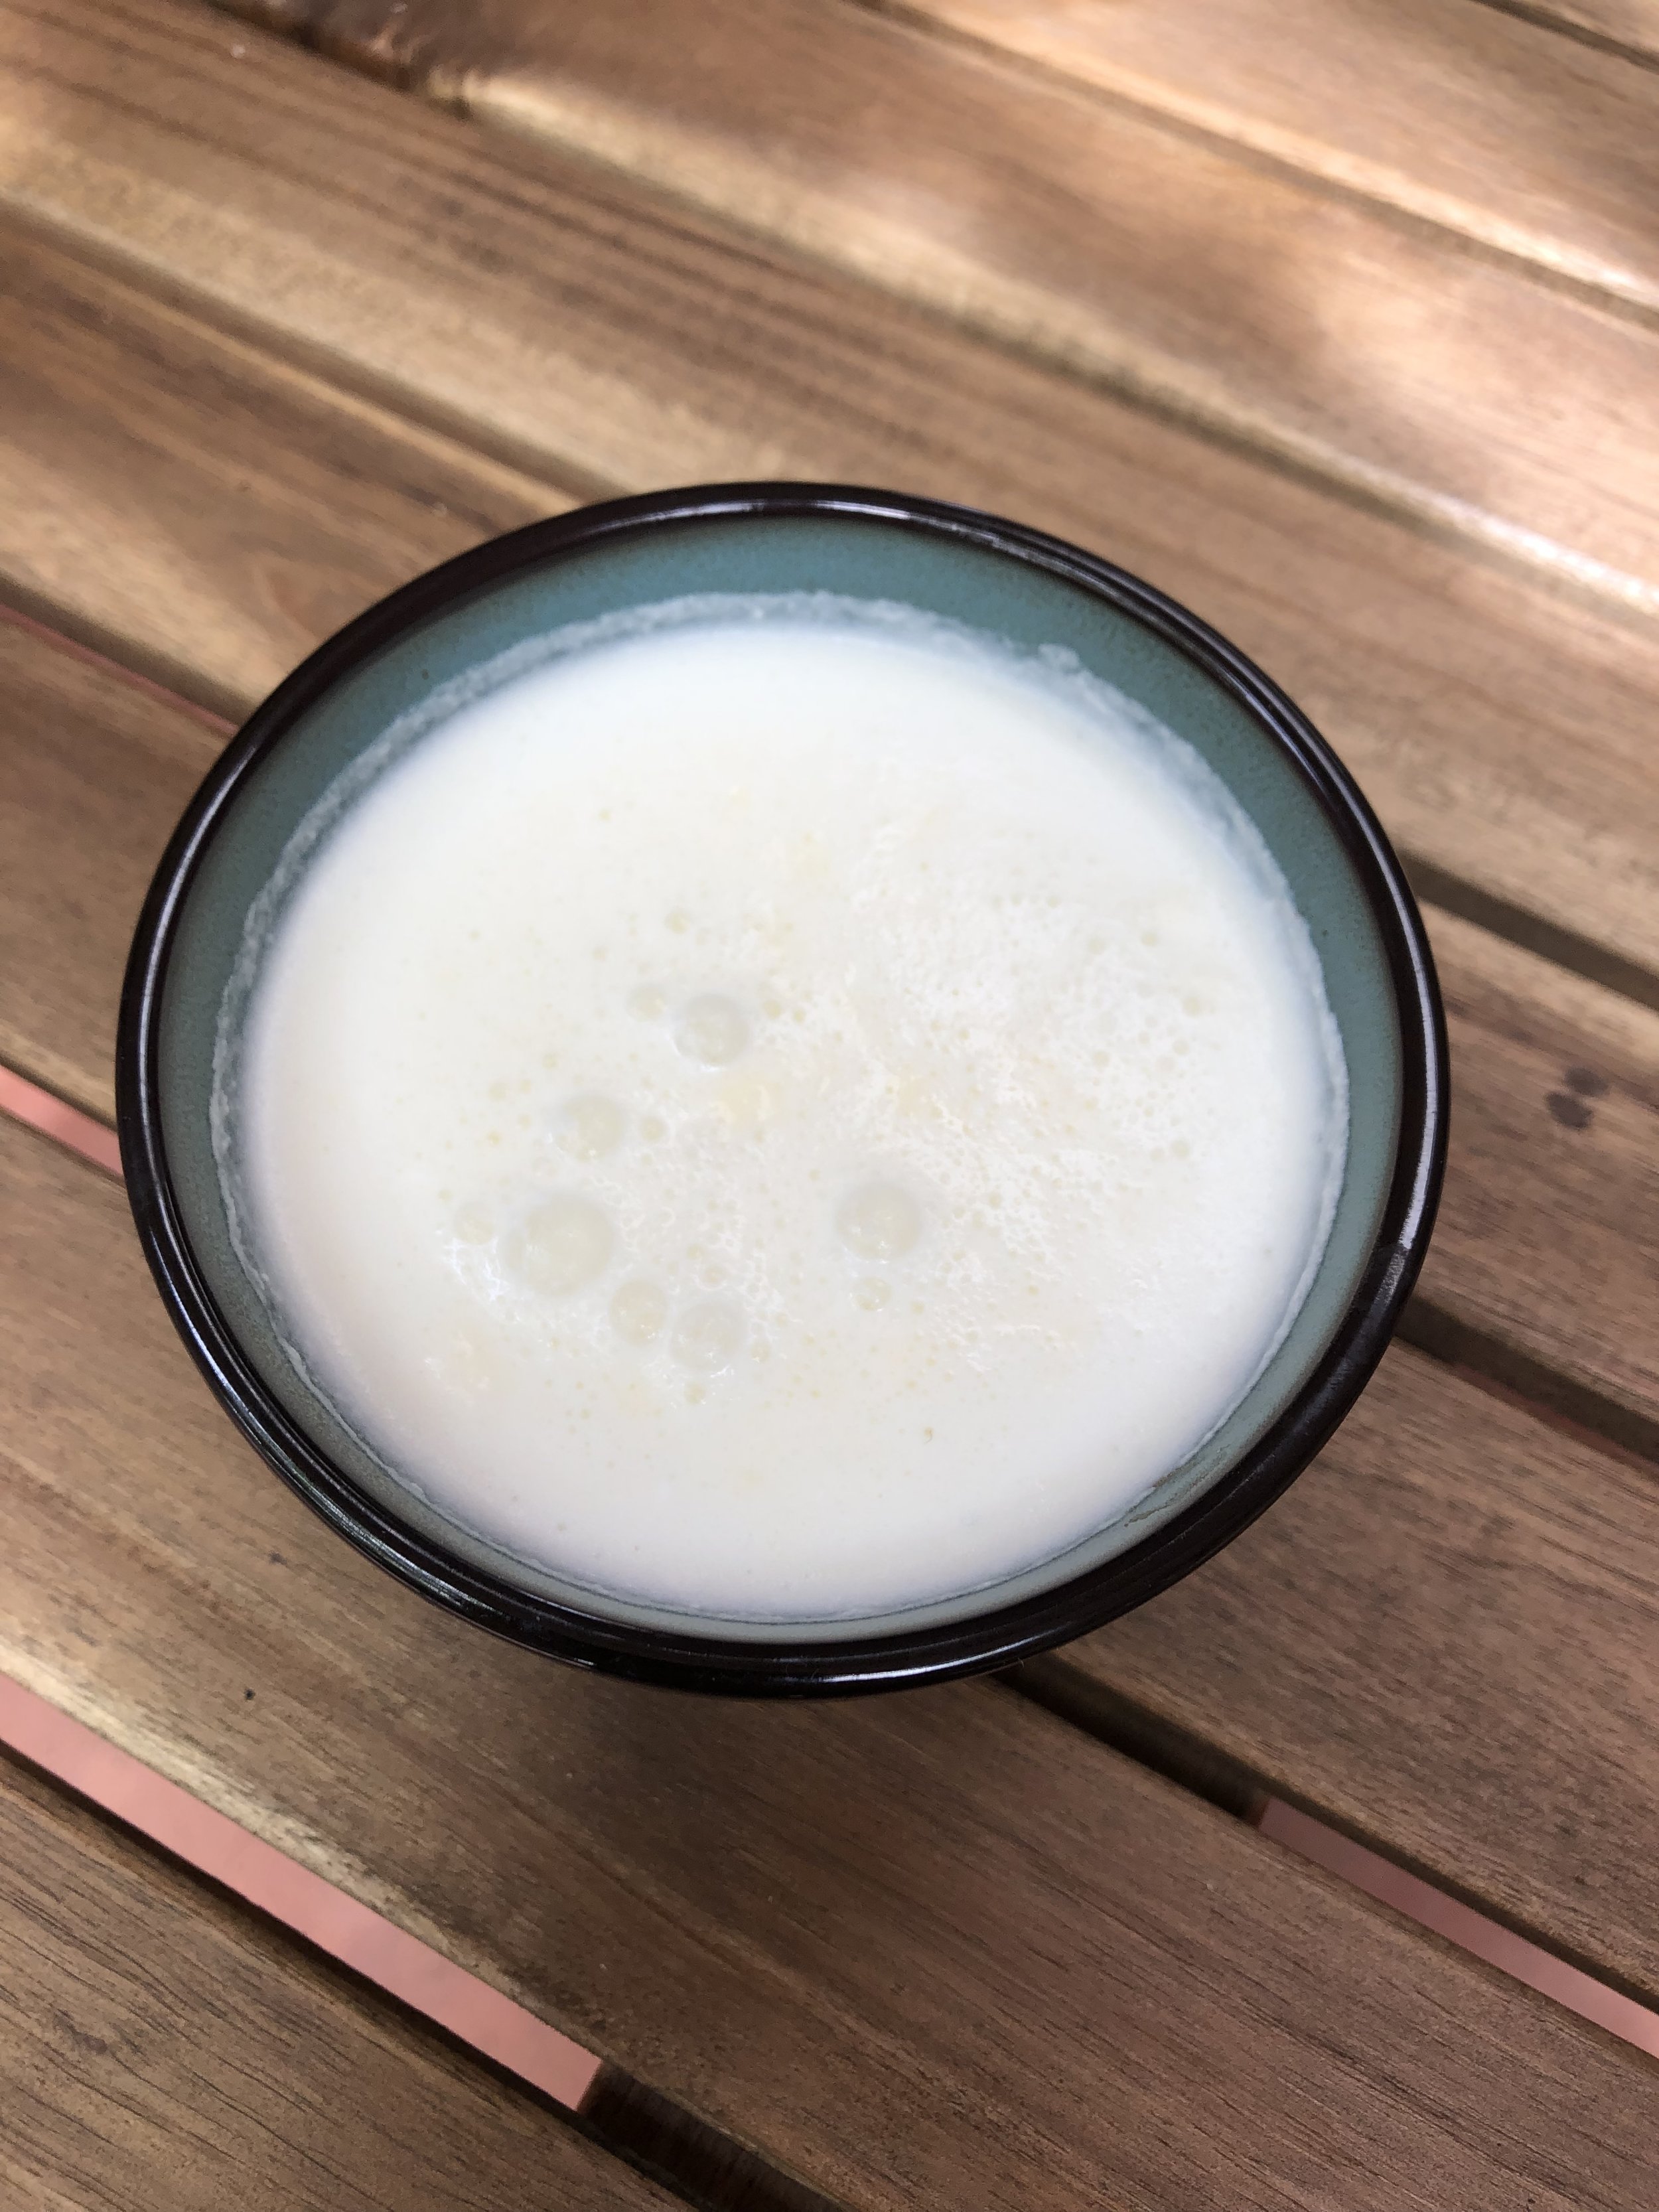
- Once your butter and buttermilk have completely separated, remove all the chunks from the bowl and move to another bowl. Set aside the buttermilk for future use
- Add cold water to the butter bowl and squeeze butter to extract all the buttermilk you can. Drain the water/buttermilk out and repeat the fill, squeeze, drain twice or until the water stays mostly clear. I added some ice to my cold water which helped so unless your cold gets really cold fast out of the tap, you might want to toss some ice cubes in with your cold water
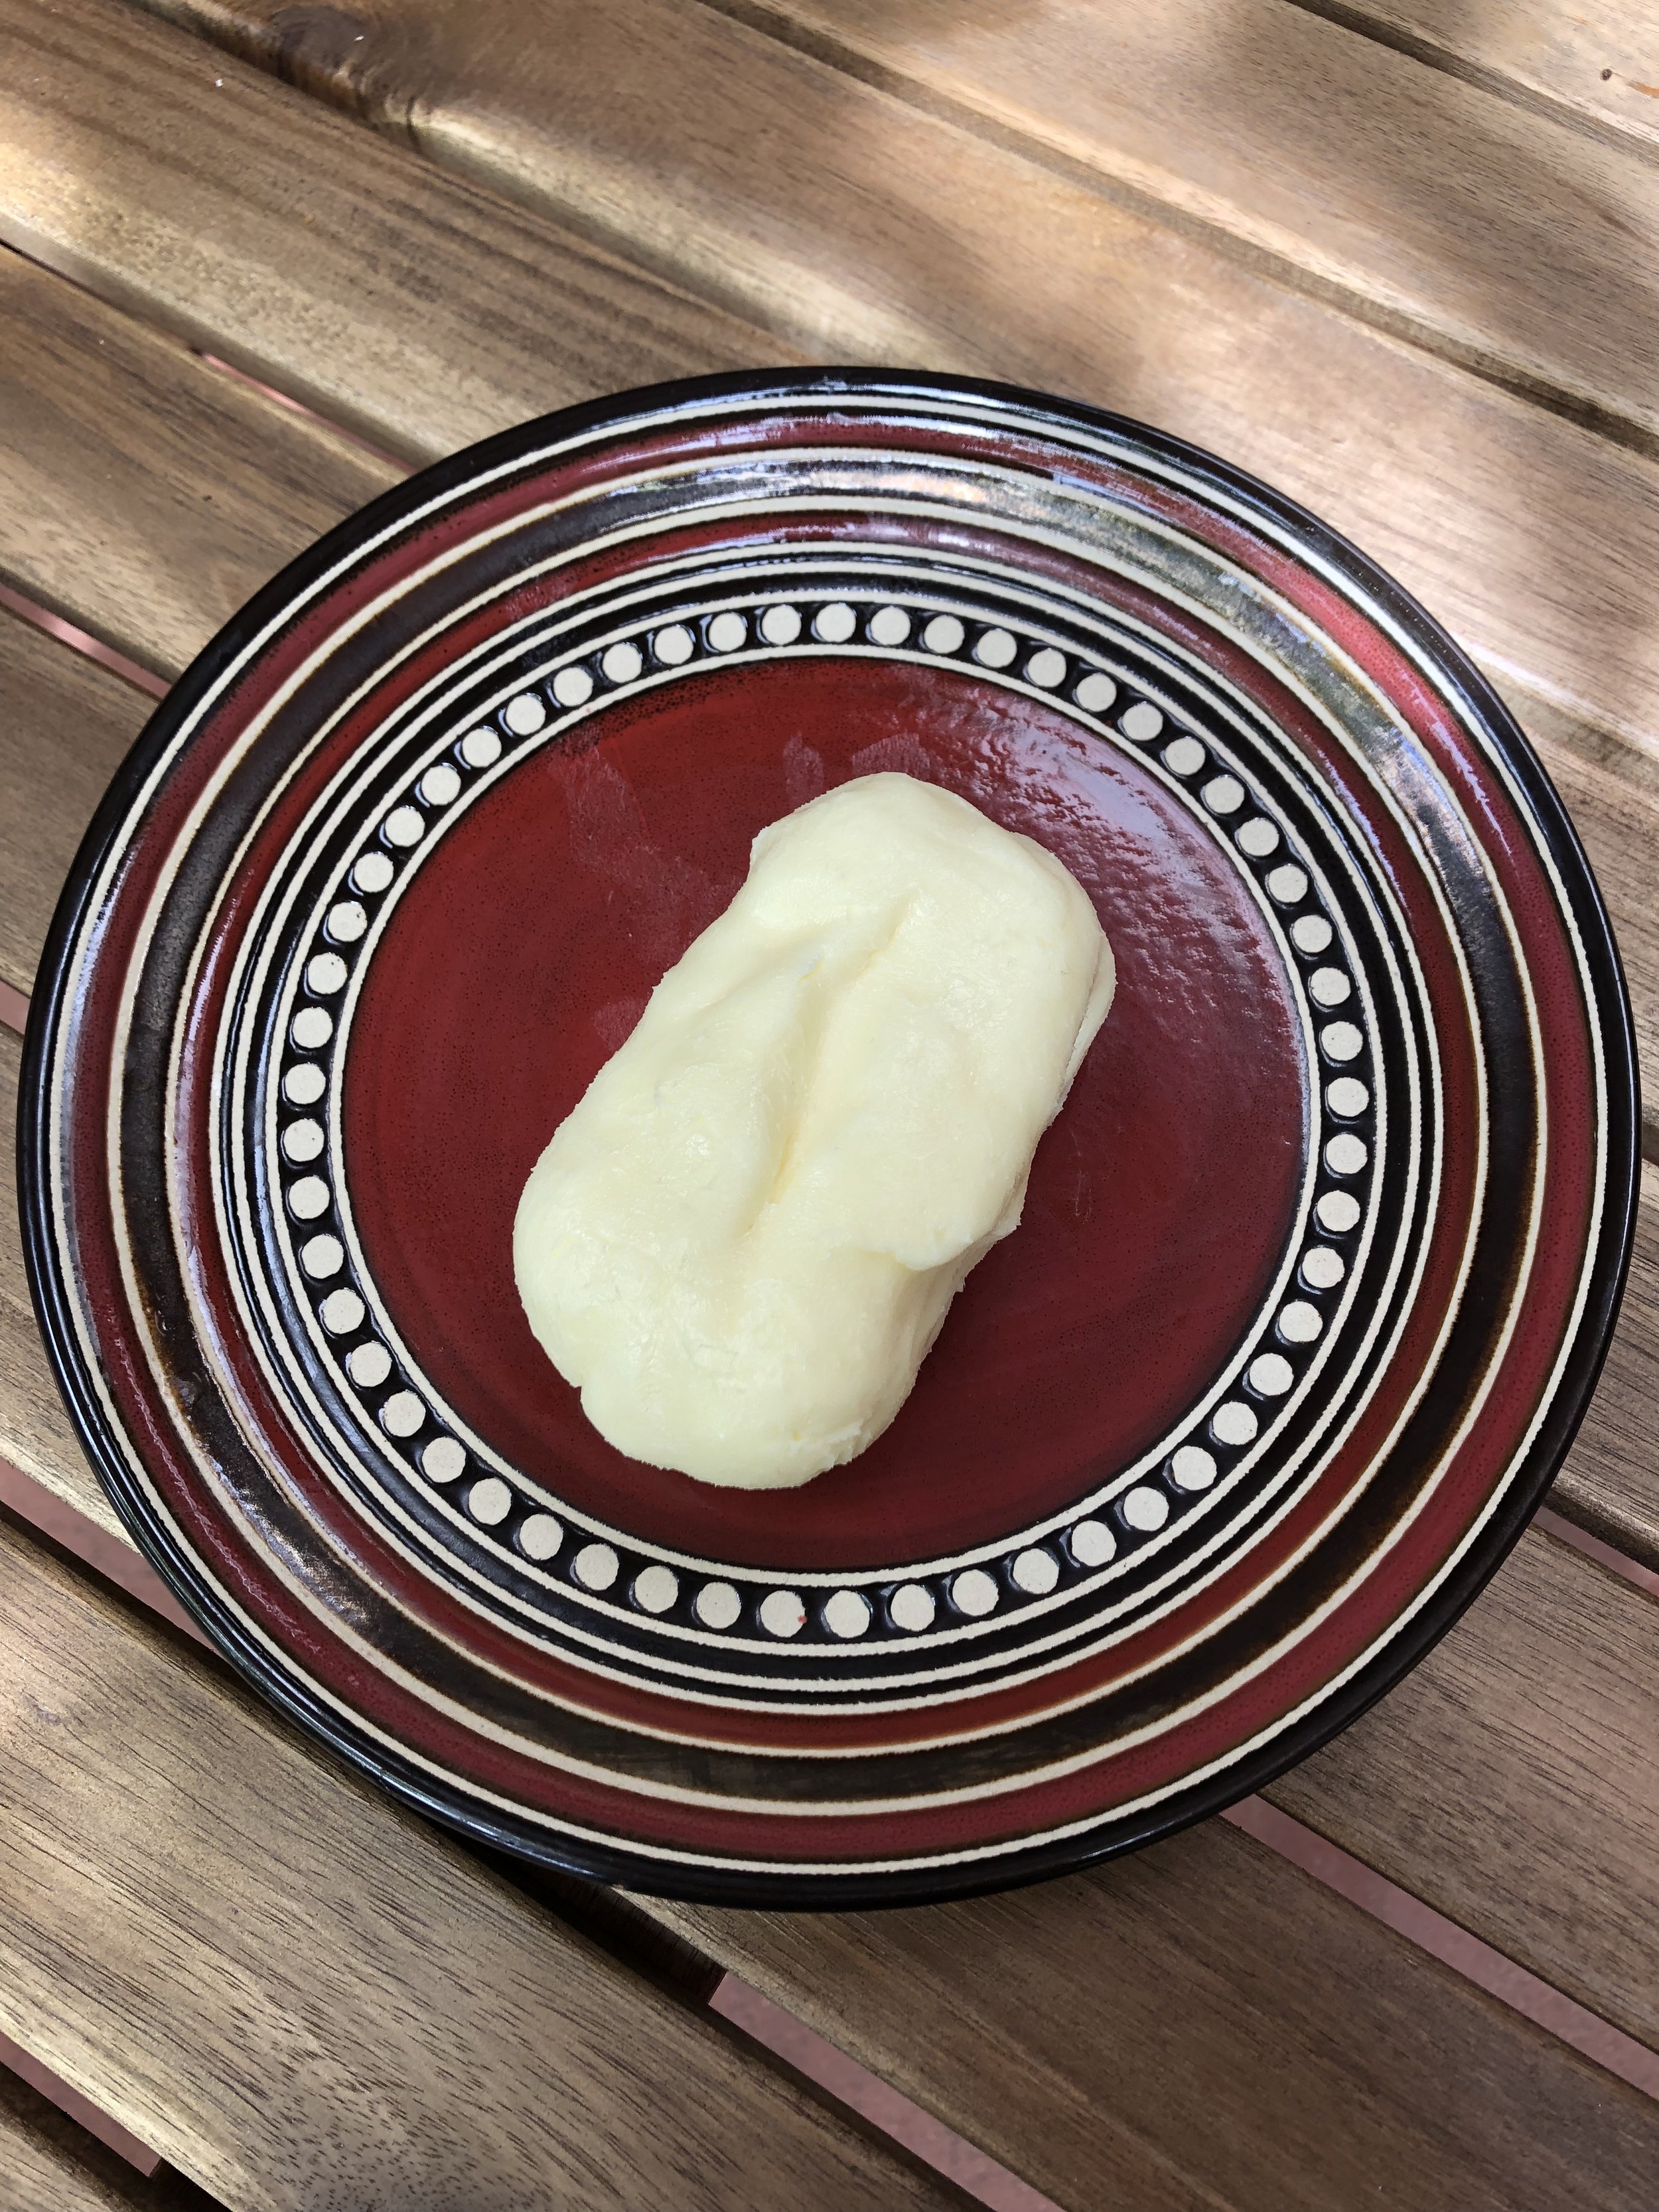
- Place back in bowl and add a bit of salt if you would like salted butter or leave out if you prefer unsalted. Wrap in parchment paper and refrigerate if you will use it in 3-5 days or freeze for later use.
Notes
- SAFETY FIRST! This butter is pure man which means no added preservatives are in it to keep it stable so use this stuff up fast! I recommend only keeping out what you will use within 3-5 days and freeze the rest. For use as a table butter, keep it refrigerated until about a half hour before the meal will be served to soften a bit. Put it right back in the fridge when the meal is over and make sure to use it up! That being said, it will still be worth it because this butter will taste awesome!
- HOW TO MAKE BUTTER WITHOUT FANCY GADGETS (or a butter churn). Grab a Mason jar or any glass jar with a lid that has room for your cream and then some. Fill the jar about 2/3 of the way full with heavy cream, seal with the lid and shake! Shake until you can’t shake anymore or until you see the separation as noted above. This would be a good one to make a family project so you can take shake breaks;) Once the butter and milk are separate, continue with Step 3 until you too have joined to self made butter club!